Table of Contents
Setting up an email account in Outlook 2016 for your Mac is a very quick and easy process. Apple has worked with Microsoft to allow setup of your email account through either a wizard for new users or the normal setup process built into the software. You will need to know the following in order to setup your email account in Outlook:
Note: We have a separate article for Windows users.
- User name to access the server (InMotion uses the complete email address)
- The email protocol that you will use in your Outlook 2016 client for Mac – IMAP or POP3
- Server names (and if you are using SSL)
- Ports for the server (the default ports are used for setup in this tutorial)
- Password to access the server (InMotion uses the email password to access the server)
How to Setup Outlook 2016 for Mac
If you have just loaded Outlook 2016, then you will first see the wizard to setup your email account. The Wizard will walk you through the setup of an email account. If you are an InMotion Hosting customer, then you can find your email settings by going here. If you do not see the wizard or if you have created email accounts in Outlook previously, then you can skip the beginning steps and start at Step 7.
If you have just completed setting up Office or Outlook 2016, then you will see the following screens:
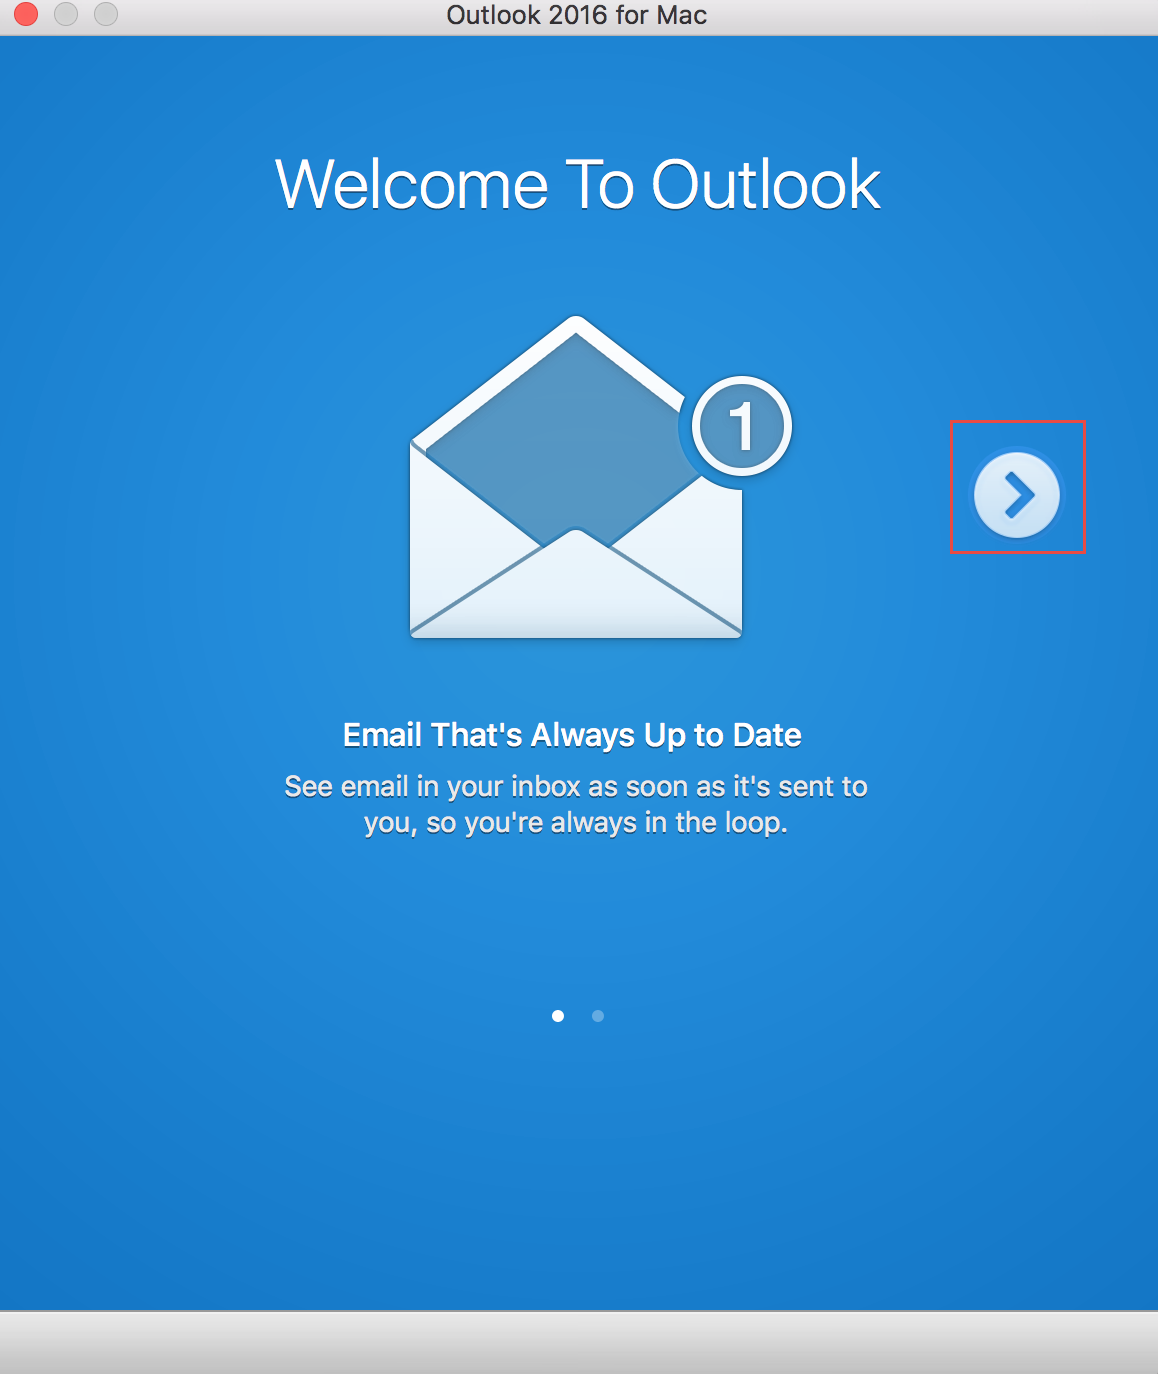
 Welcome to Outlook. Click on the arrow to move to the next screen
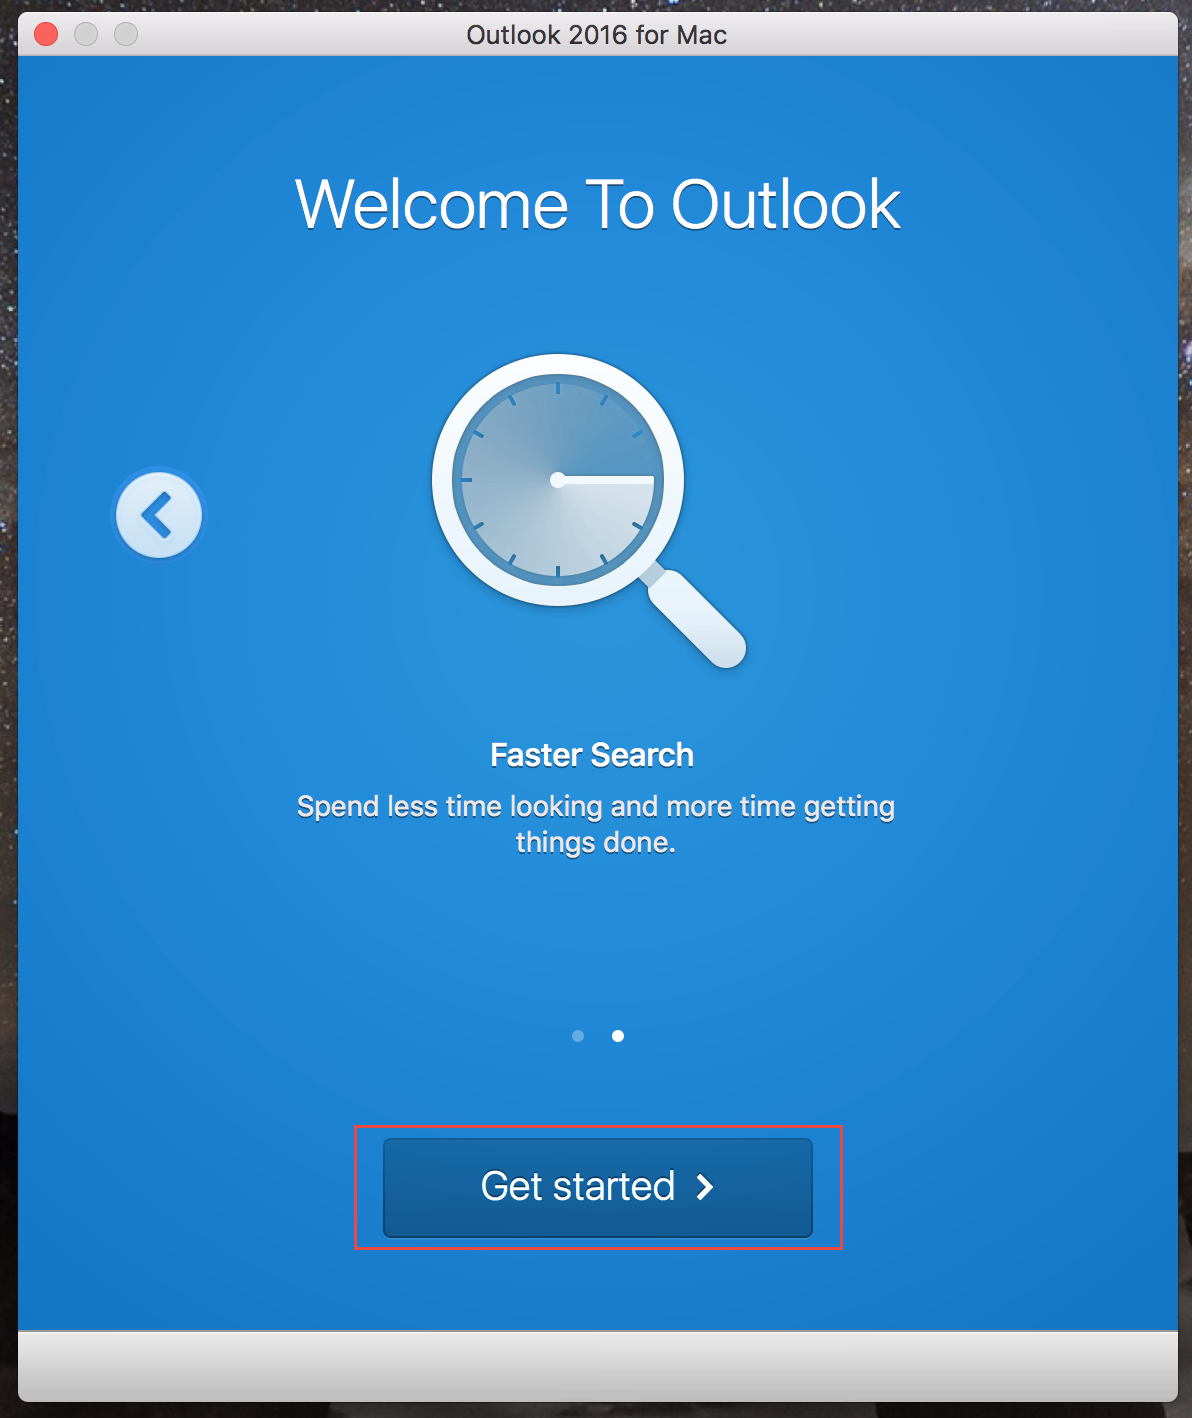
 Welcome to Outlook (screen 2). Click on Get Started to proceed.
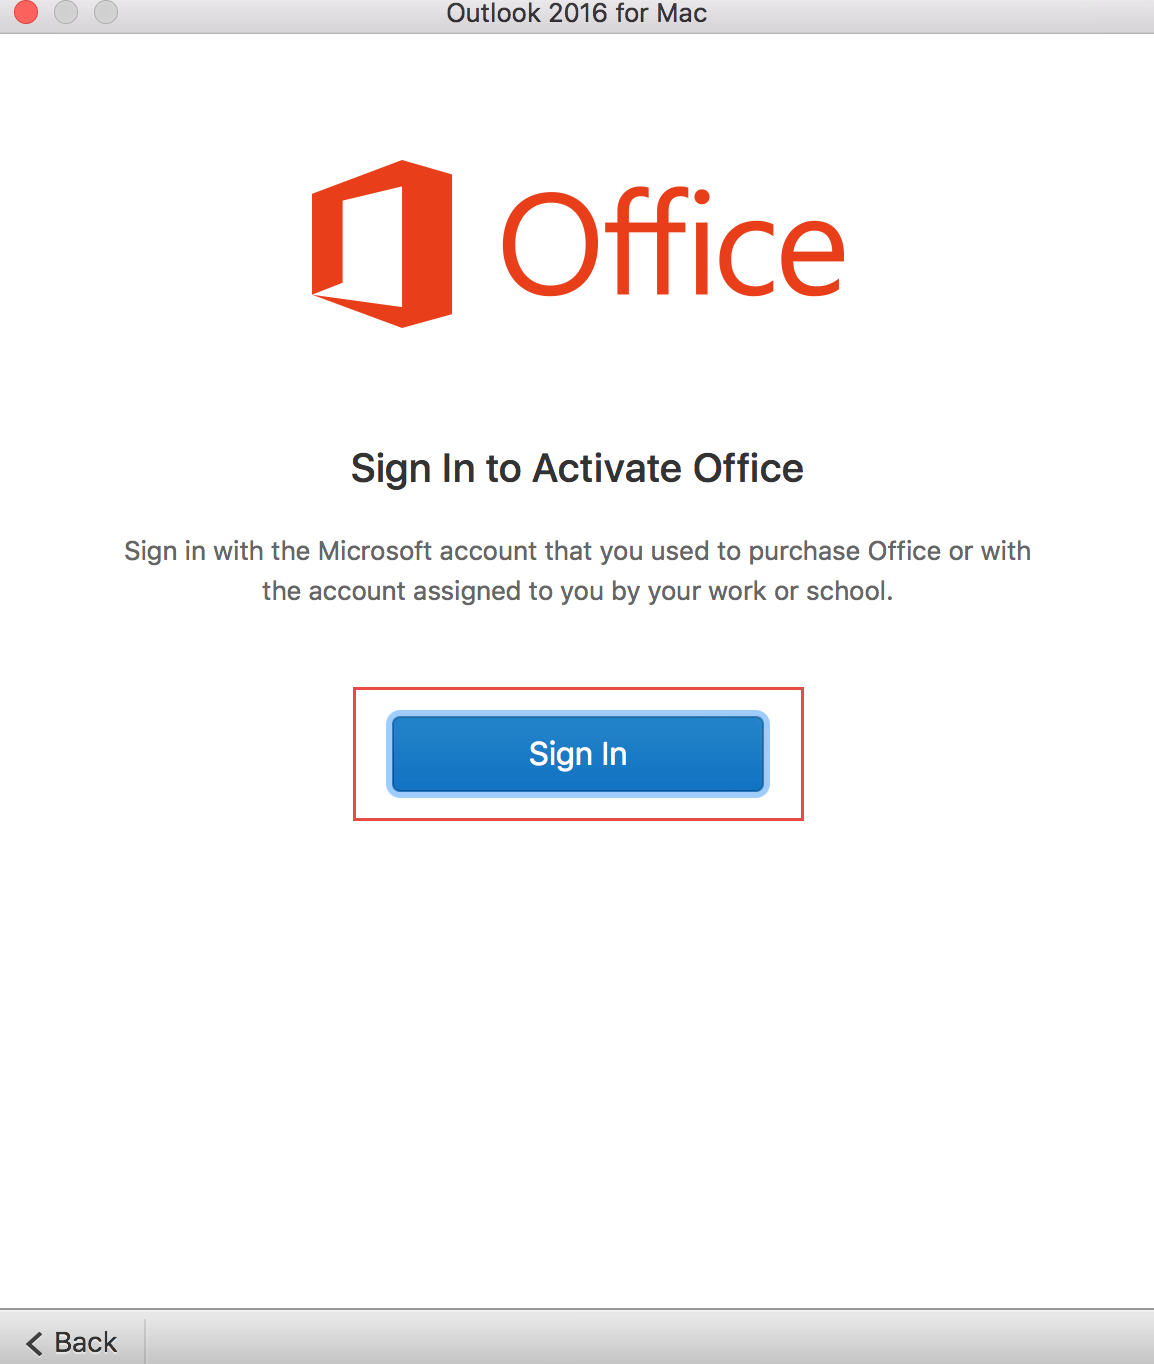
 Sign in to Activate Office. Click on Sign in. You will be using the Microsoft Outlook.com account in order to sign in. Typically, when you obtain Office, you will already have an account. If necessary, you may need to create one. Microsoft will guide you through this process.
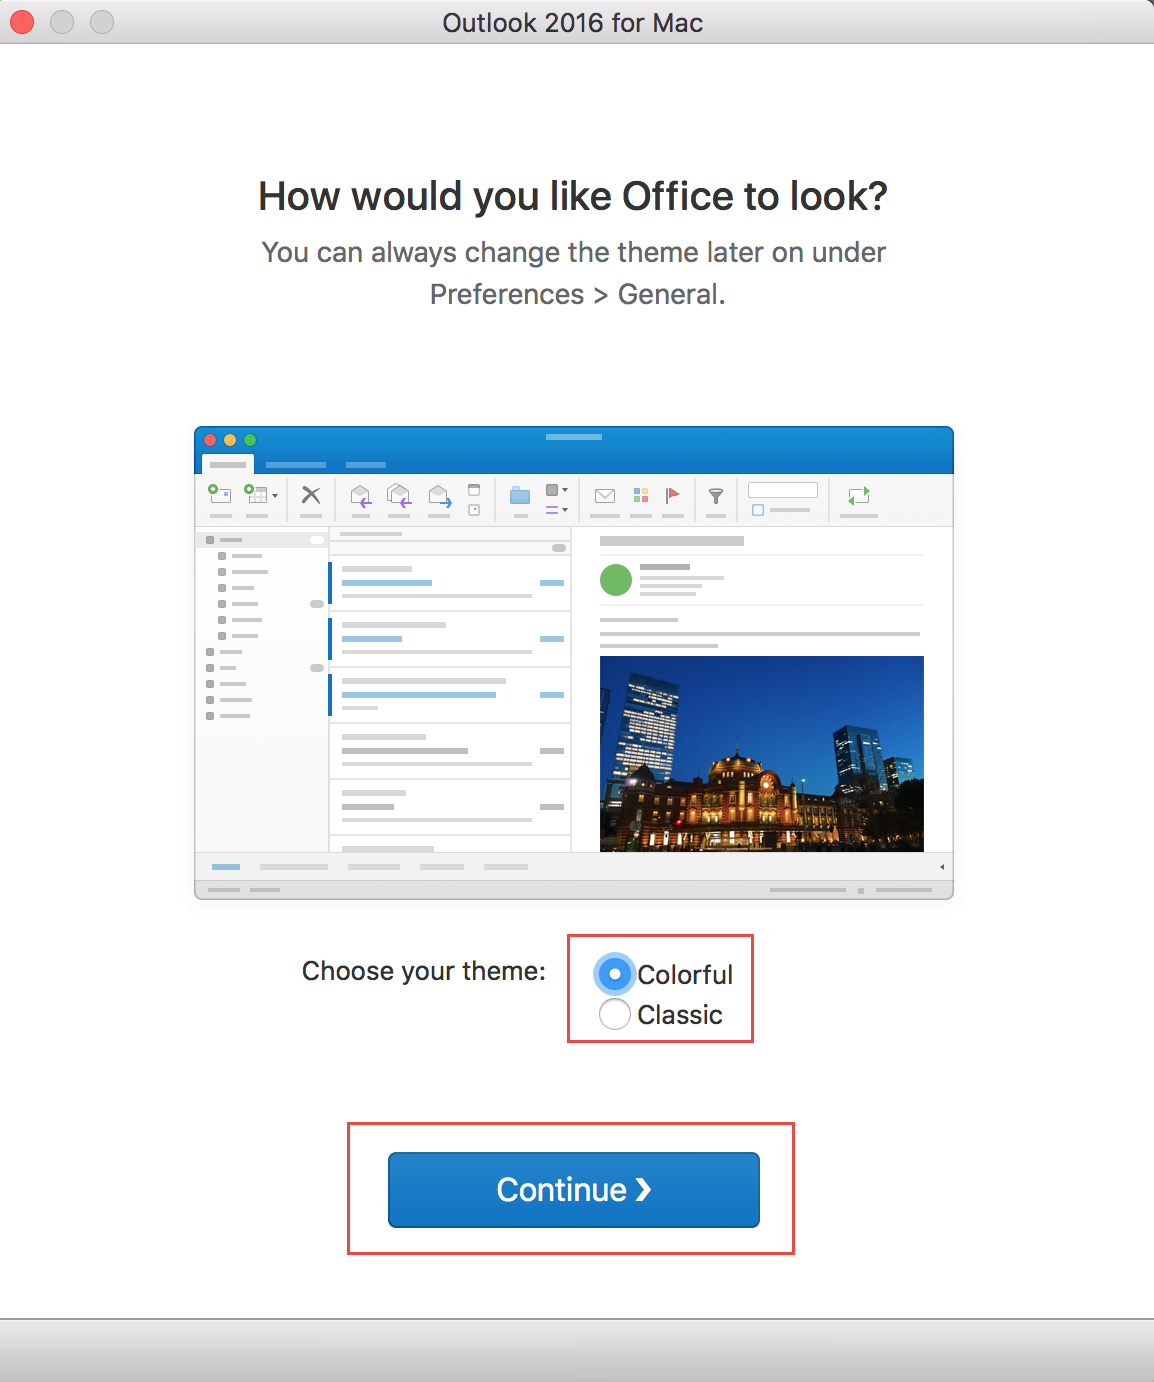
 Decide on how you want Outlook to appear – Colorful or Classic. Click on Continue to proceed.
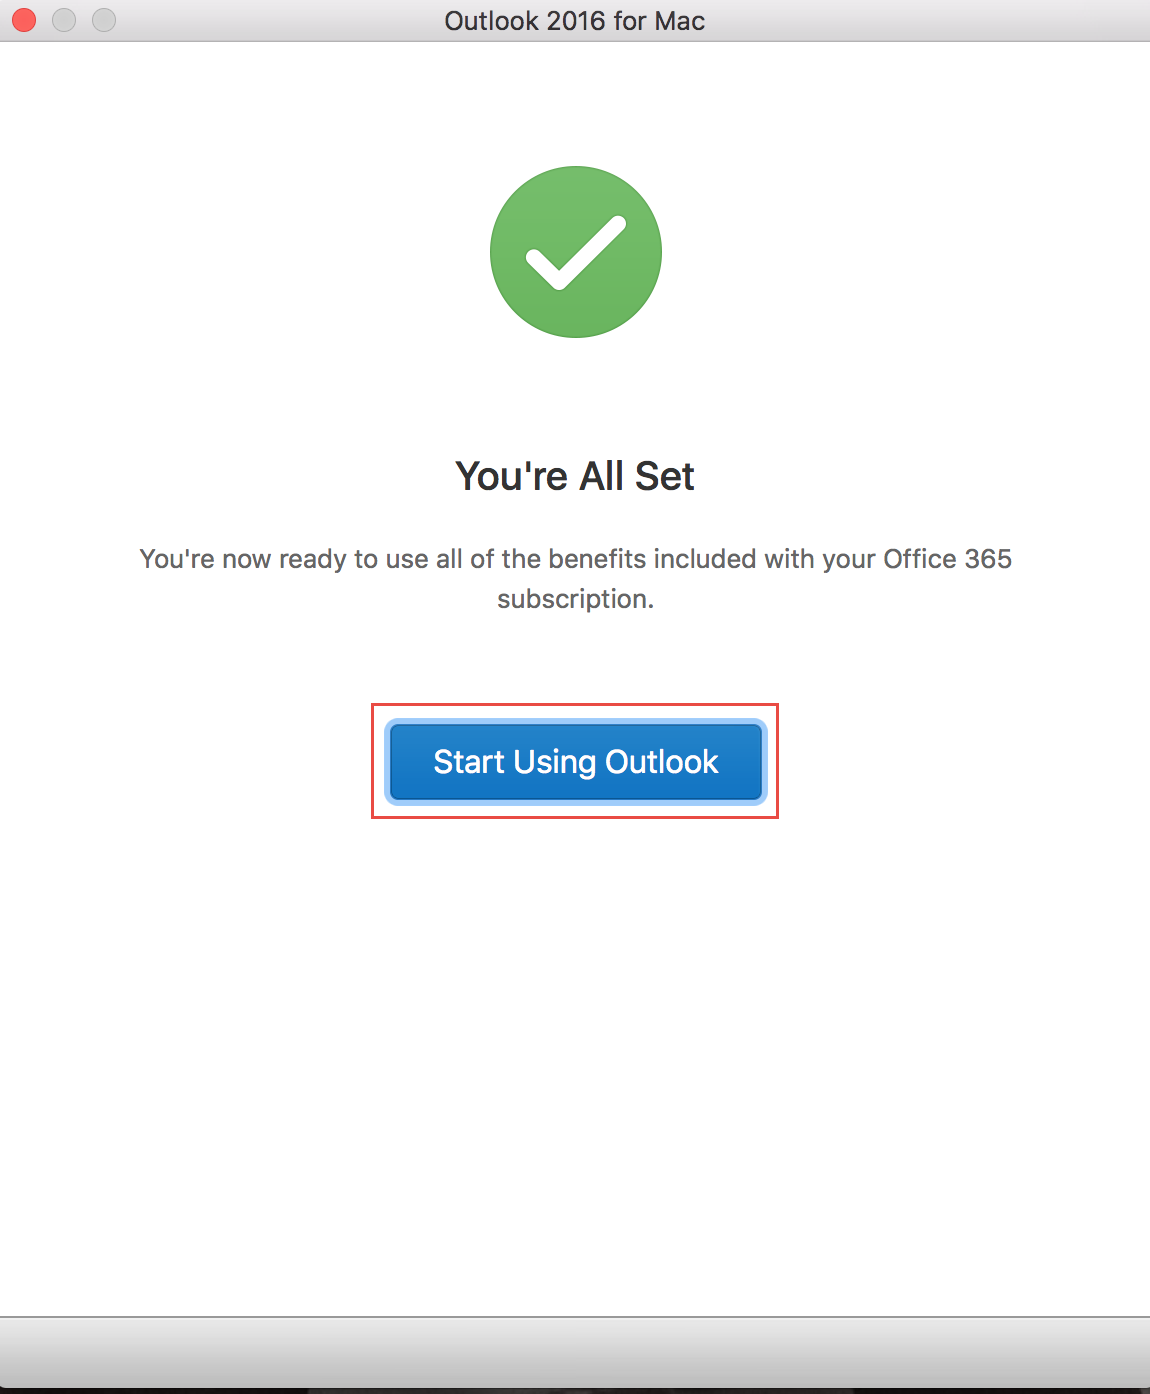
 You’re All Set. Click on Start Using Outlook.
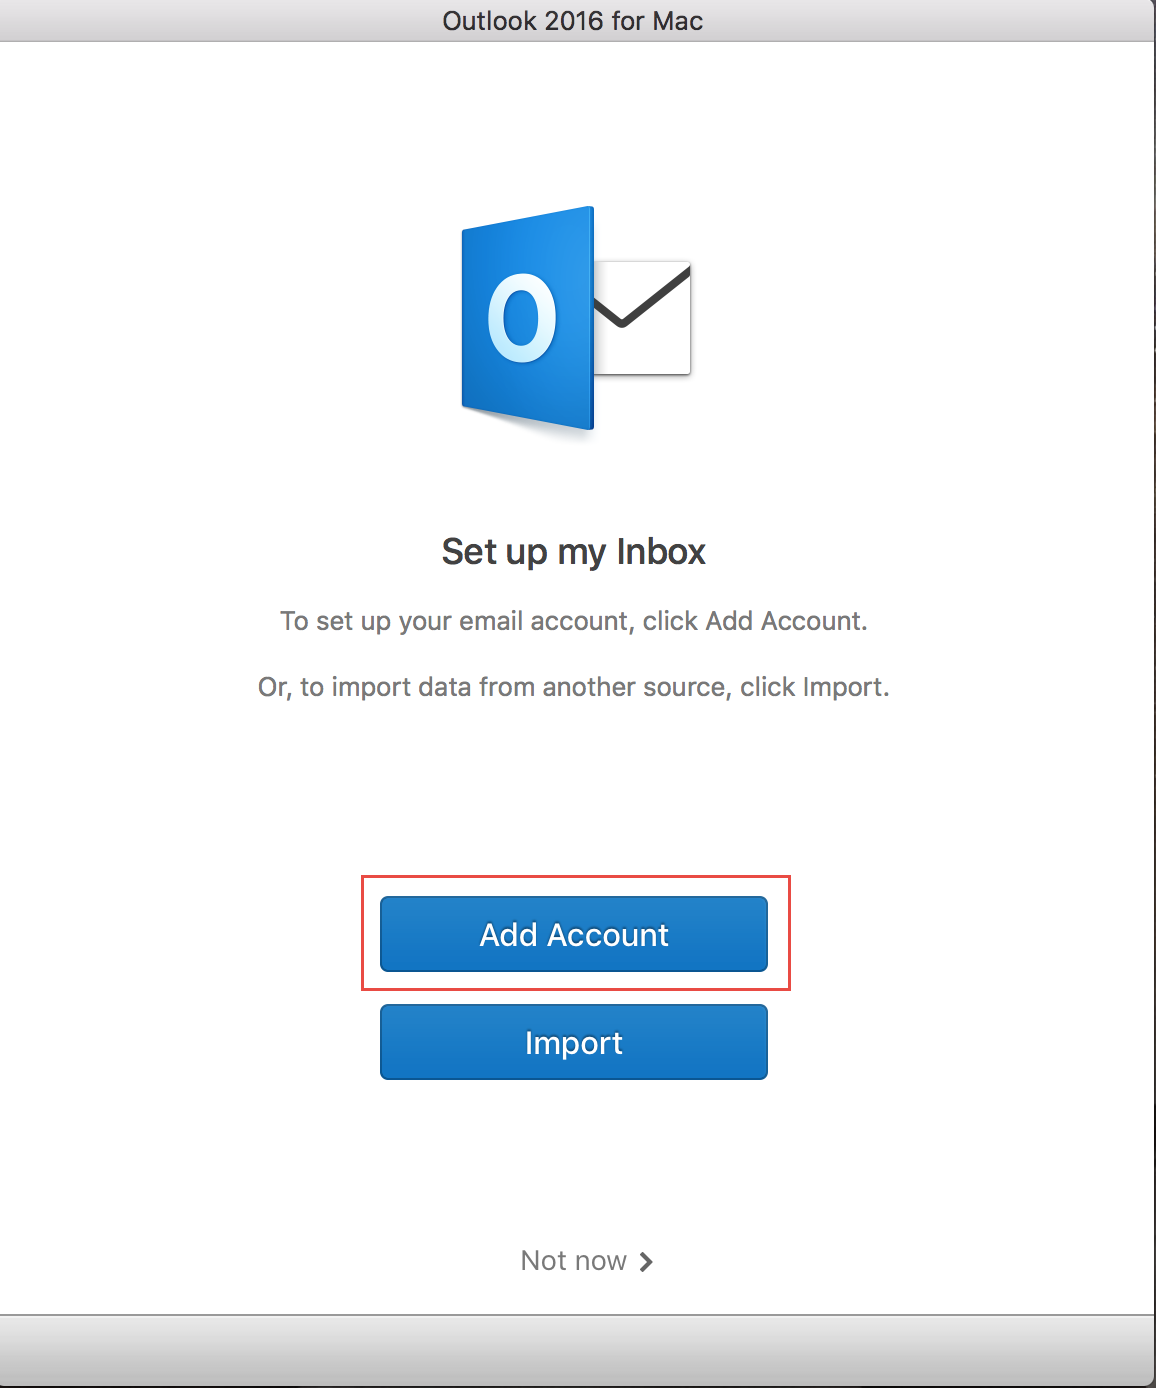
 Next, you will add your email account. Click on Add Account. Note: This Tutorial specifically covers how to add email accounts into Outlook.
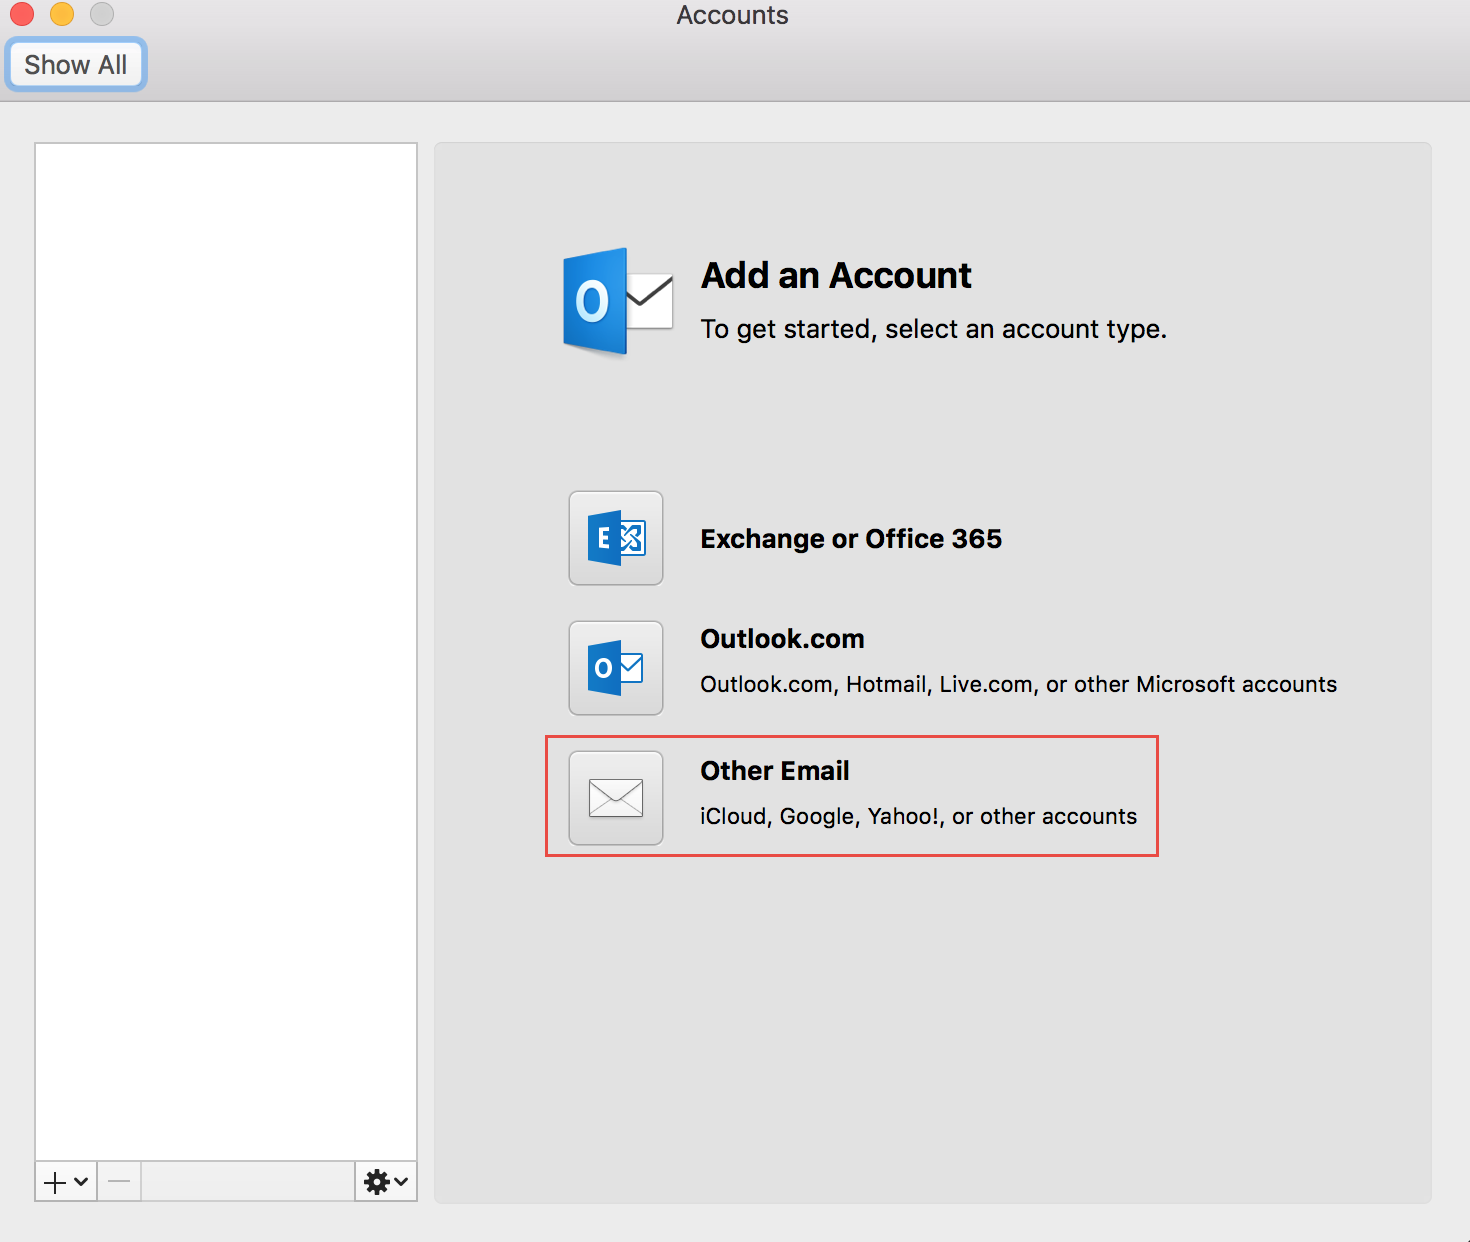
 If you have previously added an email account in Apple computer, then this screen will be similar. If there are multiple accounts, you will see them listed in the column at left. Click on Other Email to add your email account.
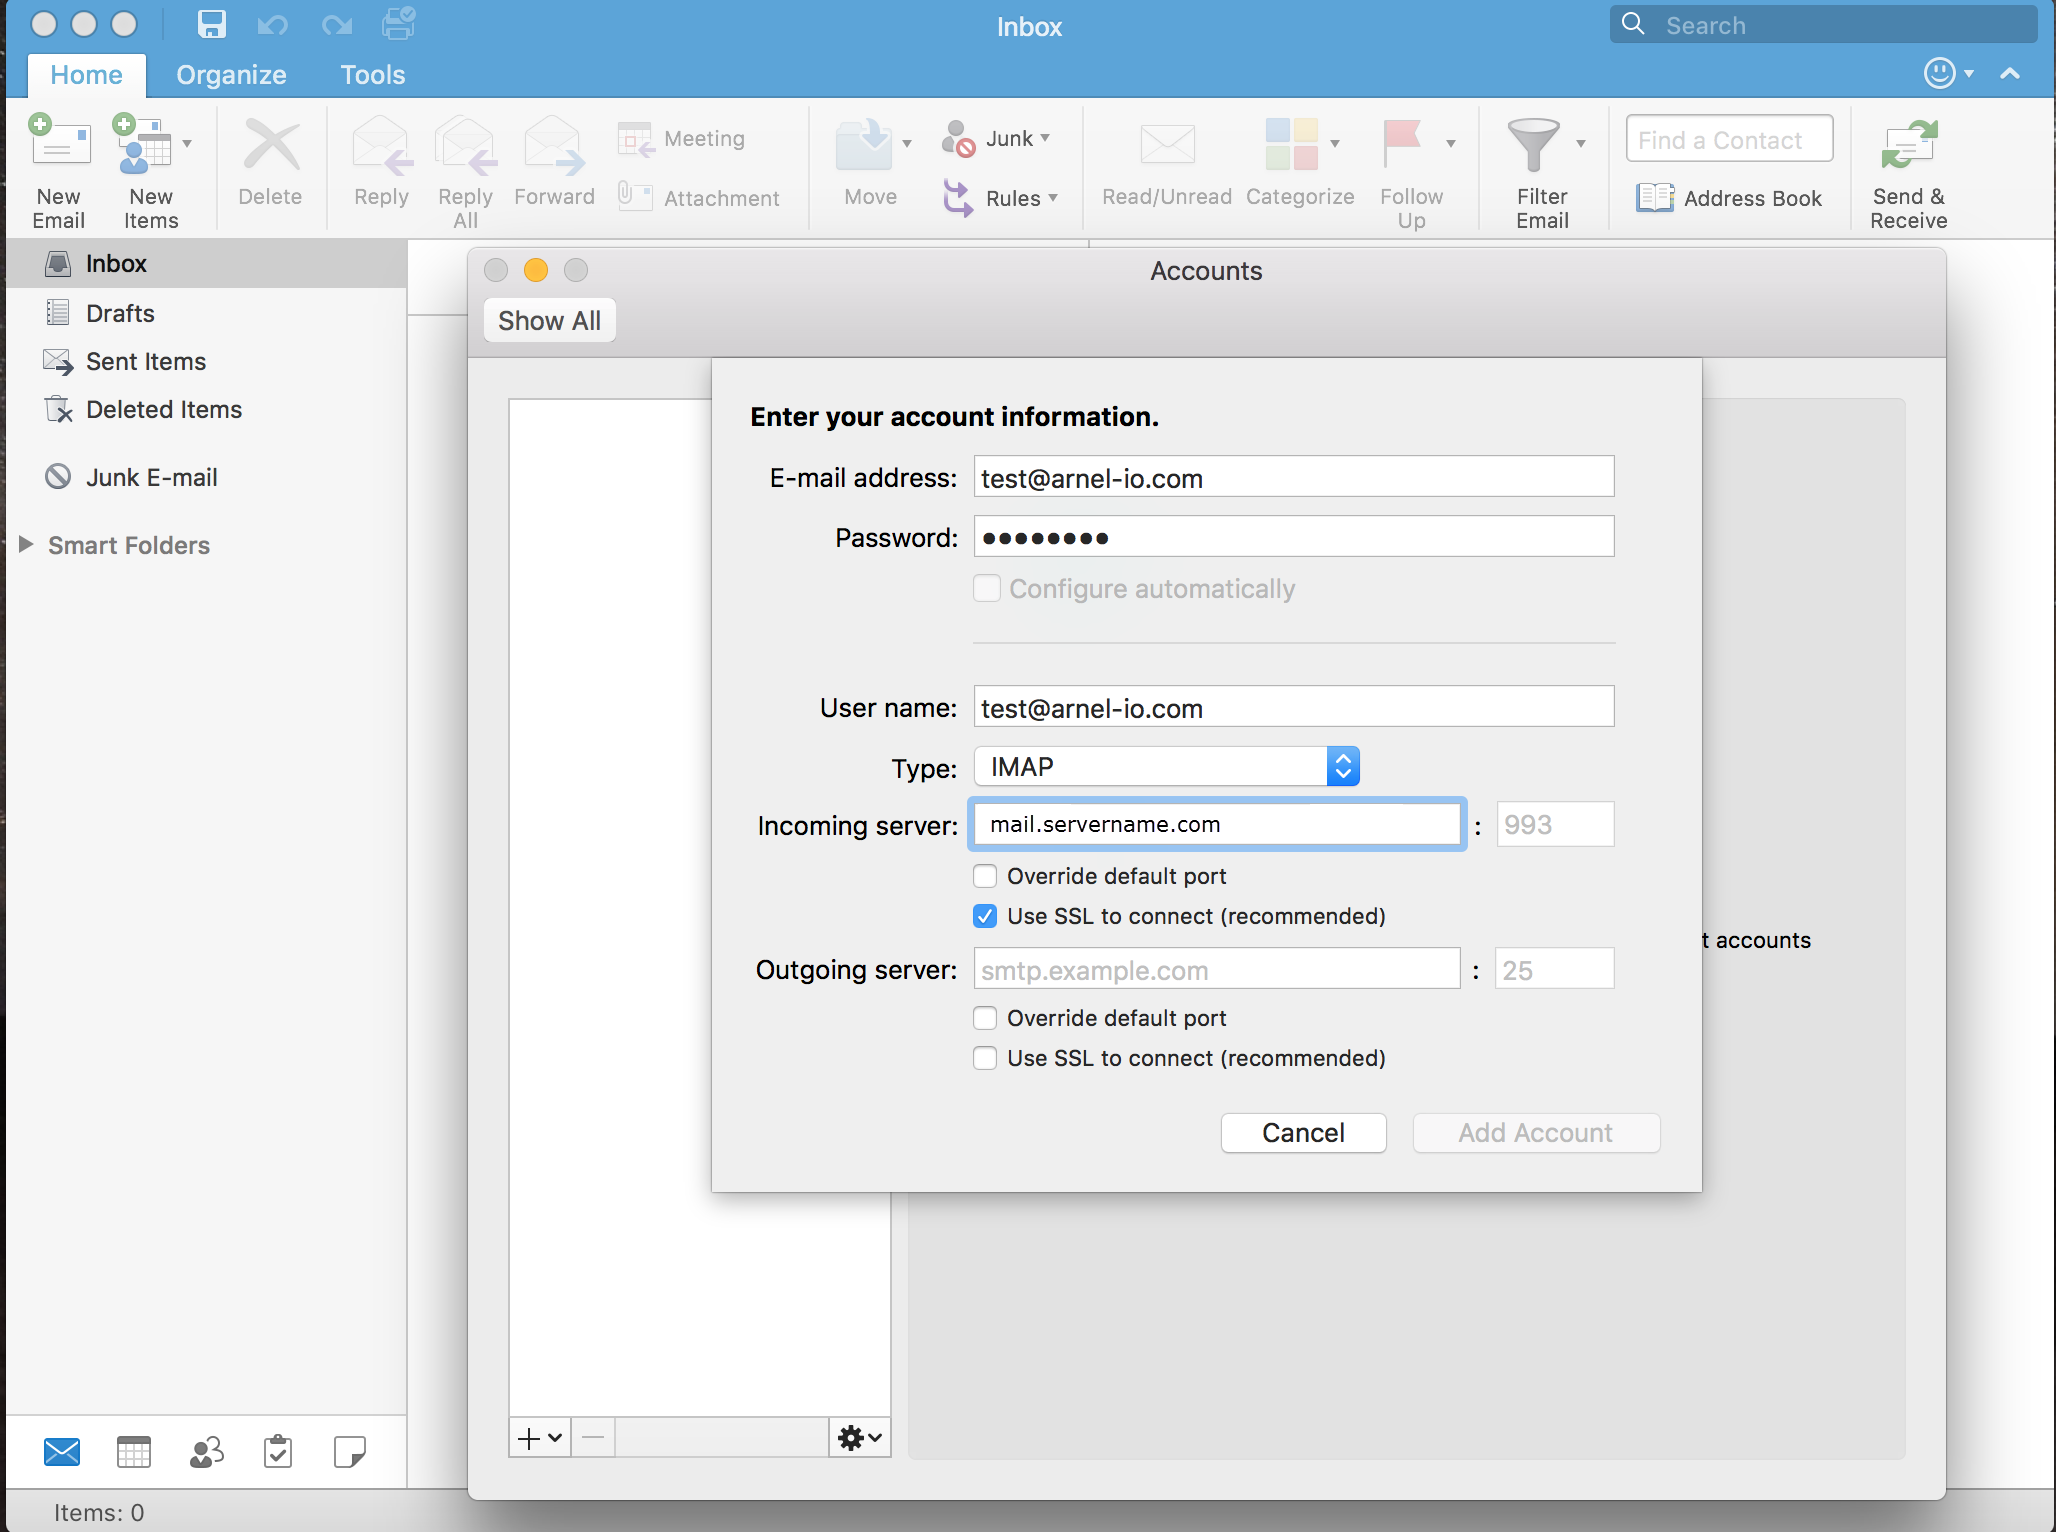
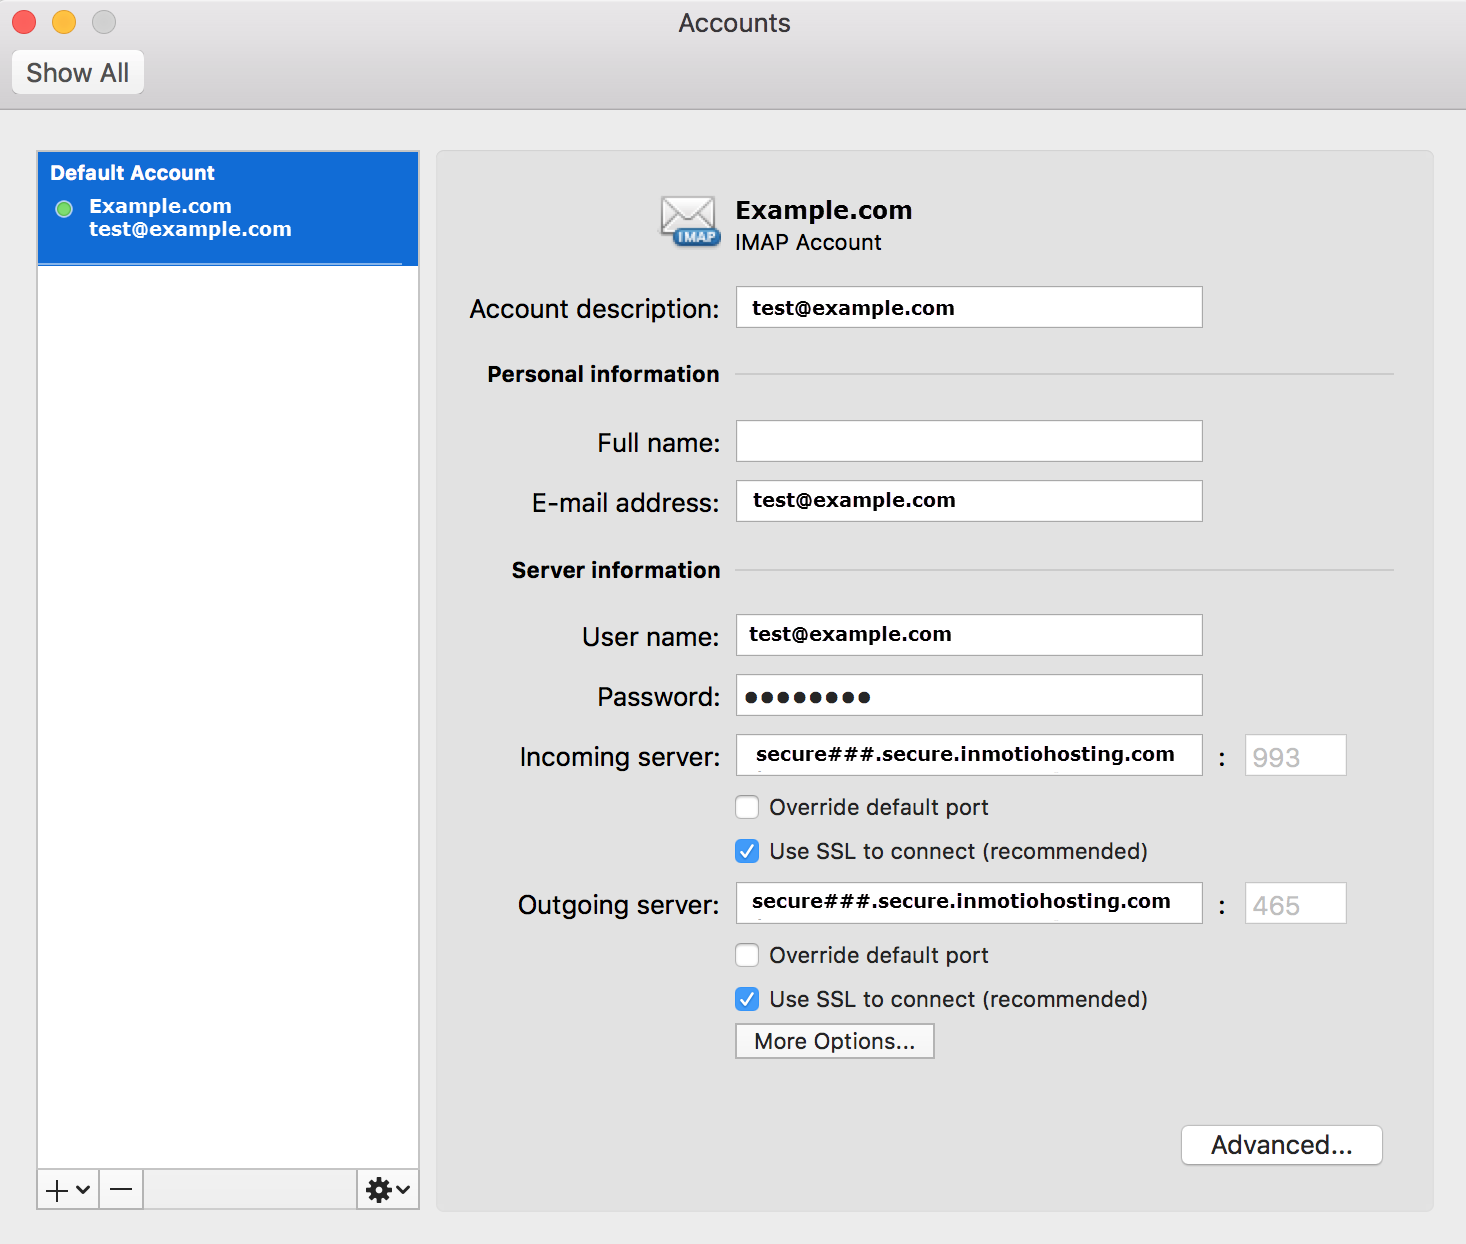
 You can find your email settings by going to this article. Fill in the fields for your email account. It starts with your email address and password. The user name is the same as your email address. Note that the default ports are grayed out. You do not need to fill in the port numbers unless you are using something different. If you are using SSL, then the option should be checked. The port number for the incoming secure IMAP server is 993. The port number for the incoming secure POP3 server is 995. The secure outgoing server port number for either IMAP or POP3 is 465. These values should show in the grayed out port fields when the SSL option is selected.
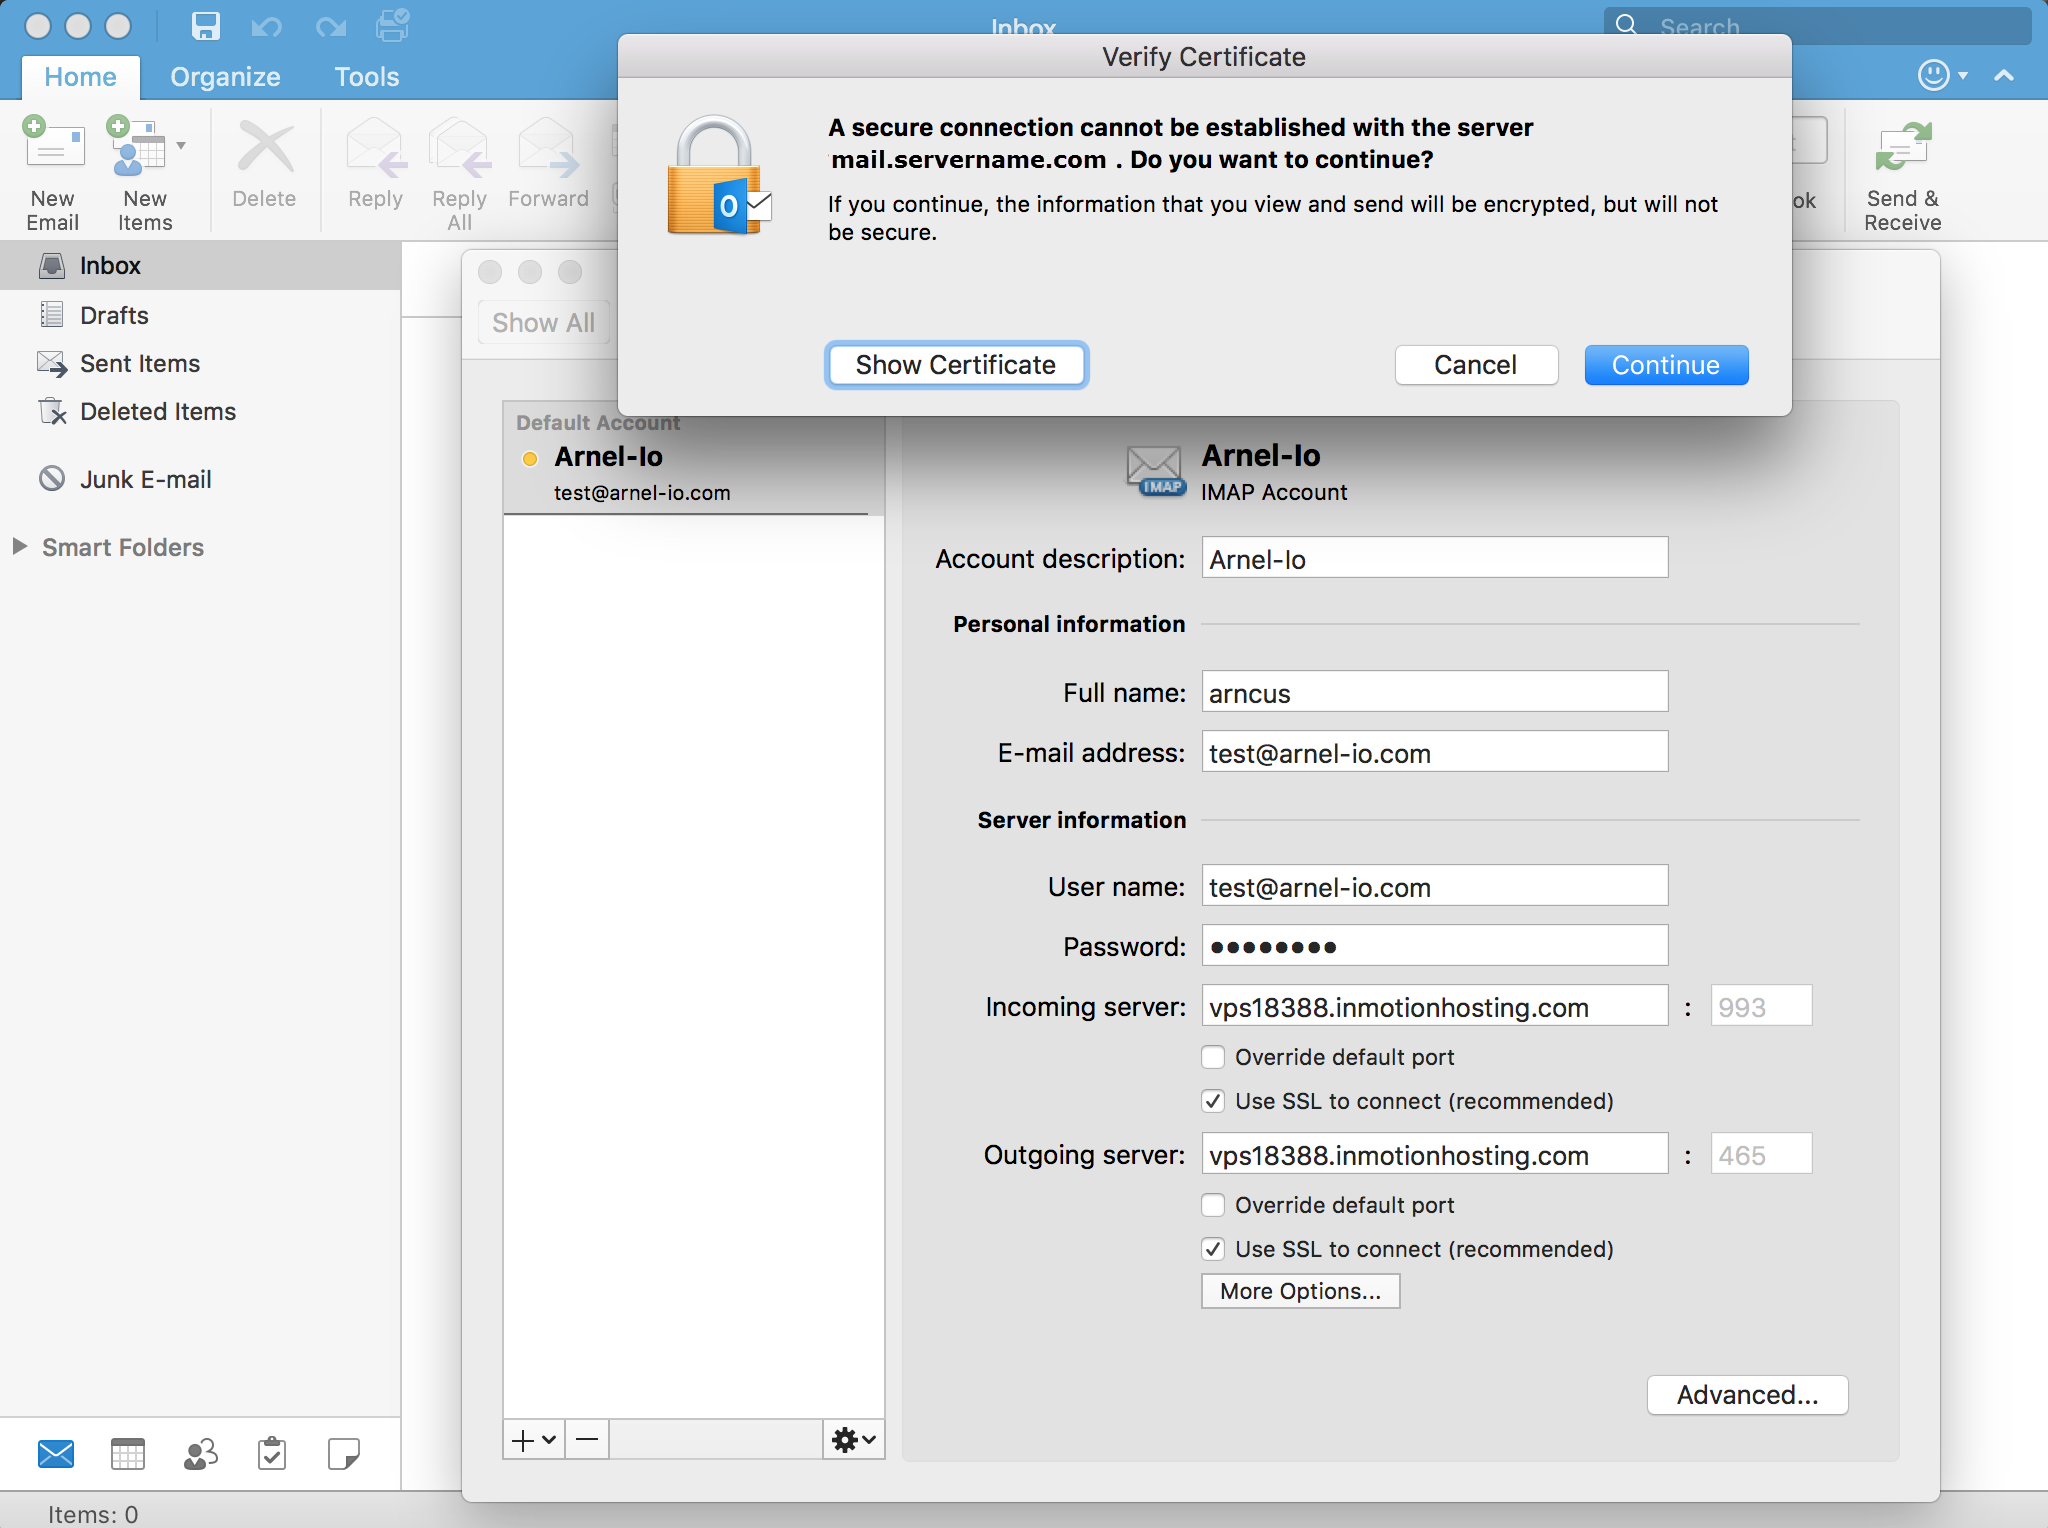
 If you are using a secure connection then you may be required to verify the certificate before you can proceed
Verifying a Certificate
If you are using the SSL option for your email servers, then you may see a Verify Certificate option displayed. Click on Show Certificate, then click on Continue to proceed. Next, click on the checkbox for “Alaways trust [server name]”. You will see your server name in place of [server name]. You can also look at the details for trust for the certificate. Make sure that the options is set to “Always Trust”. Click on Continue to verify the certificate. You may have to do this a few times until the server saves your selection to trust the certificate. This option to verify the certificate is confirming the self-signed certificate (created on the server) to allow a secure connection. The server name should match the email server you are using.

If you have used the non-SSL version or if you have verified the certificate, then you will see the Accounts screen. Once the setup is completed, you can close the Accounts screen (click on the red button in the top left corner), and you will see the main Outlook screen displayed. At this point, you can use the email account for reading or composing messages. If you are using Microsoft Outlook with multiple email accounts, you will see them listed in the left-hand side. When you are composing messages with multiple accounts, you will need to click on the from option in order to determine who is sending the email.
This completes the email account Outlook 2016 setup for an Apple Mac. Here are links to our other Outlook tutorials:
Outlook 2007 (Windows)Outlook 2010 (Windows)Windows 2013 (Windows)Outlook 2011 (Mac)

No. You’d manage that domain and email account via GoDaddy.
If I’m using MS Outlook, how can I make it so that my folders (including inbox) are not stored on the InMotion Server and instead on my harddrive of my MAC? Currently, it’s taking up too much memory on my CPanel for emails.
Robert
Hi Robert,
Thanks for the question. You actually have a few options. You can use POP3 as the email protocol and then make sure that the server does not save a copy on the server. However, it does not allow you to have individual folders. You would only have the INBOX for all of your email. Your other option is to create local folders and then move emails into them. Local folders would be stored on your local computer. You would need to make sure the original emails are deleted from the server after copying them over. I hope that helps to answer your question! If you require further assistance, please let us know!