The following directions are for Apple users who are running MacOS Sierra version 10.12.4. The Mail application is version 10.3 (3273). The process of setting an email account is slightly different from previous versions, but still follows the basic steps found in earlier Apple Mail versions. We will show how to set up an email account using the updated interface provided with the Apple Mail client.
- Load the Apple Mail Client.
-
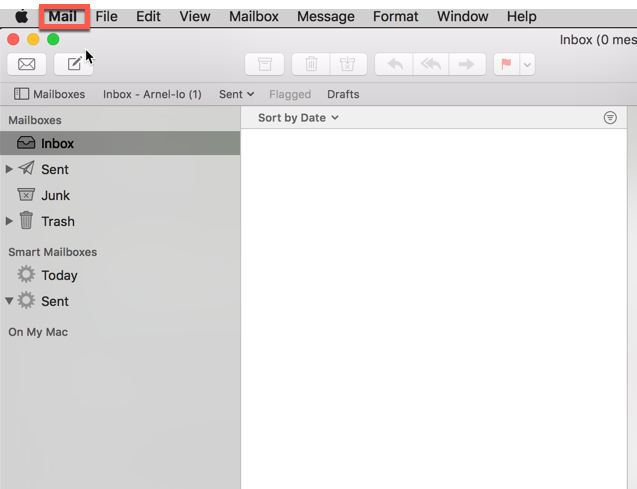
Click on Mail.
-
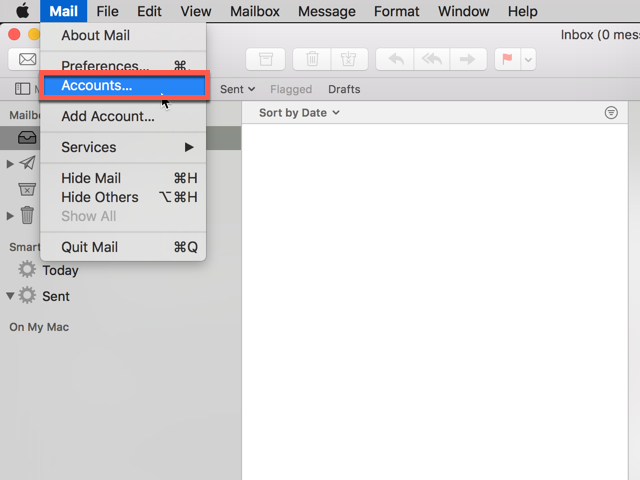
Click on Accounts.
-

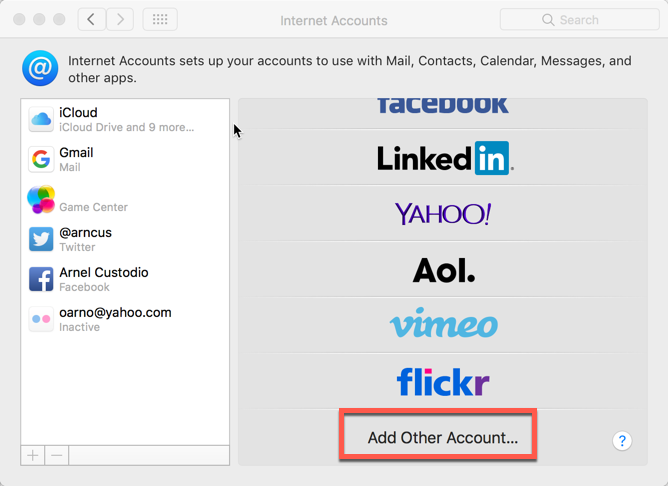
Scroll down and then click on Add Other Account.
-

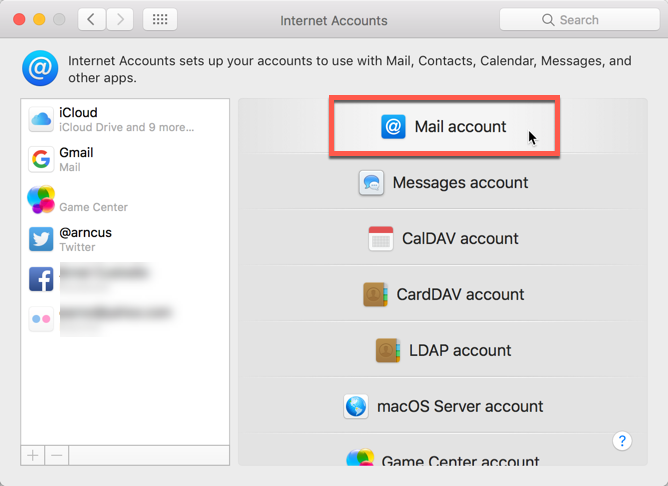
You will then a list of Internet Account types. Click on Mail Account.
-

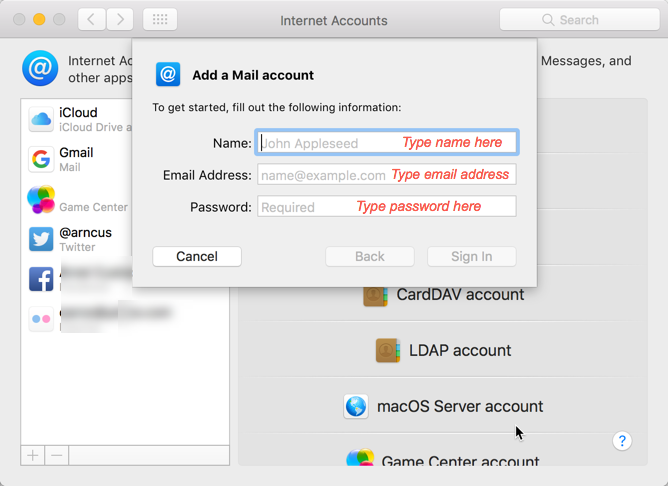
Next you will be asked to type in the mail account information. This includes the name for the mail account, the email address and the password for the mail account.
-

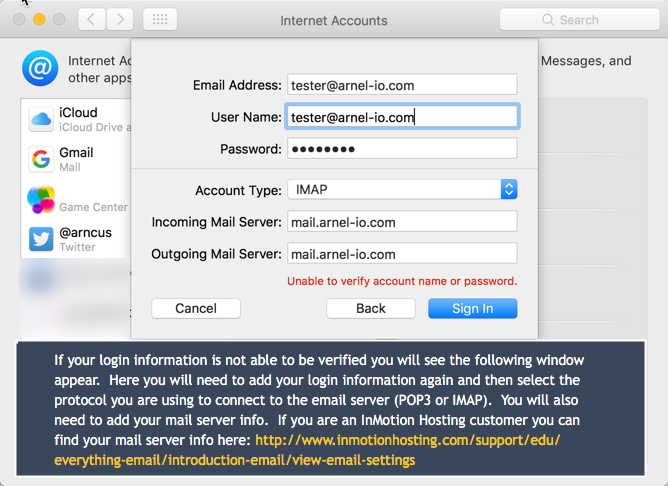
Apple Mail will then try to verify the account. If it is not able to verify the account, then it will ask for more details for the mail server and account. You can see the mail server settings (if you are InMotion Hosting customer) in this article. Click on Sign In to verify the account again.
-

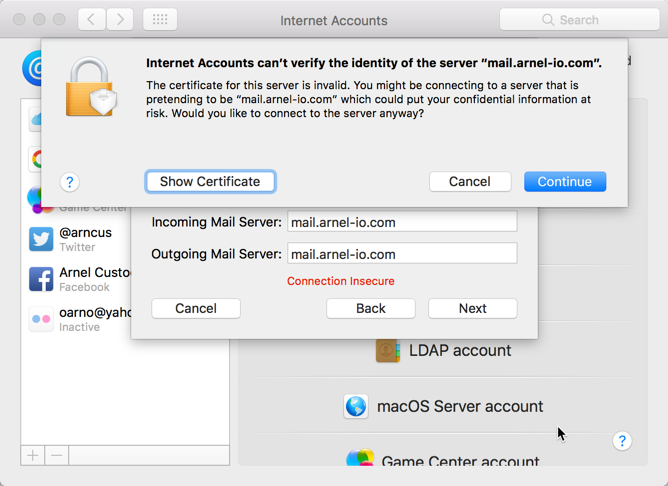
At this point, if the Mail client is unable to verify the server it should show a message similar to the screen shot at right. If you do see this warning, click on the option that says Show Certificate. Click the options to always trust the server. Look for the Trust option (there may be more than one), then click to trust the certificate. Make sure that you are trusting the certificate from your mail server. For example, if your server is ecbiz999.inmotionhosting.com, then the certificate will share the same name. For more information see, How to Fix the Mail Can’t Verify the Server in Mac Mail.
- Once you have trusted the certificate, click on Continue.
-

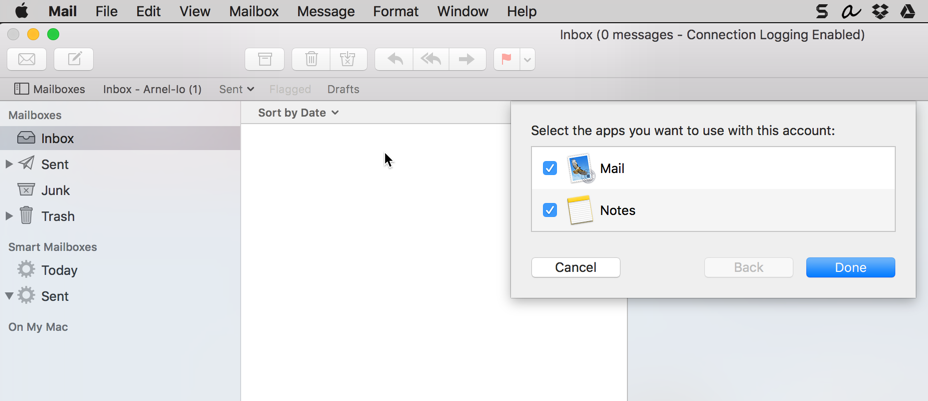
When the account verifies, you will see the option to select the apps to use with the account. The options will be Mail and Notes. They are both selected by default. You can uncheck Notes if you do not need it. Click on Done in order to complete the setup.
Congratulations! You know how set up a new email account for the Apple Mail client using MacOS Sierra.
