In this article:
A pop-up that appears on top of your site is one of the best ways to grab a viewer’s attention. The MailChimp Subscriber Pop-up widget works with your MailChimp account to provide you a solution. This tutorial will walk you through placing the widget and adding the code from MailChimp.
Note: These directions require that you have a MailChimp account.
Creating the MailChimp Pop-up Subscription Form
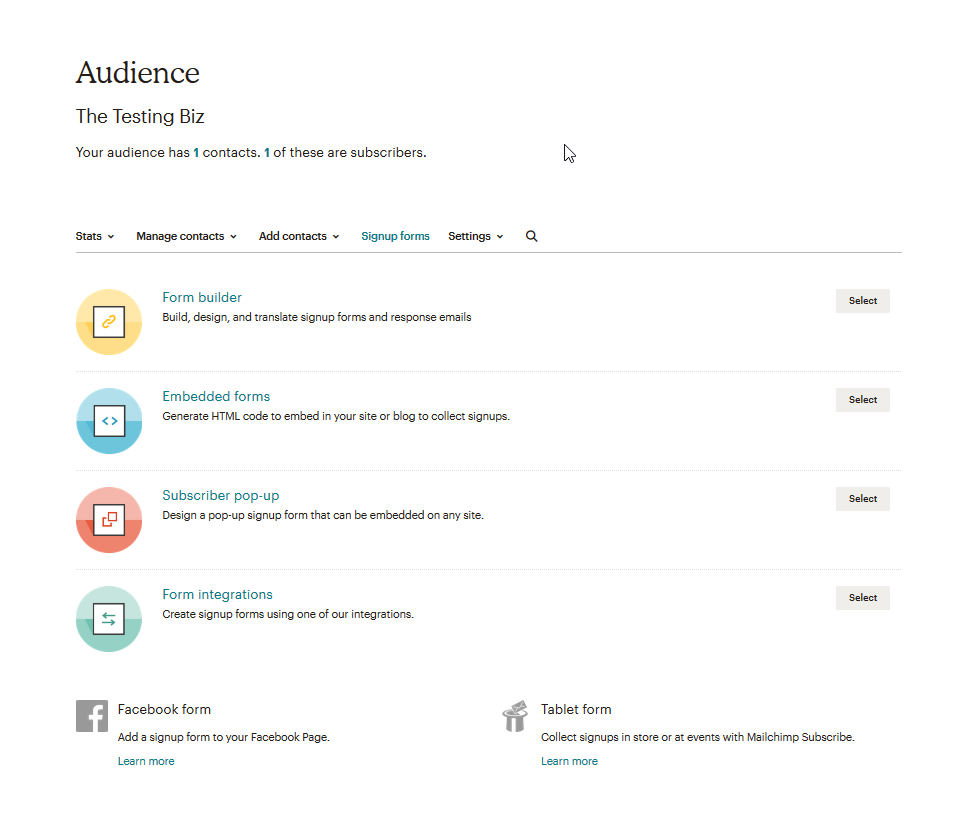
Before you start building the form, remember that MailChimp saves subscription data into what they call an Audience. You will need to have created an Audience before you can use the widget. The first step in using the pop-up is to build a subscription form. MailChimp has many options to build forms, but the option you will be using is the one for the Subscriber pop-up. You can see it in the screenshot below:
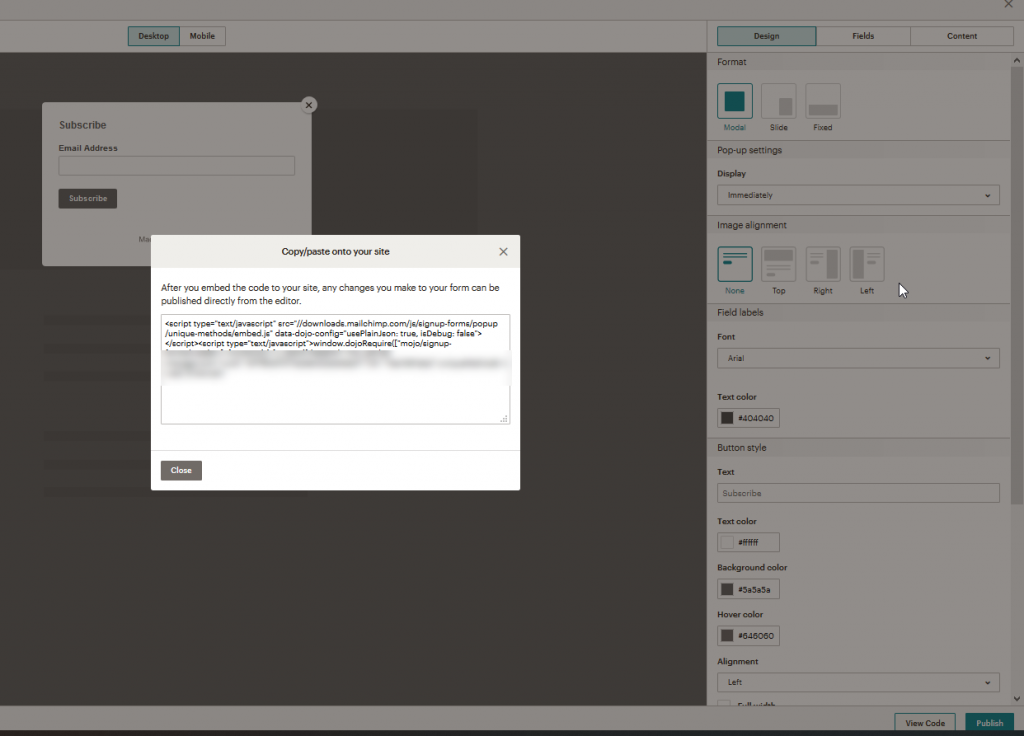
Once you’re in the editor for the pop-up form, edit the form until you’re satisfied with its design. Then when you’re done, click on the Publish button in the bottom right-hand corner. When you publish the form, it will be saved. The screen won’t change, but you will need to click on View Code before you leave the editor. Copy the code that appears.

Using the MailChimp Widget
Once you have the code copied, you will need to place it into the widget. . Place it into the location where you want the pop-up to appear. You will need to be logged into the WordPress Administrator Dashboard to use these instructions.
- Click on Appearance, then click on Widgets.
- Next, find the widget labeled MailChimp Subscriber Popup.
- You can set the location in the widget by clicking on the drop-down arrow. You can also simply drag it into location. In either case, once the widget is in place, click on the drop-down arrow to see the details for the widget.
- Finally, in the field labeled “Code“, paste the code that you got from MailChimp. Click on Save when you’re done.
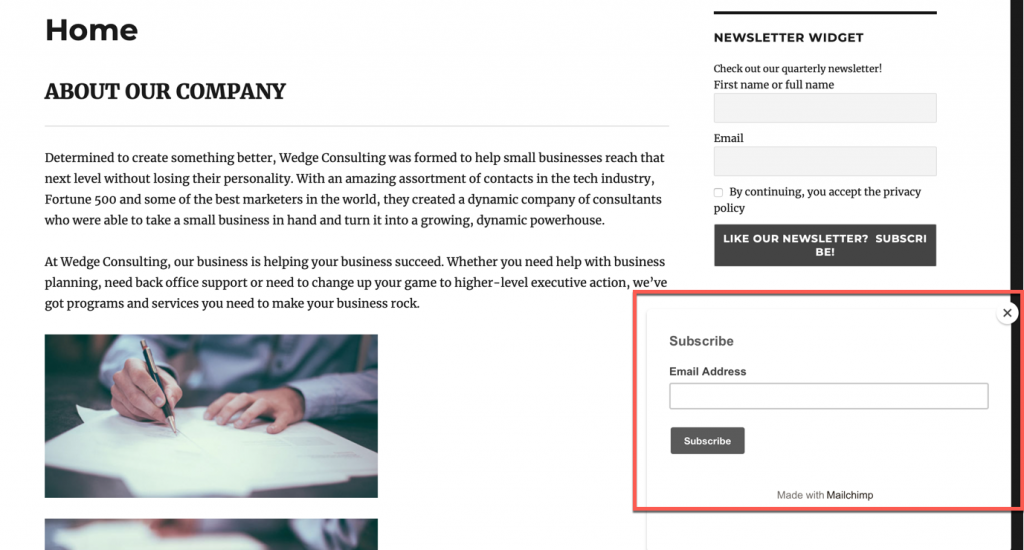
That completes the assembly of the widget with the code from MailChimp. Depending on your settings you will see the pop-up appear on your website when you open it. Here you can see the pop-up appear in the bottom right-hand corner.

Congratulations you now know how to add the MailChimp Subscriber Pop-up so that you can get your viewers to subscribe to your WordPress site! To learn more about using Jetpack, check out How to Make Shortened WordPress Links!
