Table of Contents
For some, it is important to know how to install PHP as part of the LAMP Stack along with the Linux operating system family, Apache web server, and MySQL database management system. It’s also part of the LEMP Stack which replaces Apache with NGINX. Many of the most popular content management systems (CMSs) depend on an up-to-date PHP version on your PHP hosting server:
- WordPress
- PrestaShop
- Nextcloud
- Drupal
- And many lesser known ones available in Softaculous Instant Installer
SSH into your Linux server, then read on to learn:
- How to Install PHP on CentOS 8
- How to Install PHP on Debian 10
- How to Install PHP on Ubuntu 18.04
- How to Configure PHP-FPM on NGINX
How to Install PHP on CentOS 8
- Enable the Extra Packages for Enterprise Linux (EPEL) repository.
CentOS 7:
CentOS 8: - Install the Remi repo for PHP versions:
CentOS 7:
CentOS 8: - View available PHP streams:
- Enable the needed PHP module. To enable PHP 8, for example:
- You can use the following command to search for any other important PHP modules, replacing “package” with your search query:
- Install any needed packages, again replacing “package” with the actual package name:
- Run the following command to install PHP on Apache.
How to Install PHP on Debian 10
- Update your repos:
- Install the required dependencies first:
- Add the DEB.SURY.ORG GPG key:
- Add their repo for PHP on Debian:
- Update your repos again:
- Install your needed PHP version(s).
PHP 7.4:
PHP 8.0:
If prompted, press Y, then Enter to confirm the installation. - View your active PHP version:
How to Install PHP on Ubuntu 18.04
- Update your repos:
- Ensure the following repo is installed:
- Add the PHP Personal Package Archive (PPA) by Ondrej:
Press Enter to confirm adding the PPA to your system. - Update your repos:
- Install your needed PHP version(s).
PHP 7.4:
PHP 7.3:
PHP 8.0: - (For PHP 8.0) Restart Apache:
- View your active PHP version:
- You can use the following command to search for any other important PHP modules, replacing “7” and “package” with your search query:
- Install any needed packages, again replacing “7.4” and “package” with the package name:
How to Change Your PHP Version
- Specify the default PHP version, if you installed more than one PHP version:
- Type the selection number on the left that corresponds to your preferred PHP version. Then press Enter.
How to Configure PHP-FPM on NGINX
The steps below cover how to install PHP-FastCGI Process Manager (PHP-FPM) alongside the NGINX reverse proxy server.
Running Ansible for IT automation? Configure PHP-FPM and NGINX on your remote systems quickly with our Ansible roles.
- Stop the Apache service:
- Install PHP-FPM for your OS and PHP version(s).
CentOS:
Debian/Ubuntu (replace the version if necessary): - If you receive any notices to enable important modules after the installation completes, run the commands as necessary.
- You can make changes in the PHP-FPM configuration file using your preferred text editor – nano, Emacs, vim, etc. CentOS:
Debian/Ubuntu:
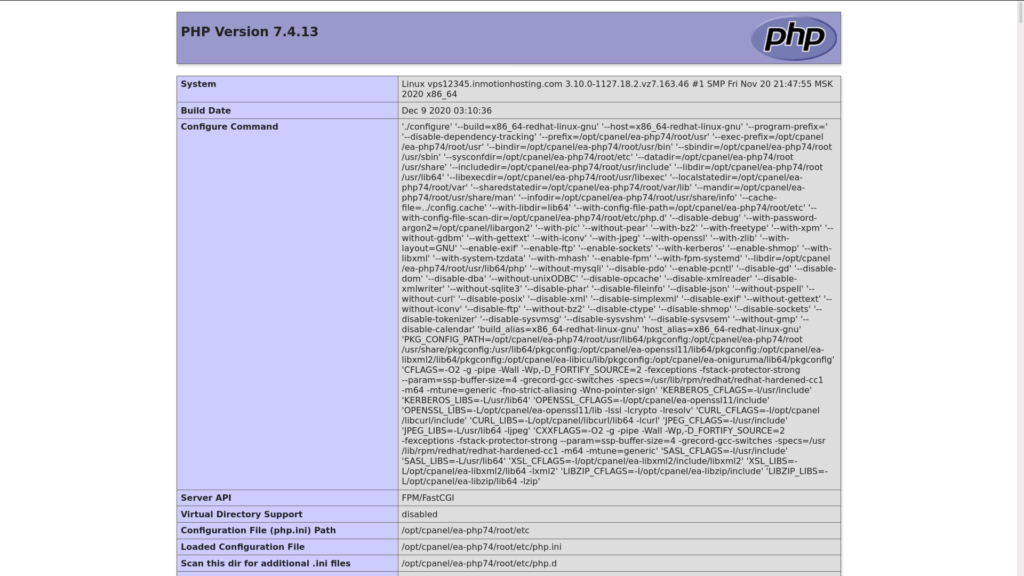
To see all of your PHP settings easily after you learn how to install PHP, create a phpinfo.php file. This could help you troubleshoot PHP related issues from your web browser.
Learn how to get the most out of your Linux Cloud Server Hosting.
If you don’t need cPanel, don't pay for it. Only pay for what you need with our scalable Cloud VPS Hosting.
CentOS, Debian, or Ubuntu
No Bloatware
SSH and Root Access

