One of the ways Google Workspace helps you keep track of your users and devices is through the use of organizational units. By default, Google Workspace places all users and devices in the top-level organizational unit, so any changes made in the admin console will affect all users in that top-level unit.
To further customize the user experience, you may decide to create additional organizational units to help keep track of, and manage, your various users and devices. In this article we will describe the general organizational structure of Google Workspace and outline how to manage organizational units.
Topics Include
- Google Workspace Organizational Structure
- Adding Organizational Units in Google Workspace
- Moving Users to an Organizational Unit
Google Workspace Organizational Structure
As mentioned previously, the Google Workspace organizational structure utilizes a single, top-level organizational unit by default. For a small group, a single unit may be sufficient. For larger organizations, it can help to further divide the top-level organizational unit into sub-units.
By creating a hierarchy of additional organizational units you can manage which features and services will be available to different parts of your organization.
For example, let’s say you want top-level users to have access to Google Meet, Gmail, and Google Drive and you want all of the users lower in the organizational hierarchy to only have access to Gmail and Google Drive. All you would need to do is create an additional organizational unit and set it to inherit Gmail and Google Drive and assign the users and devices to that unit.
Adding Organizational Units in Google Workspace
- First, log into your Google Admin console.

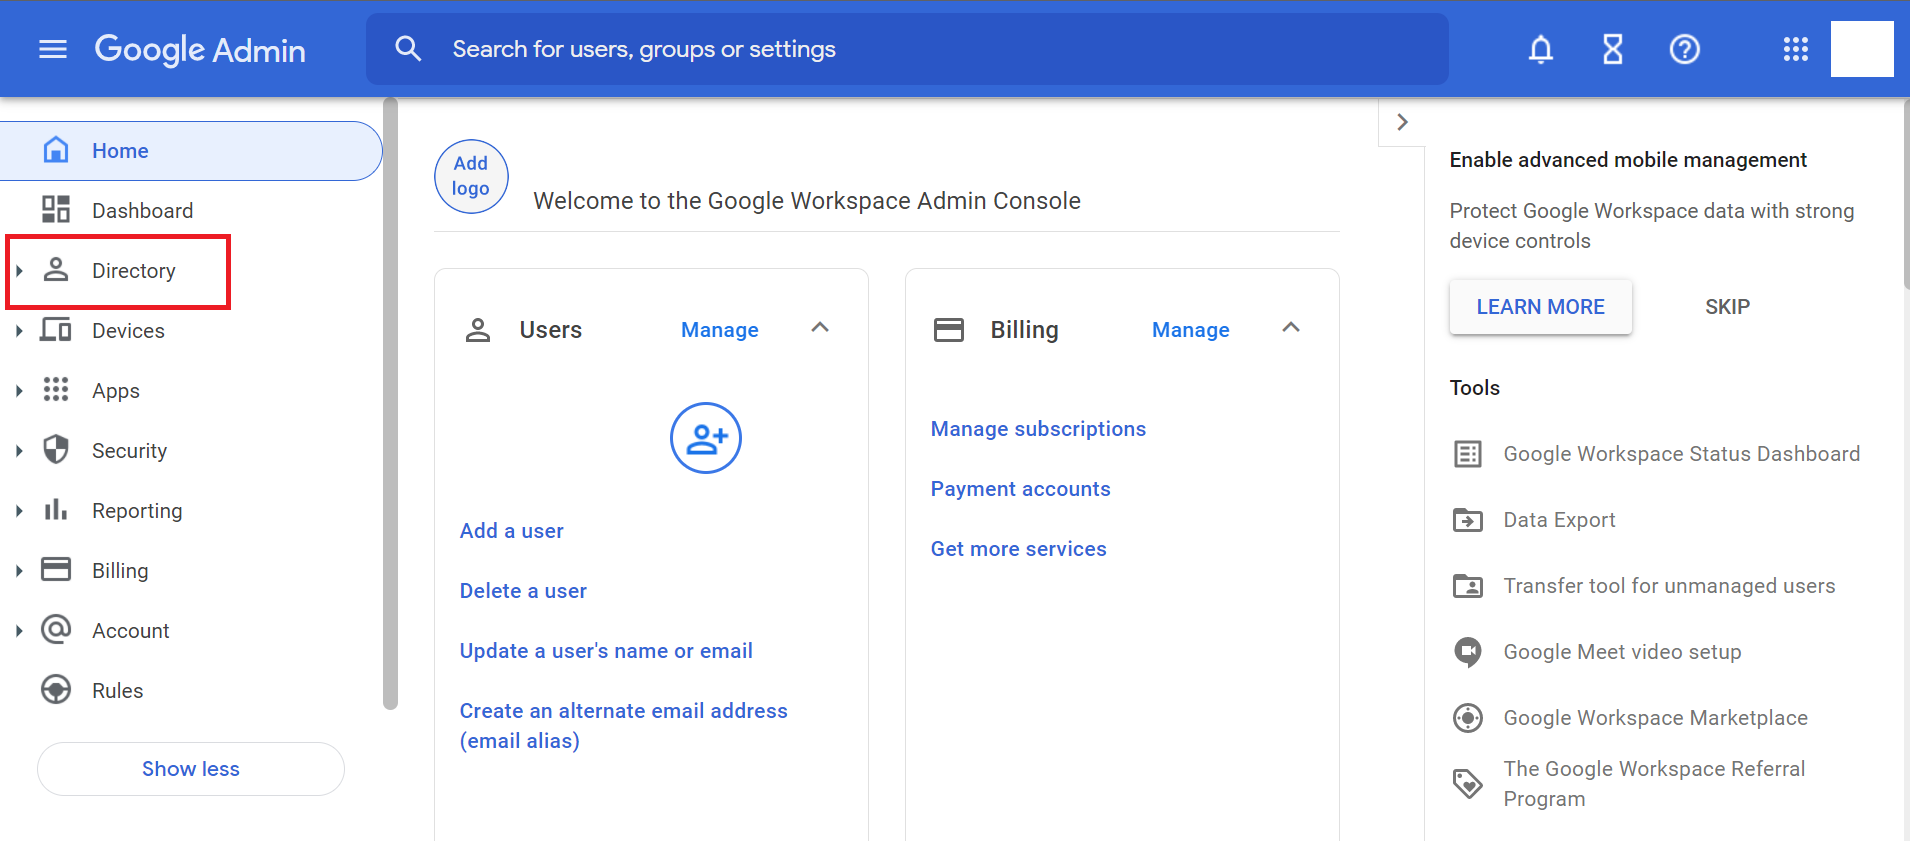
- On the Google Admin home page, select Directory > Organizational units.

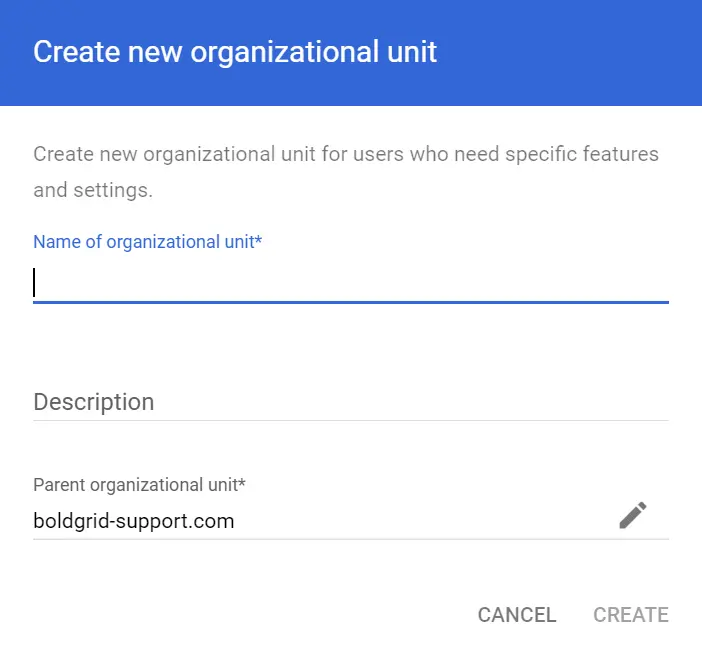
- Hover over the organization you wish to modify and click Create new organizational unit +.

- Next, in the field for Name of Organizational Unit, enter a name that can be used to identify the created unit such as Customer Service or IT.

- If you wish to add a brief description of the roll, enter it in the Description field.
- Once you’ve entered all of the information, click Create.
Congratulations, you have successfully added an organizational unit to Google Workspace!
Moving Users to an Organizational Unit
Now that you’ve created an organizational unit, you can start adding users to it.
- Within the Google Admin home page, click Users.
- On the Users list, click the right-facing arrow on the upper left to view the current organizational hierarchy.
- Next, click the organizational unit that the user you’re moving currently belongs to.
- From the list of users, select the users you wish to move to the new unit.

- At the top of the screen, select More > Change Organizational Unit.
- Next, select which organizational unit you wish to change the selected users to from the menu and then click Continue.
- To finalize your selections, click Change.
Once you’ve finished the process, the users should immediately appear in their new organizational unit.
Next Steps
To further enhance your Google Workspace experience, consider adding building management to your account to help you keep track of physical resources such as teleconferencing equipment and meeting rooms.


