The Minecraft Server plans include a Game Panel with built-in security and privacy options to help you protect your server instances. These can be adjusted to make accessing your server more or less secure. For example, for more security, you can limit the type of files that can be uploaded, or make it required for users to use two-factor authentication.
In this guide, we’ll show you how to access the security and privacy options and go over the available settings.
Accessing the Security and Privacy Options
- Login to the Game Management Panel.
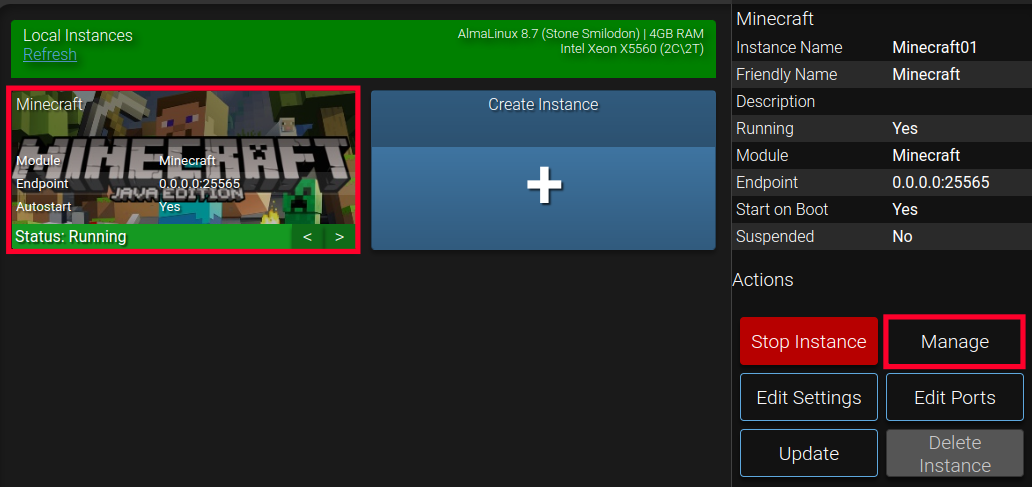
- Select the instance you are working with then click the Manage button.

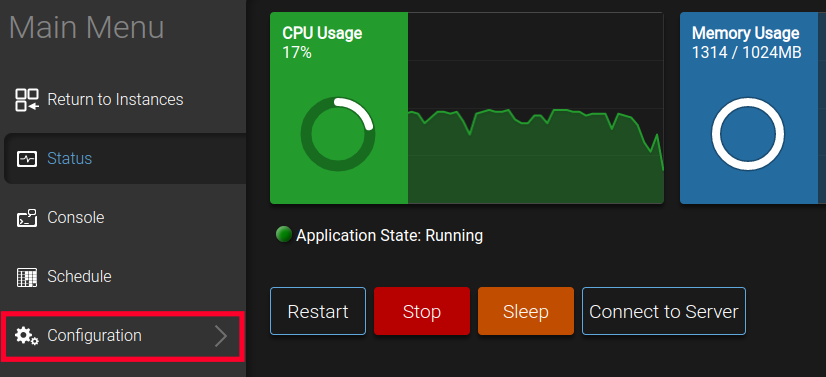
- Click the Configuration link in the main menu.

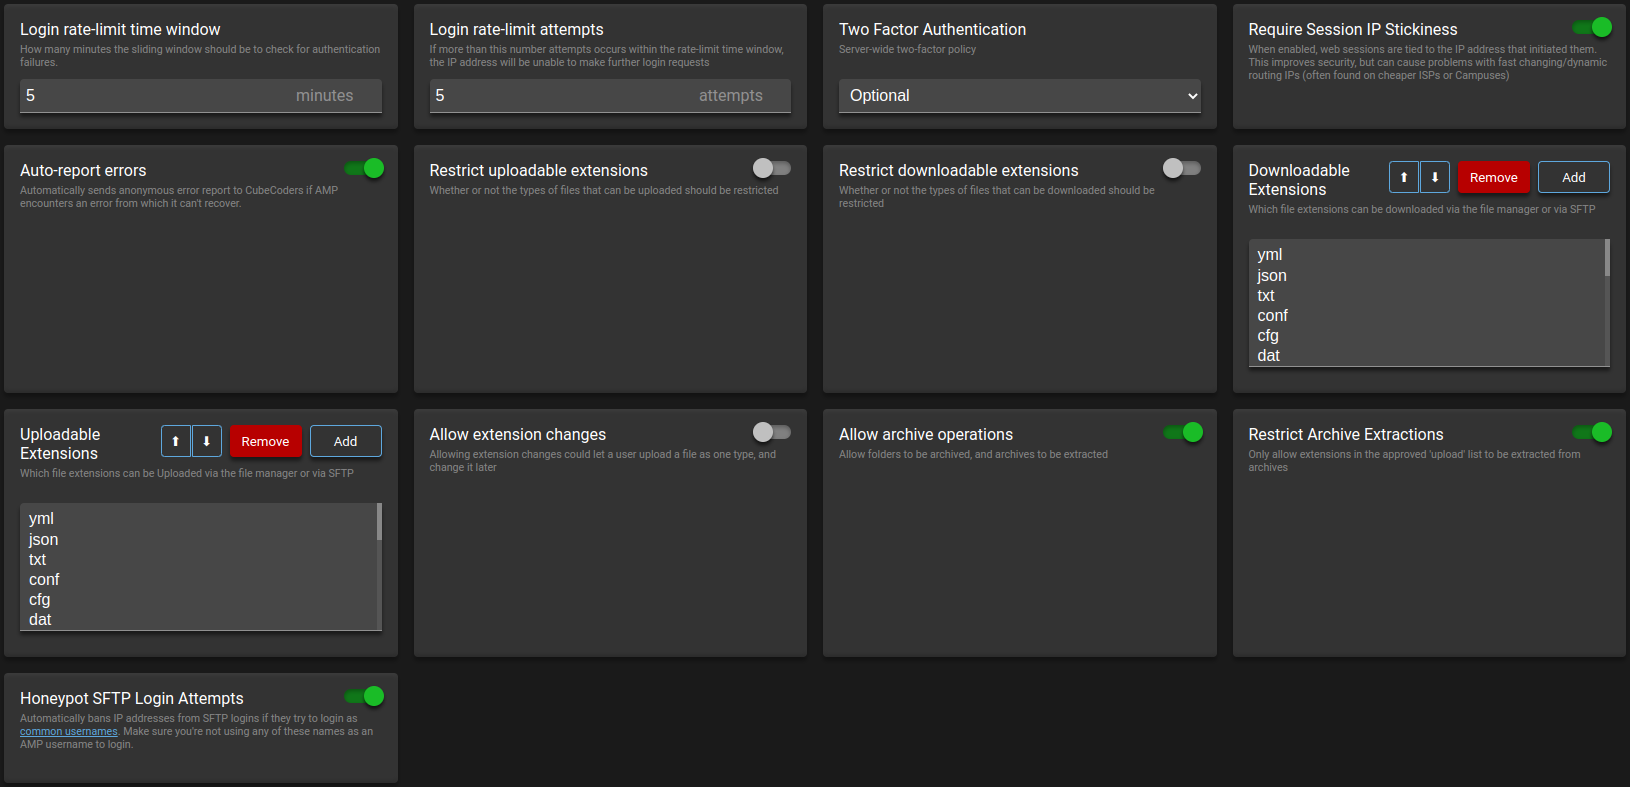
- Click the Security and Privacy option in the menu. You will then see all of the available options.

What Options are Available?
Now that you know how to access the Security and Privacy options, we’ll go over the options that are available.
Login Rate-Limit Time Window
Here you can set how many minutes a user has to try and login before they are blocked. The amount of attempts they get is based on the “Login rate-limit attempts” setting.
For example, if this is set to 3 minutes and the “Login rate-limit attempts” is set to 5, they can only have 5 failed logins in 3 minutes before they are blocked.
Login Rate-Limit Attempts
This number dictates how many times a specific IP address can try to login before it will be blocked. The time frame for these attempts is based on the “Login rate-limit time window” setting.
Two-Factor Authentication
Click the dropdown menu and select if you want to Require users to use Two-Factor Authentication or if you want it to be an Optional setting for their account.
Require Session IP Stickiness
If you enable this switch, when a user logs in their IP address will be associated with the username. This is more secure but can cause issues with users that have IP addresses that change often.
Auto-Report Errors
If you want to anonymously send reports to the CubeCoders team when errors occur, enable this switch.
Restrict Uploadable Extensions
Enable this option if you want to limit the type of file extensions that can be uploaded using the File Manager or SFTP.
Restrict Downloadable Extensions
Enable this option if you want to limit the type of file extensions that can be downloaded using the File Manager or SFTP. You can then set the file extensions that are blocked in the “Downloadable Extensions” section.
Downloadable Extensions
If you enabled “Restrict downloadable extensions” this is where you can add or remove file extensions that you want to allow to be downloaded.
Uploadable Extensions
If the “Restrict downloadable extensions” option is enabled, you can set the file extensions that are allowed to be uploaded.
Allow Extension Changes
Turn this option on to allow users to change/edit file extensions. This is not recommended since a user could upload a file and then change the extension to one that is not “allowed”.
Allow Archive Operations
Enable this option if you want to allow users to compress (zip) or uncompress (unzip) folders.
Restrict Archive Extractions
When this is enabled, users will only be allowed to extract (unzip) files listed in the “Uploadable Extensions” section.
Honeypot SFTP Login Attempts
When this option is enabled, any user that attempts to login to SFTP with one of the following usernames will have their IP address blocked:
| apache | postgres |
| debian | root |
| ftp | sshd |
| mysql | test |
| oracle | ubuntu |
| pi | user |
Congratulations, now you know how to access the security and privacy settings in the Game Management Panel, and what settings are available. We recommend bookmarking our Game Management Panel Product Guide for more helpful tutorials on how to build and manage your game server.


