Table of Contents
Do you have users that enjoy testing new content management systems (CMSs)? Are you that user? Sometimes, you only need a few minutes or clicks to figure out if you enjoy the workflow of new software.
With there being so many software options to choose from within Softaculous, users can save a lot of time by testing websites without having to install it first. This also improves security as sometimes users forget to uninstall software they no longer need.
The ability to test Softaculous scripts is disabled by default but easy to configure to your preference. Below we cover how to enable Softaculous script demos.
Note: You may need root access to your VPS or Dedicated server before continuing. Don’t have a VPS but want to learn more? Check out our VPS Hosting plans.
Enable Demo Sites
- Log in to WHM as user root.
- On the left, select Softaculous – Instant Installs.
- On the left, click Settings, then General.
- Uncheck Turn Off Script Demos under Disable Features for End users.
- Click Edit Settings.
Rebranding
Softaculous rebranding options allow you to customize the logo and logo link that shows on the upper-left corner of Softaculous script demos.
- On the same page, under Rebranding Settings, update the Logo URL For Scripts Demo and Custom link for Scripts Demo Logo.
- Click Edit Settings.
Test Demos
After enabling demo sites, you should test the new feature and your rebranding settings.
- Log in to cPanel directly or via List Accounts.
- Select Softaculous Apps Installer.
- (Optional) Click the demo icon in the upper-right corner to view all scripts and view a demo from there.
- Select a script on the left.
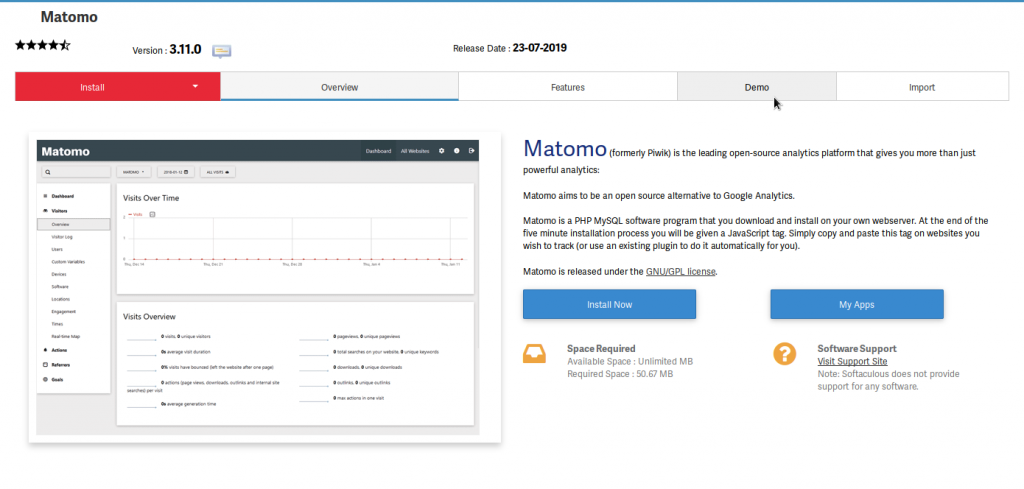
- Click the Demo tab to create a demo instance.
Note: You can only view a certain amount of demos within 1 minute.

Learn more about managing instant installations with our Softaculous Education channel.
