Table of Contents

There will be times when you create a form and require a document or some type of file that is needed to be uploaded to the server. weForms provides two fields for file uploads that can be added to a form – Image Upload and File Upload.
This article will guide you through creating a form with these fields, provide details on their options, and then discuss the reasons for using file uploads in a form.
Adding the File Upload Field
In order to add the File Upload (or Image Upload) field to a weForms form, you will need to be logged in to the WordPress Administrator dashboard. You can add the field in a blank new form, or by editing an existing one.
- Click on weForms in the main menu, then click on All Forms.
- This will display all of the forms that have been created. You can select an existing form in order to edit it, or you can click on the Add Form button at the top of the page.
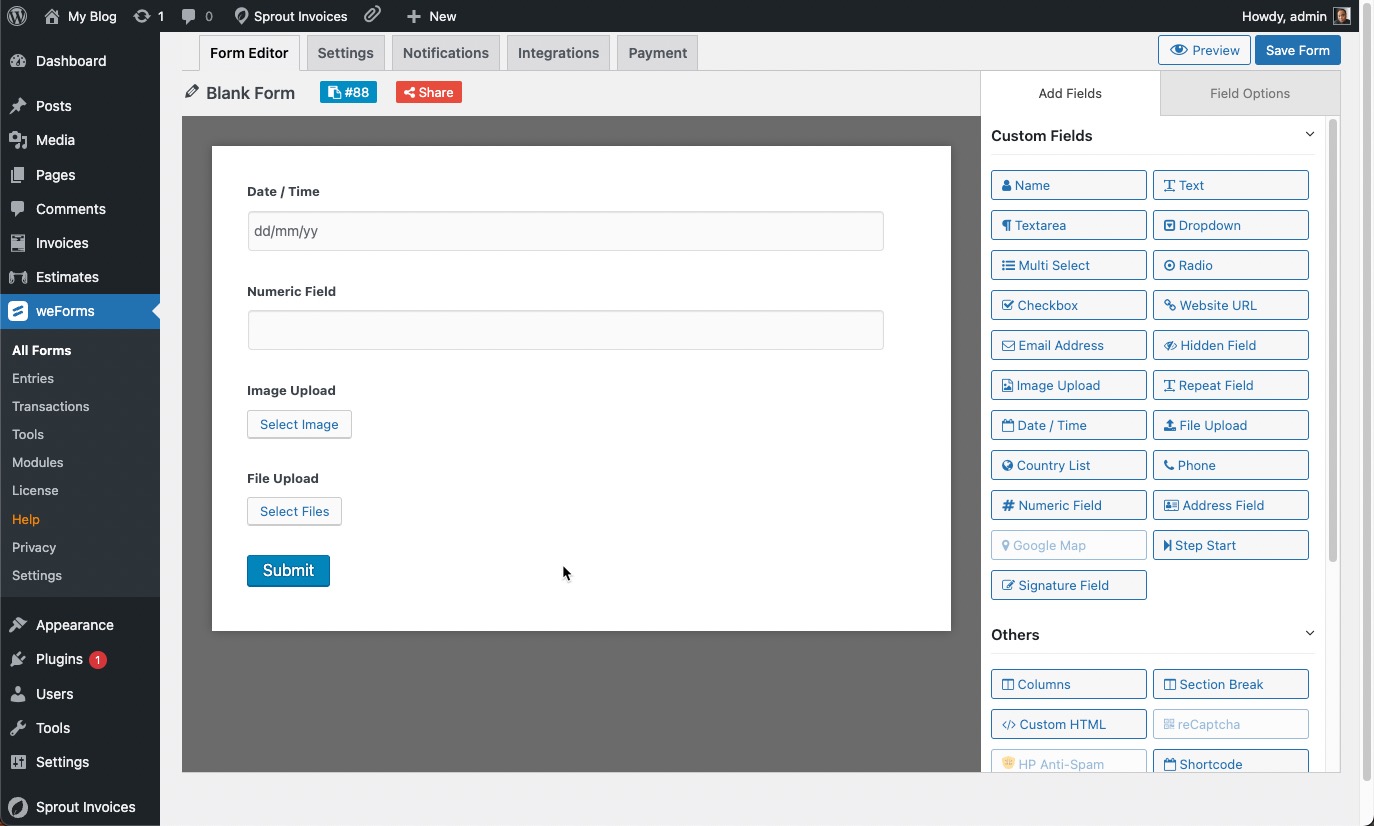
- When the form opens, you will see the form on the left side and the Add Fields option to the right.

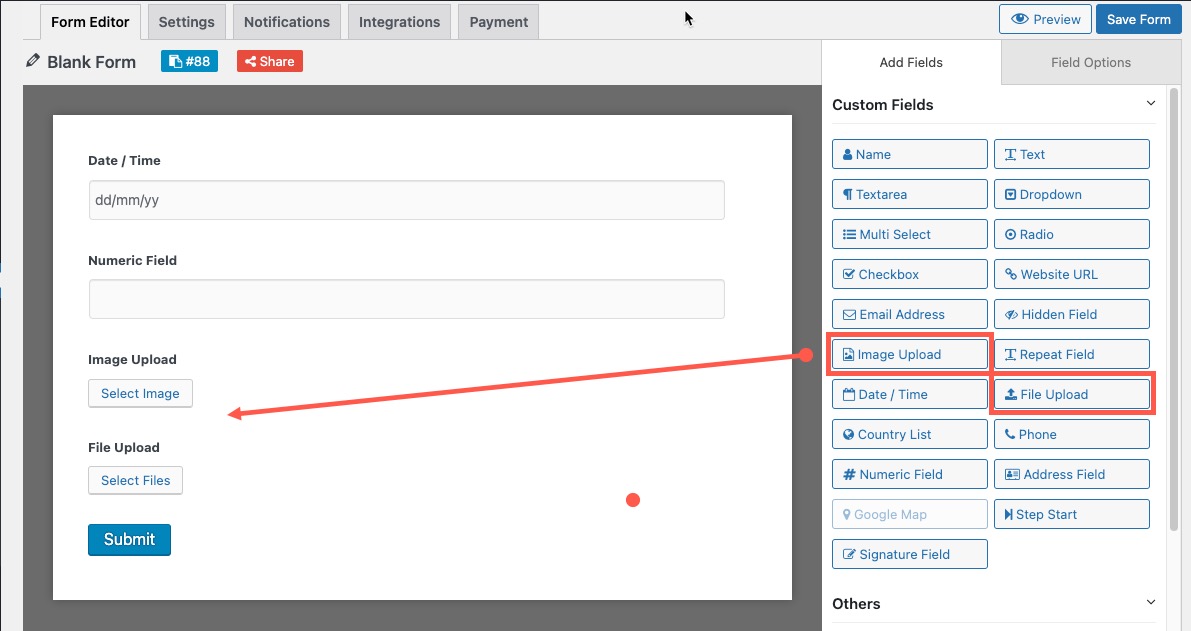
- The Custom Fields under the Add Fields tab include the File Upload and Image Upload fields. In order to add them to your form, simply click on each one. The screenshot highlights the added fields.

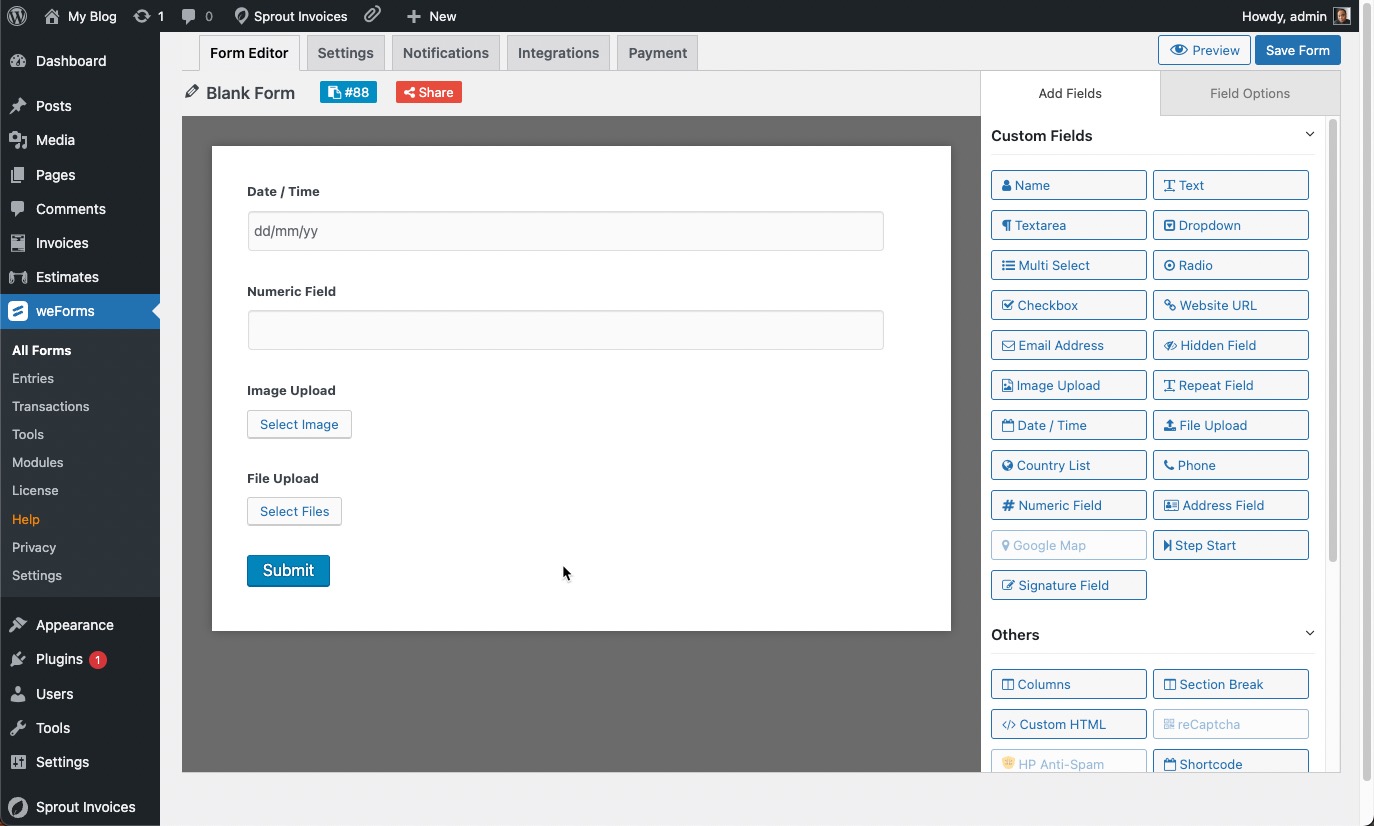
- Once you’re finished adding the fields, and you’re finished editing your form, click on Save Form in the top right corner.
Using the Field Options
Each field that you add to the form can be customized using the field options tab.
- Open your saved form, if you’re not already in it.

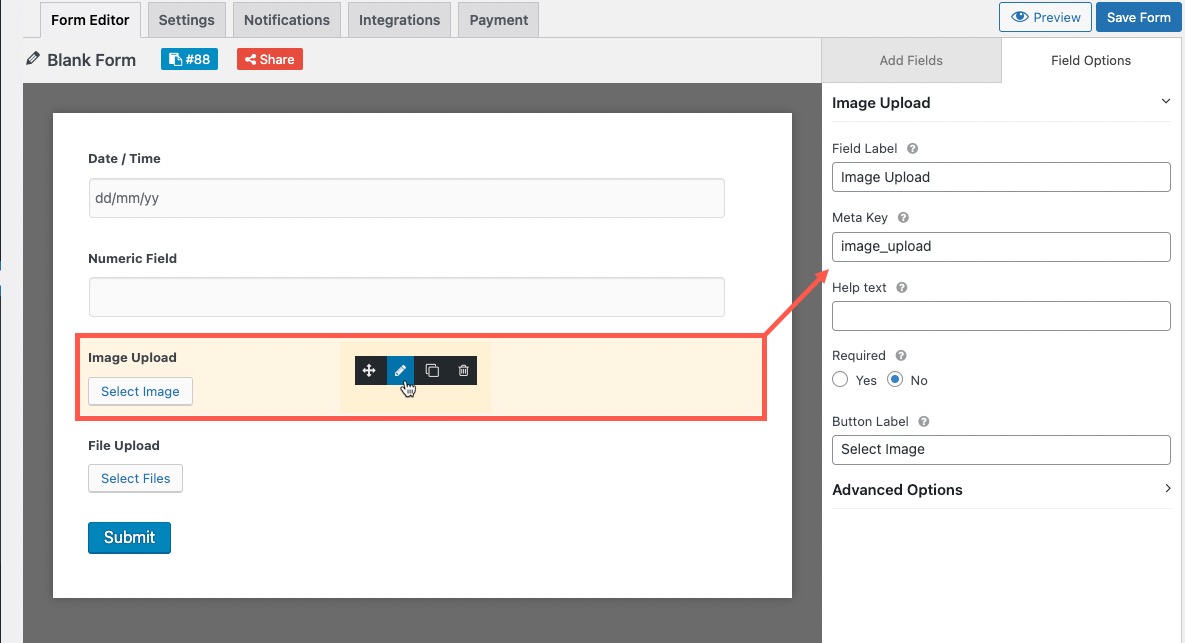
- Click on the image or file upload field on the form. When you click on the field you will see a black menu bar appear. The 4 options (from left to right) are: move field, edit field options, duplicate field, and delete field.
Click on the second field which looks like a pencil icon. This will open the field options in the column at the right. These options will allow you to customize the field.
The Field Options tab for both Image Upload and File Upload includes two main sections:
File/Image Upload options:
- Field Label – the name of the field as shown on the form
- Meta key – name of the meta key that the field saves to
- Help text – allows you to add text that can help the user understand the field. This text will appear under the field in the form.
- Required – allows you to determine if the field can be skipped or not.
- Button Label (Image Upload field only) – text that appears in the button on the field
Advanced options:
The advanced options section may be collapsed by default. In order to see the options, click on the arrow (>) to the right of the options label.
- Max. file size – the maximum size of the file that you can upload
- Max. files – the maximum number of files that you can upload
- CSS Class Name – Container class name for this field. They include: wpuf-col-half, wpuf-col-half-last, wpuf-col-one-third, wpuf-col-one-third-last
- Conditional Logic – allows you to make a query (with conditions) that provides the viewer with a selection. For more detail, please see How to Use Conditional Logic
The File Upload field has one additional area that is not available in the Image Upload field- Allowed Files:
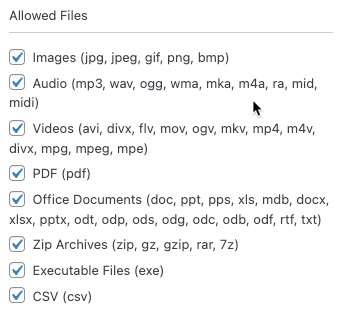
This advanced option allows the user to restrict the field to a specific type of file(s) that are allowed to be uploaded. The files are grouped by type:
- Images – jpg, jpeg, gif, png, bmp
- Audio – mp3, wav, ogg, wma, mka, m4a, ra, mid, midi
- Videos – avi, divx, flv,mov, ogv, mkv, mp4, m4v, mpg, mpeg, mpe
- PDF – pdf
- Office Documents – doc, ppt, pps, xls, mdb, docx, xlsx, pptx, odt, odp, ods, odg, odc, odb, odf, rtf, txt
- Zip Archives – zip, gz, gzip rar, 7z
- Executable Files – exe
- CSV – csv
Unchecking the box will prevent those file types from being uploaded through the File Upload field.
Reasons for Adding a File Upload Field on a Form

There are many reasons why you would want viewers of your form to be able to upload files. If you have a photography contest and you want to have pictures uploaded then you can use the Image Upload field in a form.
You may be working on a family history project where you want multiple types of files from contributors. Your form could then use the File Upload field to accept many types of media files and documents.
Or, you might want to have copies of a specific office document in a PDF format. You could use the allowed files option of the File Upload field to restrict the form to accept only that file type.
The flexibility and the power of the upload fields in weForms allow you to be able to support a wide variety of uploads for your personal and business needs.
Whether you’re a teacher using a form to request homework from your students or if you’re an accountant looking for the submission of receipts or expense reports for a business, it’s obvious that the File Upload (or Image Upload) fields can be used to obtain files that can contain critical information.
weForms provides you the flexibility and ease to quickly create forms that can provide or obtain information that will help you move ahead in your personal or professional projects.
