Table of Contents
MailChimp is an online email marketing platform. weForms allows you to integrate with this powerful tool through its forms. This tutorial shows you how to integrate MailChimp into weForms. You will see how to enable the module, configure it in weForms settings, and set up a contact form that makes use of MailChimp.
- How to Enable the MailChimp Module in weForms
- Adding the MailChimp API Key to weForms
- Creating a Contact Form that Uses MailChimp
In order to integrate MailChimp, you will need to be subscribed to the Professional, Business or Developer version of weForms.
Enabling the MailChimp Module
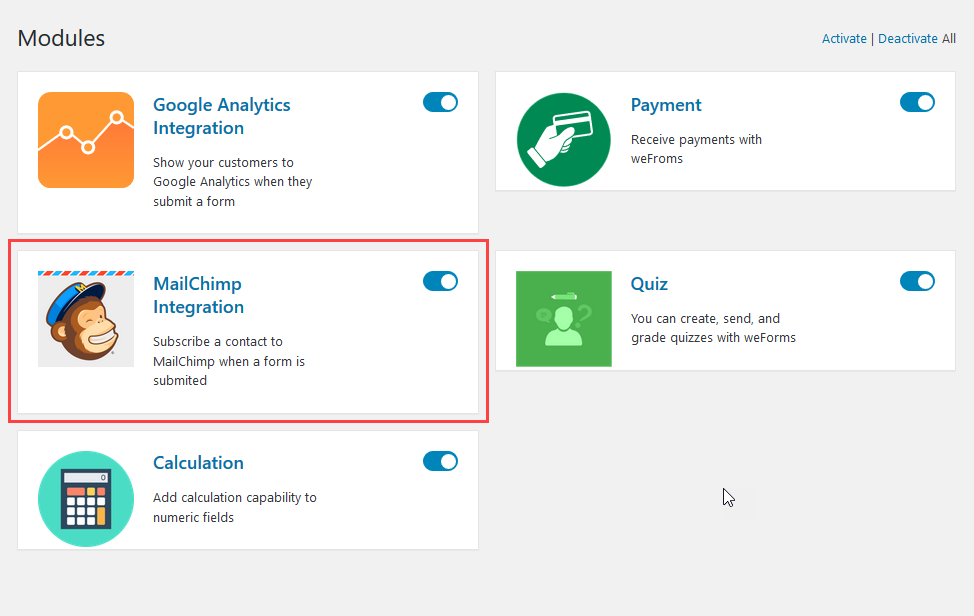
Before you can use the MailChimp module in weForms, you must enable the MailChimp Module. Follow the steps below to enable it. You will need to be logged into the WordPress Administrator Dashboard.
- Click on weForms in the main menu in the WordPress Administrator Dashboard.
- Click on Modules.
- Click on the toggle to enable MailChimp.

How to Find and Add the MailChimp API to weForms
You will need an API key from MailChimp in order to integrate MailChimp. Follow the steps below to obtain the key and then add it to your weForms installation.
- Login to your MailChimp account.
- Once you’re logged in, you will see a drop-down arrow next to your user name in the top right corner of the screen. Click on the drop-down arrow and you will see a menu. Click on Profile.
- You will then see the Profile screen. Click on Extras to bring up the drop-down menu.
- Click on API keys.
- If you do not have an API key created for weForms, then you will need to click on the Create A Key button.
- Once the key is created, click on “none set” and then label the key “weForms.” This will allow you to identify what the key is being used for.
- Click in the key field and copy the API key. The next part is in weForms.
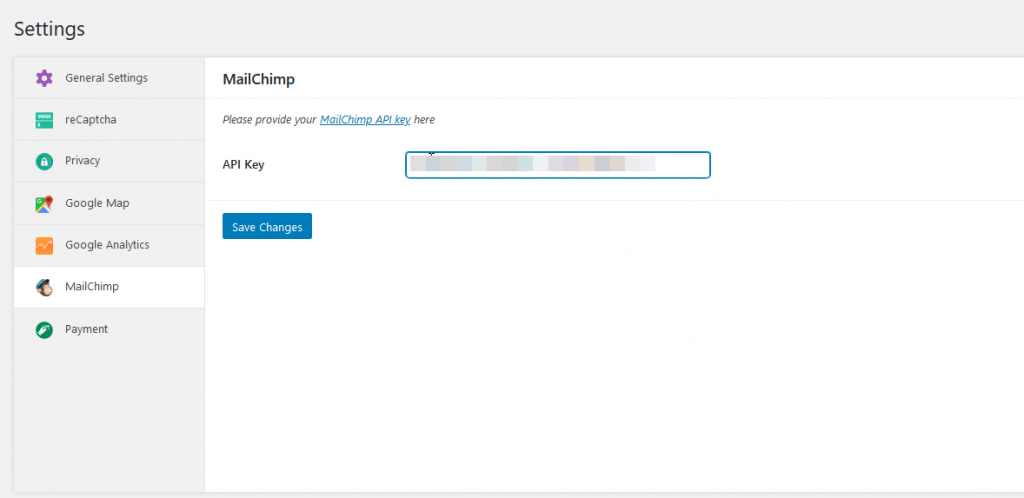
- In the WordPress Administrator Dashboard, click on weForms.
- Click on Settings.
- Click on MailChimp.
- Paste the API key into the blank field.
- Click on Save Changes.

Creating a Contact Form with MailChimp
MailChimp is basically used to send marketing messages or other types of missives to a list of email addresses. One way to capture email addresses for your audience is to use a contact form created with weForms. The steps below use the default contact form that is in weForms.
- Log in to the WordPress Administrator Dashboard.
- Click on weForms on the menu.
- Click on All Forms.
- Click on the Add Form button.
- At the very top under Default Templates, hover over the Contact Form and click on Create Form.
- Click on the Settings tab of the form that is created.
- Then click on the Integrations tab.
- You will see a number of modules that you can enable. Click on the toggle to enable MailChimp for the form. To the left of the toggle, there is a gear icon that you can use to edit the settings for your MailChimp integration. If you have multiple lists, then you will be able to select them. You can also use the Mapping Fields section to match the input fields with those used in your MailChimp account.
- After you’re done editing your settings and your form, click on the Save Form button.