Table of Contents
After you have finished installing Sprout Invoices you may wonder what the next steps are. Fortunately, Sprout Invoices provides an excellent step-through process for getting started with the plugin. The following article will display the steps you will see and walk you through the very beginning in order to guide you through the process.
Getting Started
When you install the Sprout Invoices you will see the link in the top left corner of the screen and in the main menu. They provide a link for creating your very first invoice. However, you should scroll down a little farther and see the checklist of links.

Activating Your License
The first item is Activate License. Note that we will be walking through the first two steps in this article.
Click on the Activate License option and you will then see the section where you add your company and contact information. It is important that you use a valid email address that will be used for registering the product.
The license will be validated once you save your information with the email address.
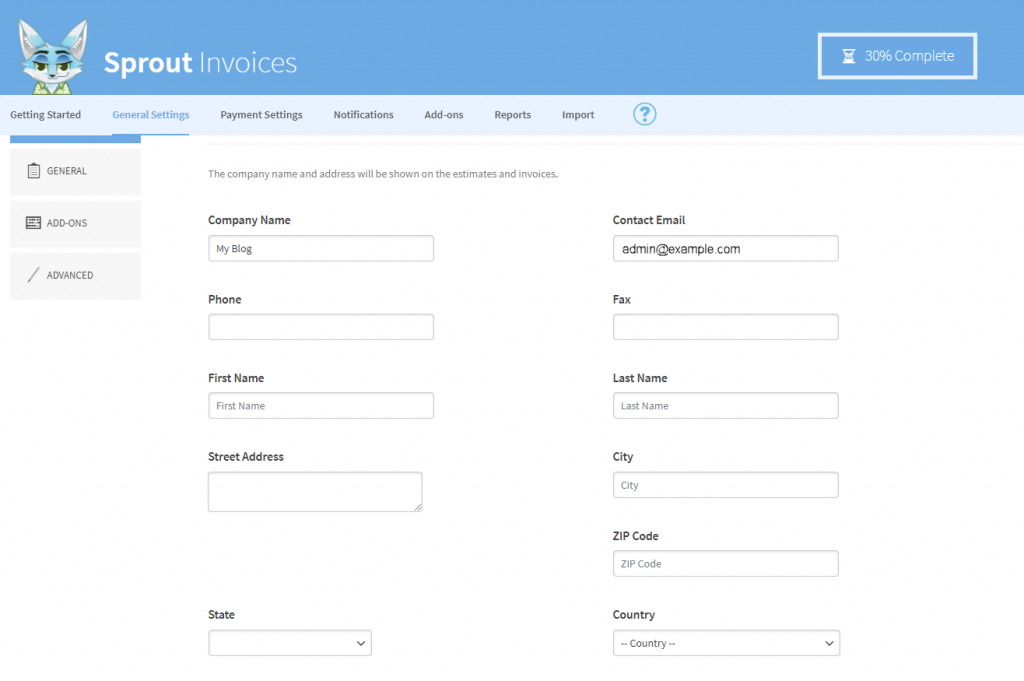
Notice that you’ll see a percentage in the top right corner concerning your progress through the first steps in setting up the plugin.
This screen shows the different information fields used by Sprout Invoices. The information that you add here is used on the invoices that you create.
Invoice and Estimate Templates
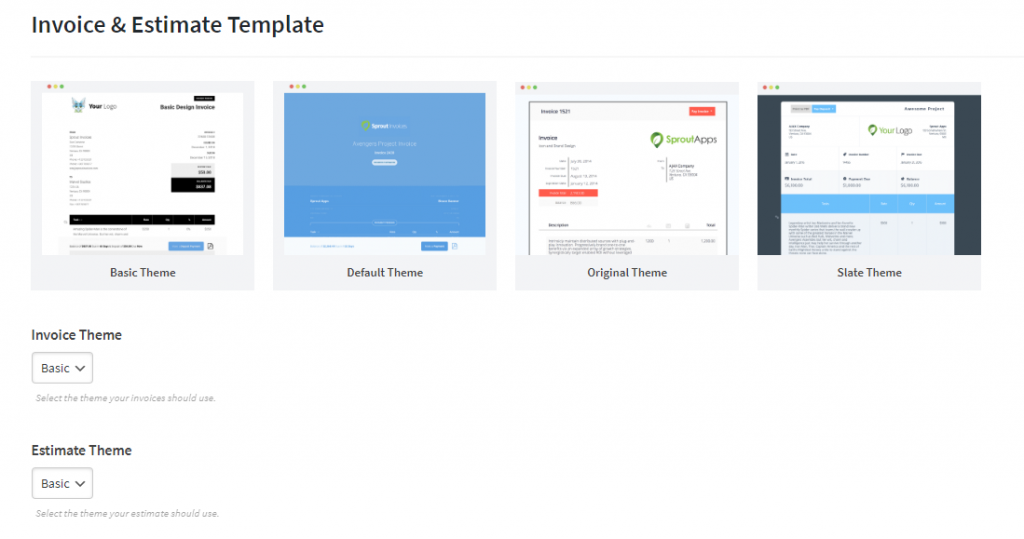
Once you finish adding your contact information scroll down and you will see the Invoice and Estimate Template.
Here you can choose the theme you want to use for your invoices.
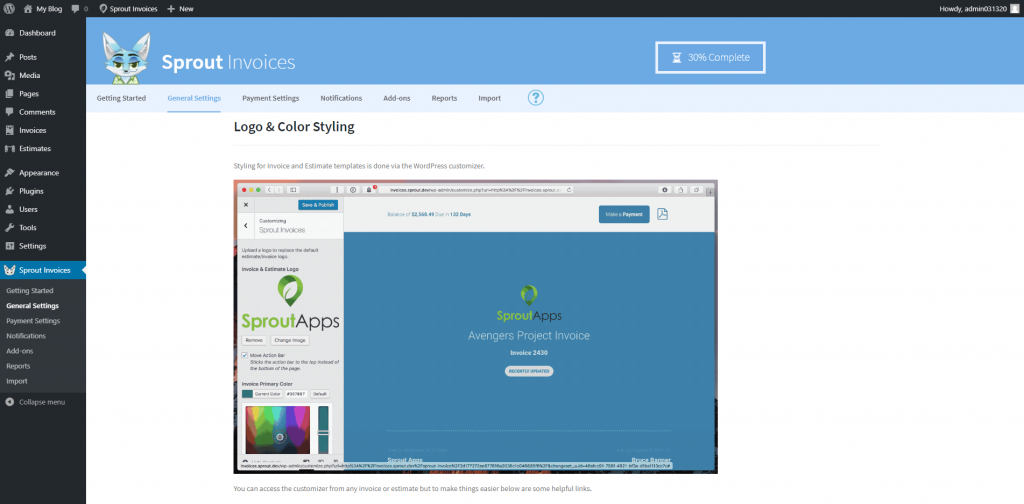
The next section under the templates is the Logo and Color Styling section.
This is the logo that will be used for your invoices and estimates. Sprout Invoices uses the Logo option in the WordPress Customizer.
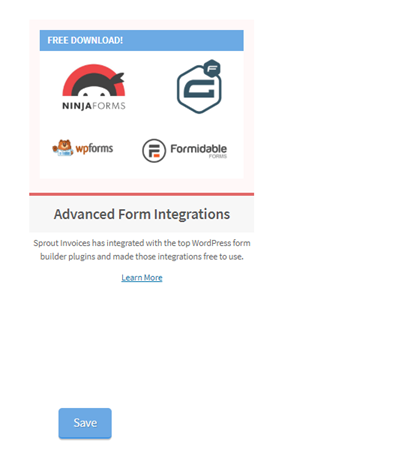
Advanced Form Integrations
The very last section gives you a link to the Advanced Form Integrations for popular form plugins. And the blue SAVE button. Click on the button to save all your entries.
Final Comments
Congratulations! You have installed and finished the setup for Sprout Invoices. Once you have these settings filled in you can get started on creating your first invoice. For more information please see our Sprout Invoices Product Guide.