In this tutorial:
Install NGINX Helper NGINX Helper Settings NGINX Helper Features
As you may already know, your WordPress Hosting package uses NGINX in front of Apache for reverse-proxy caching. This not only will provide stunning speed improvements to your site, it also offers a suite of new tools. You can check out our full guide on using the cPanel Cache Manager.
But more than basic cache management, you can also use helpful plugins to trigger event-driven cache operations. For example, if you display the latest posts on your homepage, it would be helpful if the cached home page was purged whenever a new post is added.
This is where the NGINX Helper plugin for WordPress comes in. In this article, you will learn how to use this plugin to add smart behaviors dedicated to WordPress caching.
How to Access NGINX Helper Plugin Settings
As a user who is familiar with how to install WordPress plugins, this process should be simple for you. If you are new to WordPress, and this is the first plugin you’re installing, you should follow our full guide on how to install WordPress plugins.
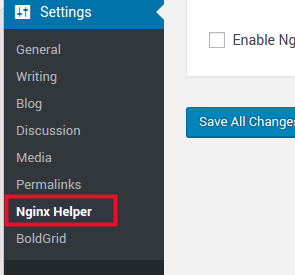
Once you have installed and activated the plugin, you will need to access the settings. These are conveniently located under the default Settings in the admin Area. Under Settings, click NGINX Helper.
NGINX Helper Plugin Features
There are a few important features available in the NGINX helper plugin you should know about. We will be primarily focusing on the purging options available. These help NGINX determine which pages to purge, or which events will trigger the purging of a certain page from the cache.
Purging options
To access the purging options, you must only check the box labelled Enable Purge under Purging Options in the NGINX Helper settings.
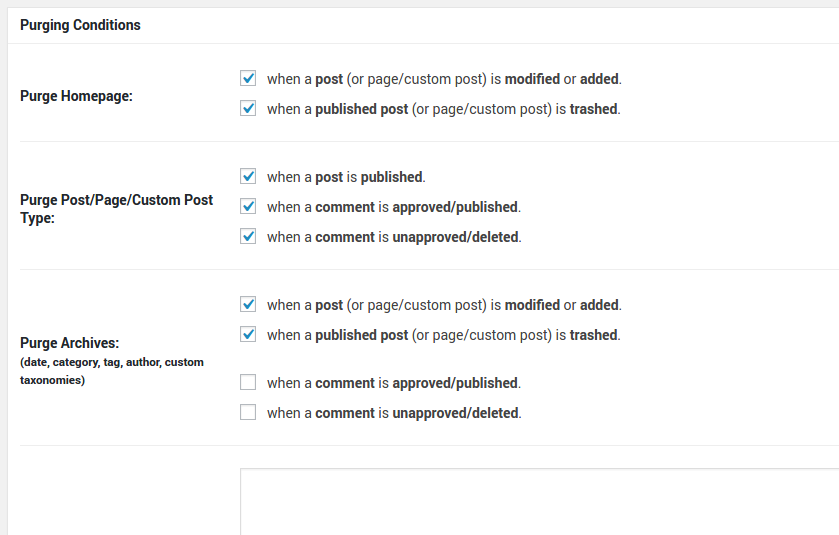
Once the purge options have been enabled, you will see the Purging conditions box appear. It is important to note which events will trigger a purge. For example, the first option allows you to purge your homepage when a post is added or modified. This would be especially important if your homepage displays a list of recent posts.
Purge Entire Cache
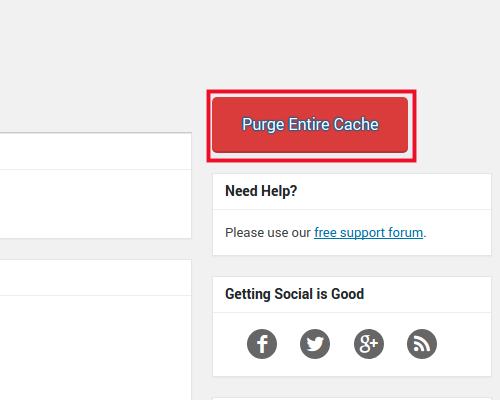
The Purge Entire Cache cache resides at the topmost right hand section of the page. This procedure is to be avoided for most of your every day maintenance needs.
Purging the entire cache will cause your WordPress website to suffer performance lags as Ngnix rebuilds the cache. This option should only be used if you really intend to purge all cached data. You must be prepared to allow adequate time for the cache to rebuild its resources.
Recommended Settings
You may not be sure what options to select for your website, but we recommend starting with “nginx Fastcgi cache” as your preferred caching method.
Debug (Logging) Options
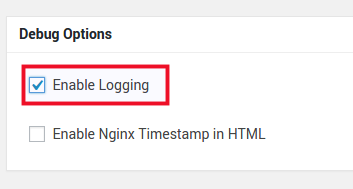
The Ngnix Helper provides detailed logs of its activities. You can find the logging features under the Debug Options section.
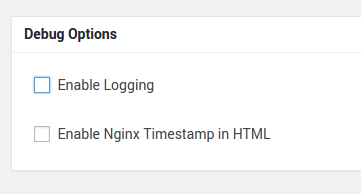
Check the Enable Logging box to active the logging feature.
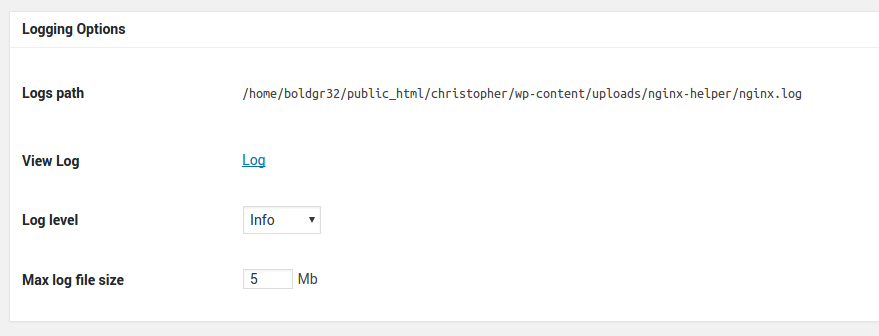
The Logs path table shows you the path to the log. Click the Log link to see the log displayed in your browser. Log level determines the level of detail the logs will provide, and Max log file size allows to cut off the log when the file reaches a certain size.
Become a master of WordPress plugins! Protect, optimize, secure, and expand the functionality of your website easily with the help of WordPress plugins!


Can you please explain the correct plugin settings for caching method and purge method? The plugin offers various options which are not explained in this support article.
I recommend checking the tutorials created by the plugin developer.