In this article, we will cover a basic installation of the Jekyll static site generator. Then, we will create and launch the default Jekyll site, which you can later customize.
To learn more about what Jekyll is and how you can use it, check out the previous article regarding What is Jekyll?
Moving Forward with a New Jekyll Installation
This tutorial starts on the command line, and you will need to revisit the command line quite often throughout using Jekyll. But that is no reason to fear! You may find the commands involved are lightweight and easy to remember. After a few practice runs, you will have them down.
Follow along with the steps below to install Jekyll and launch a new site.
- Open your favorite Terminal client.
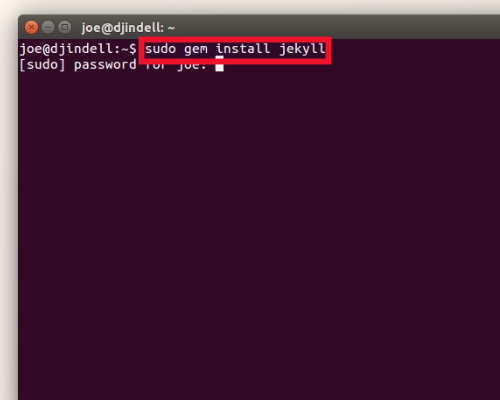
- Type
sudo gem install Jekyll. (Sudo privilege may or not be required depending on your user configuration.)
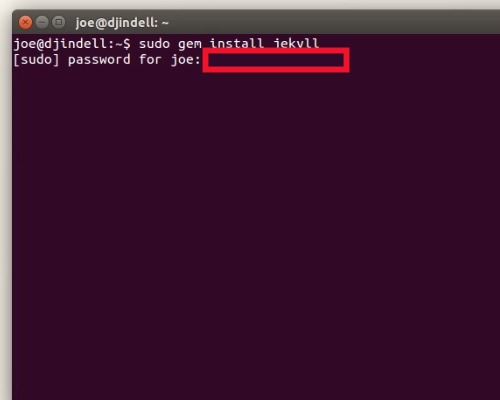
- Provide
sudopassword.
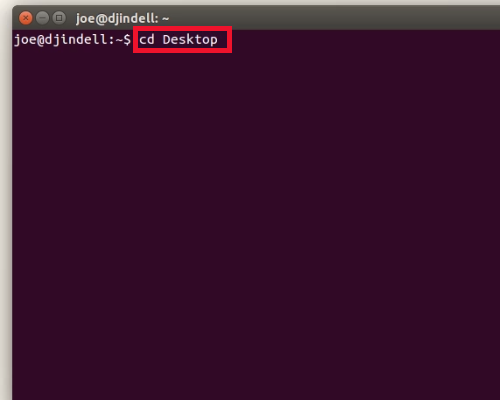
- Change directory to the location where you want your new site files to reside. For example, if you want to save your site files to the desktop, type
cd Desktop.
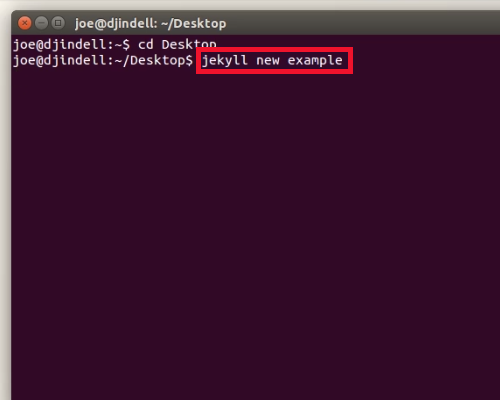
- To create your site type
jekyll newand the desired name for the directory. For example,jekyll new example.
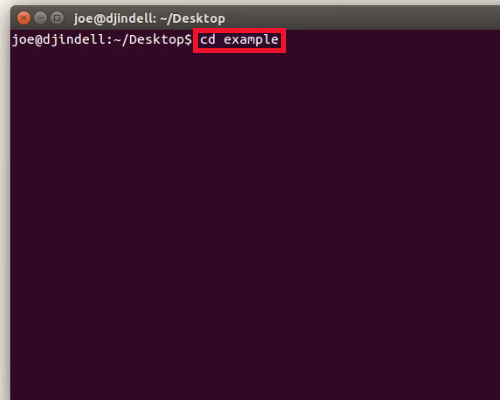
- Change directories into the location of the site files. For example, type
cd example.
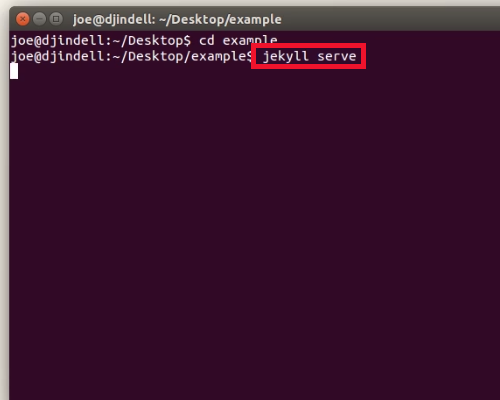
- To make sure everything was installed properly, launch the example site by typing
jekyll serve.
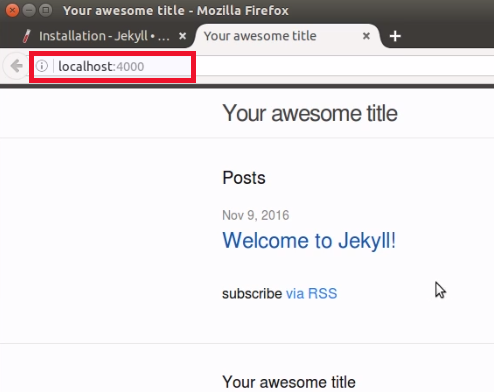
- To see the site, visit this address in your browser:
https://127.0.0.1:4000. Alternatively, you can browse tolocalhost:4000.
Well done on completing this tutorial! You can now install and launch a Jekyll site. Stay tuned, as we work deeper into Jekyll to customize our site.
Learn how to manage critical server administration functions, cPanel and WebHost Manager (WHM) with our Managed VPS Hosting Product Guide.

