Table of Contents
In this article, we will teach you how to use Memberful to fully integrate a members only area into your site built with WordPress.
For a all-in-one plugin that handles subscriptions, spam, security, and more, try Jetpack!
Installing the Memberful WordPress plugin
Installation is quite simple and can be done in just a few steps.
- First, you will need to log into your WordPress dashboard
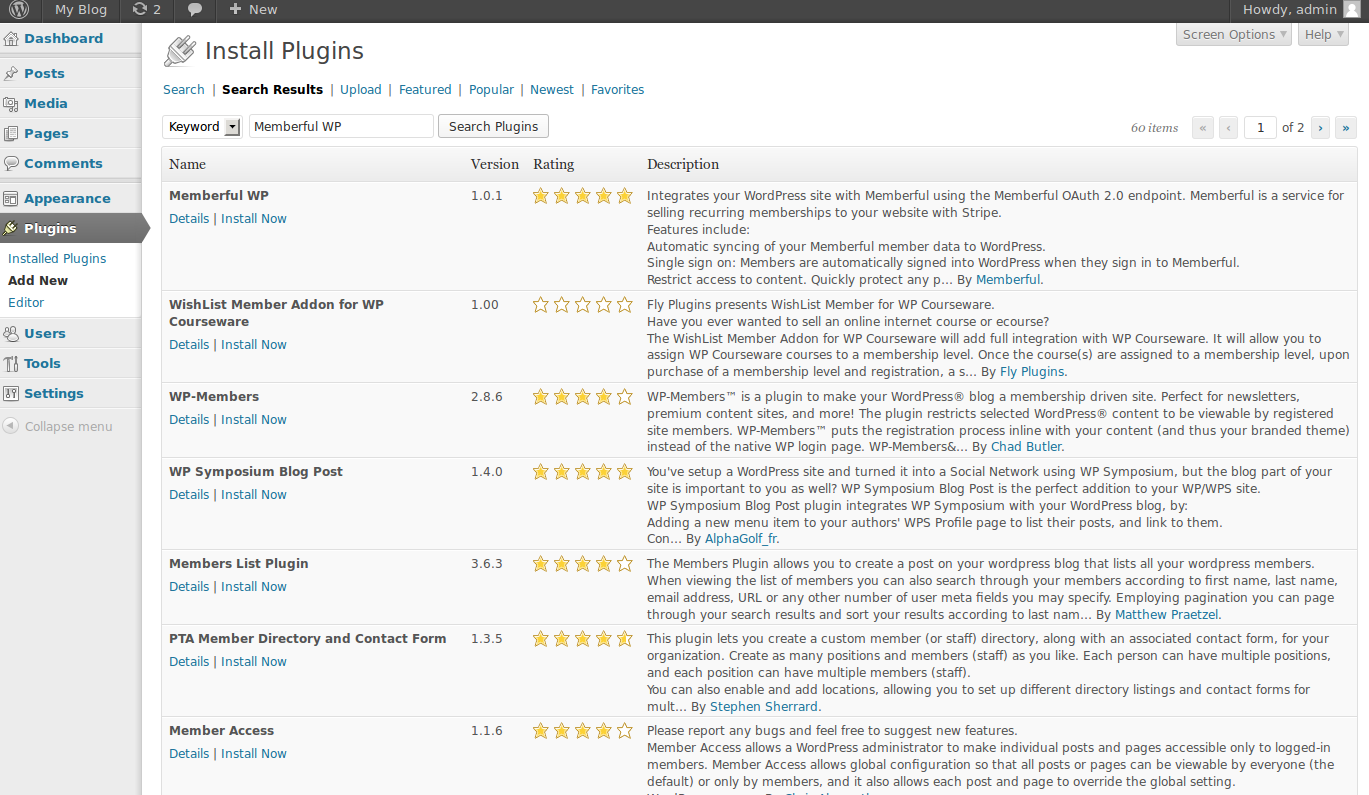
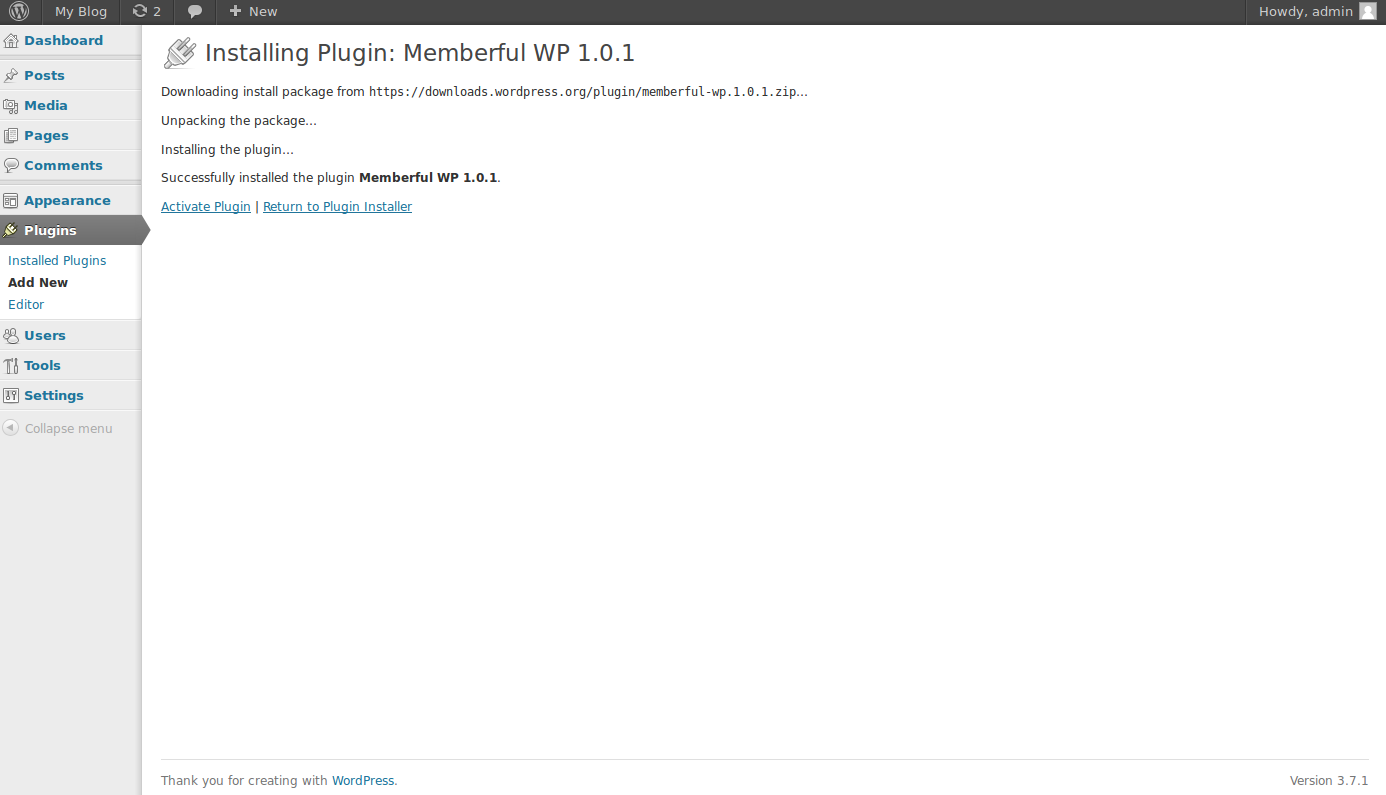
Next, take a look over to the left side menu and click on Plugins, then Add New. From here, you will be able to search for the plugin that you are looking for. A search for “Memberful WP” will generate the plugin that you are looking for as the first result.

Once you have located the Memberful plugin, click on Install Now. WordPress will then handle the download and installation of the Memberful plugin for you. Once complete, click on Activate Now to activate it.
Signing up for Memberful
To use Memberful’s free services, you will first need to create an account with them. Creating an account and managing it is quite simple and you will be completed in just a few easy steps.
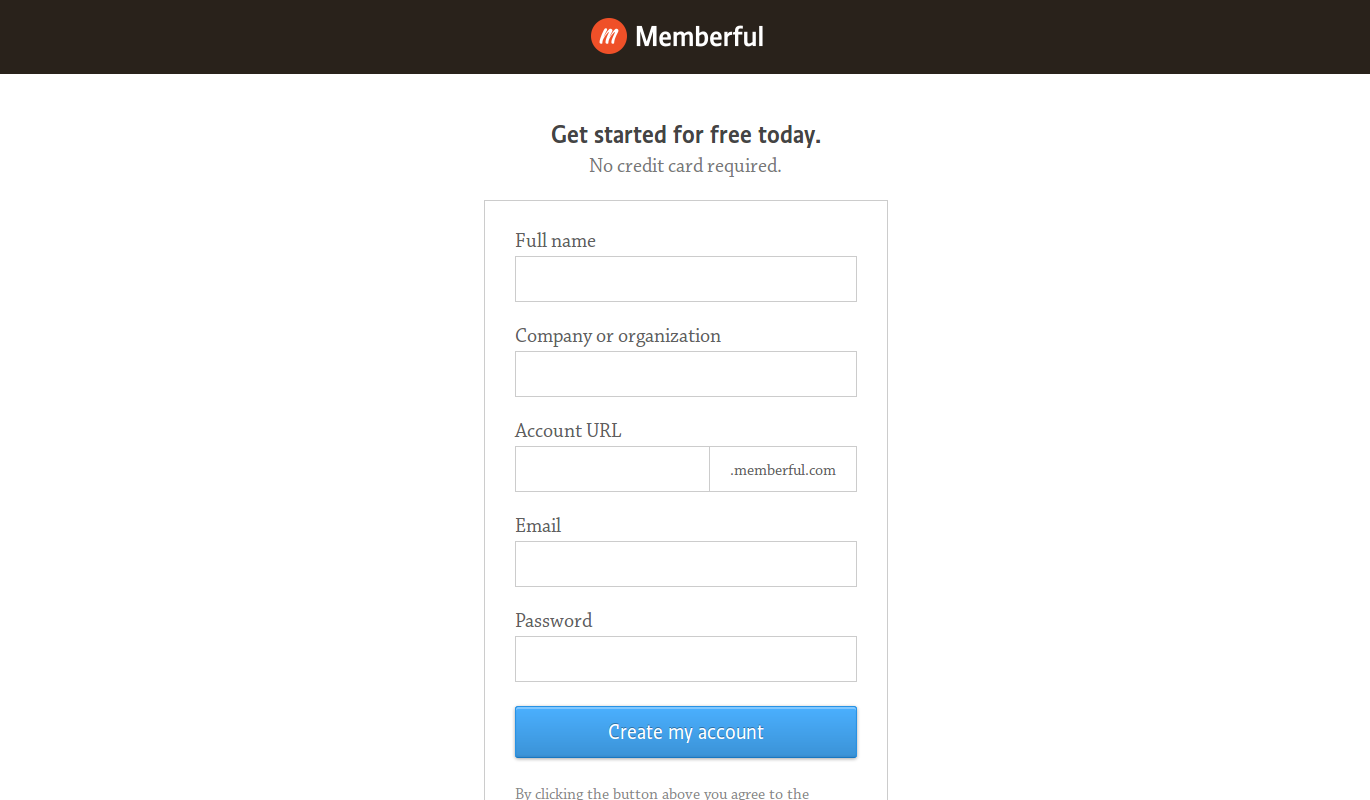
First, you will need to visit the Memberful signup page and create your new Memberful account. Once complete, you will be taken to your Memberful account dashboard.
Setting up your payment method for Memberful
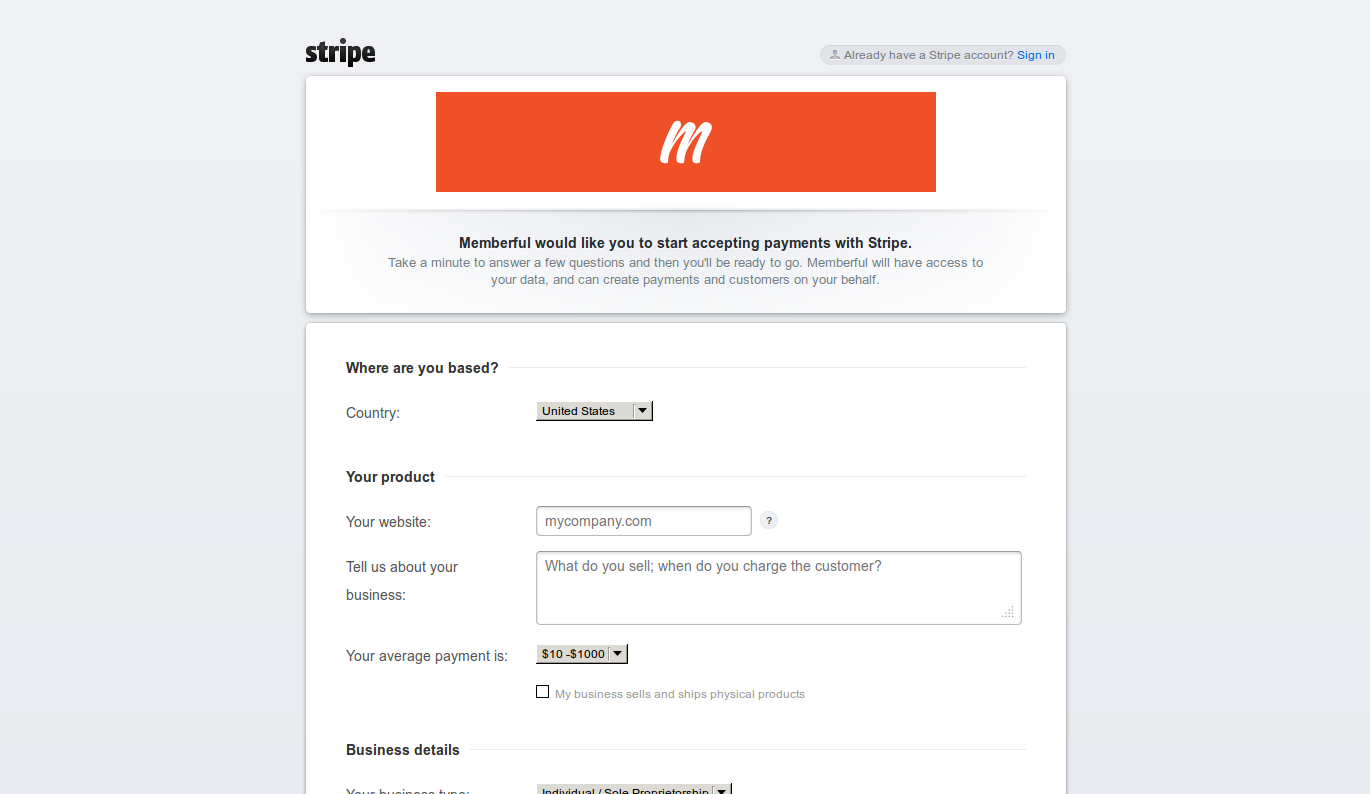
Currently, Memberful only offers a single payment method which is through Stripe. To associate your current Stripe account or sign up for a new one, simple click on “Connect with Stripe” from your Memberful account dashboard. You will then be prompted with the Stripe signup form as well as a Sign In button to the top right if you already have a Stripe account.
Creating a subscription product in Memberful
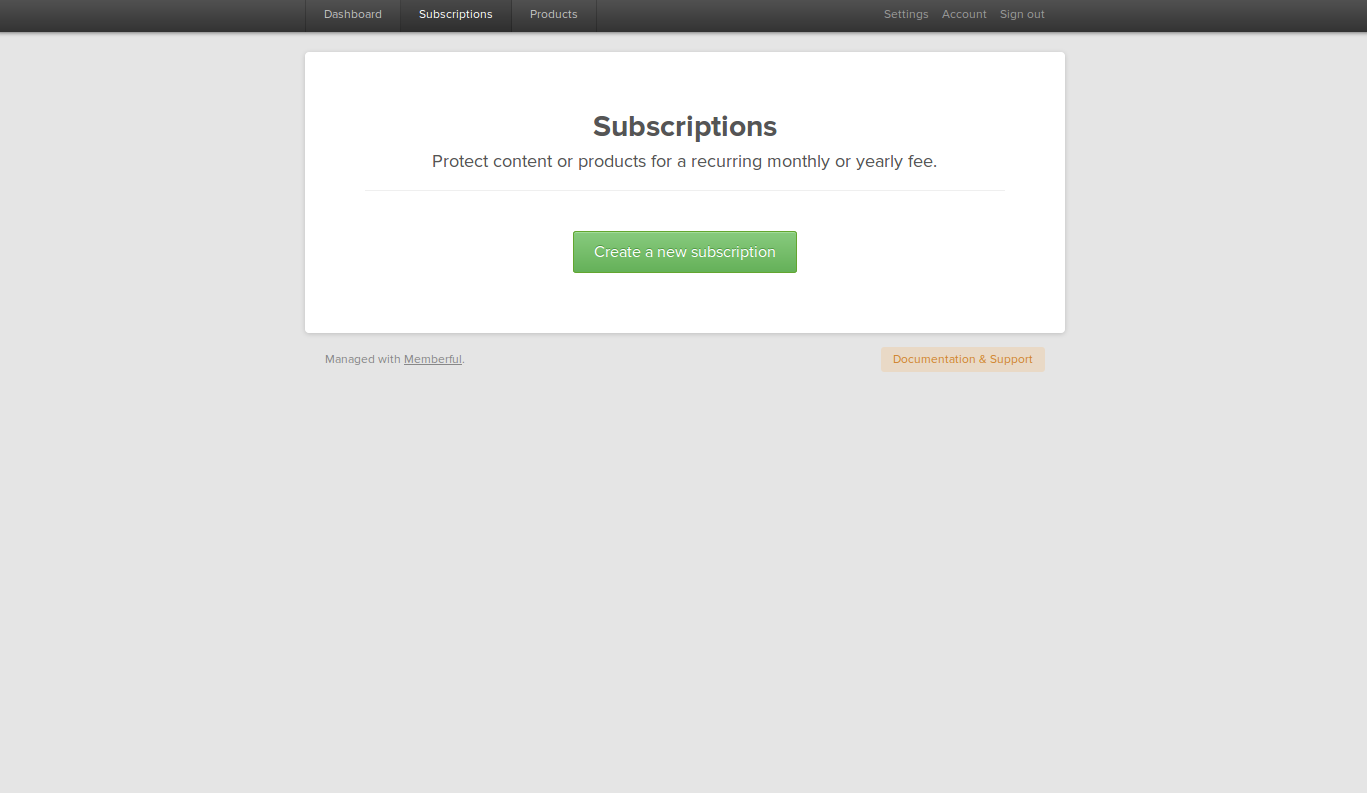
On your Memberful account dashboard, the second option there for a newly created account should be to create a subscription product. Of you don’t see this, you can always click up at the top of the dashboard where it says Subscriptions to get there as well.
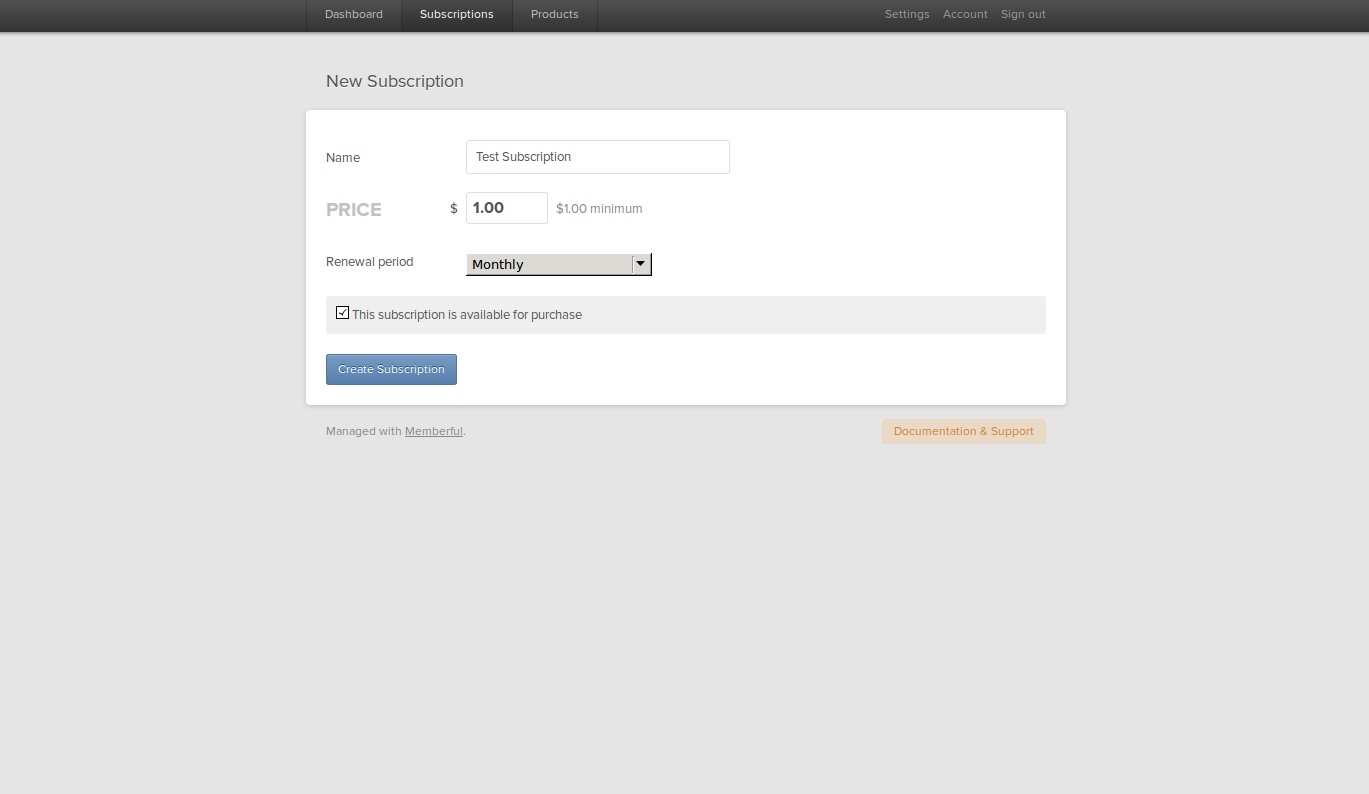
Once on the Subscriptions page, click on New Subscription. You will then be prompted to enter the name of the subscription as well as the price and renewal period. Be sure to also select the option to make it available for purchase so that your customers may openly subscribe to it. Once everything is entered, just click on “Create Subscription” to create it.
Integrating Memberful into WordPress
Thanks to the Memberful plugin that we downloaded earlier, integration with your new Memberful account is quite simple.

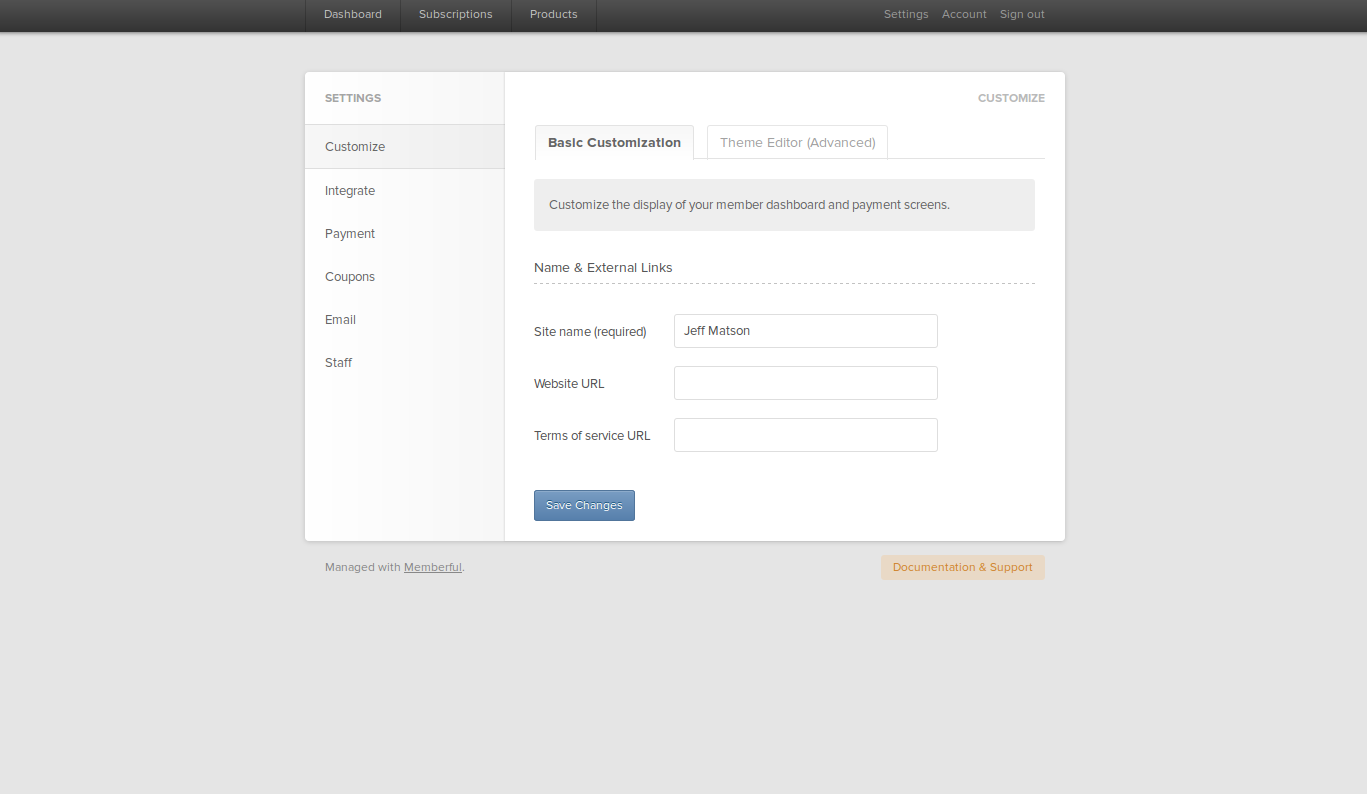
From your Memberful dashboard, click on Settings to the top right of the page.

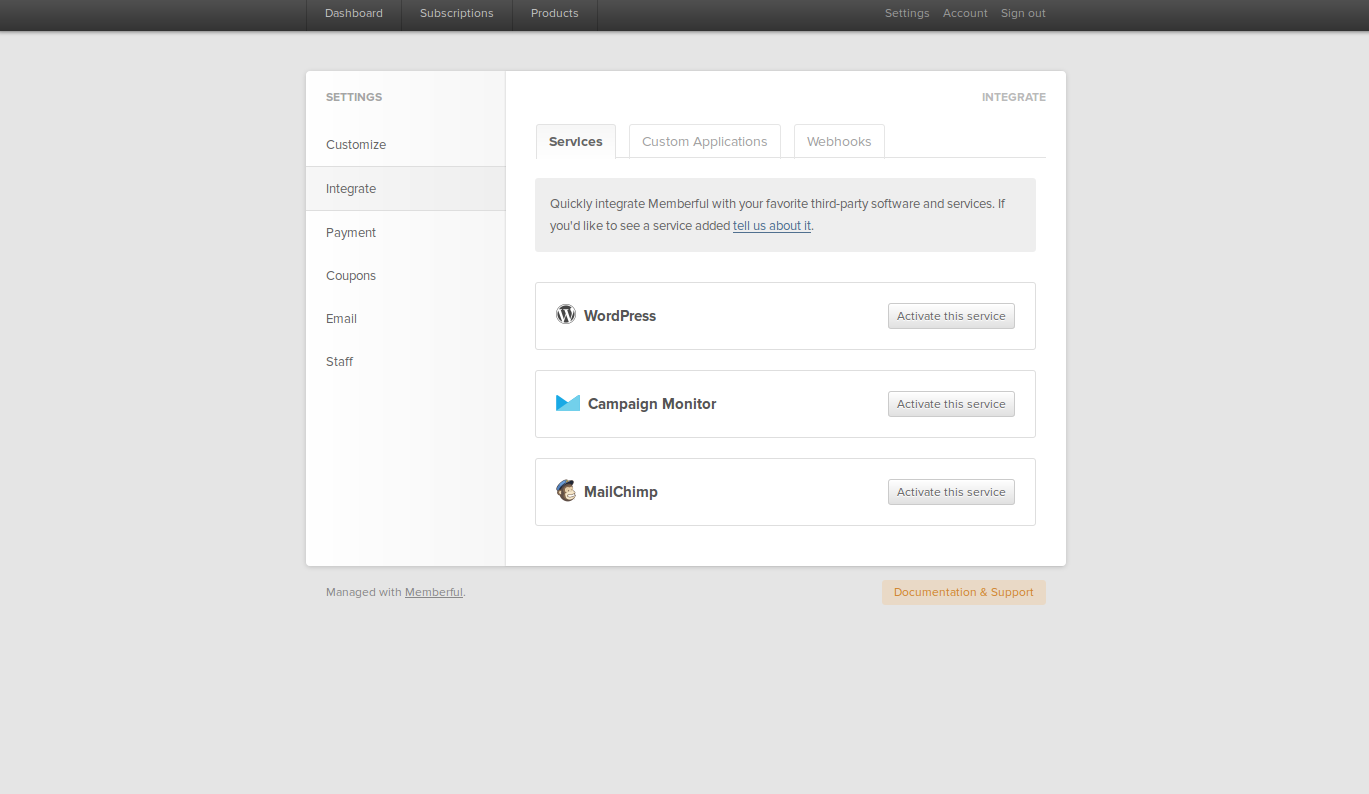
Next, click on the menu option to the left side of the Settings page and click on Integrate.

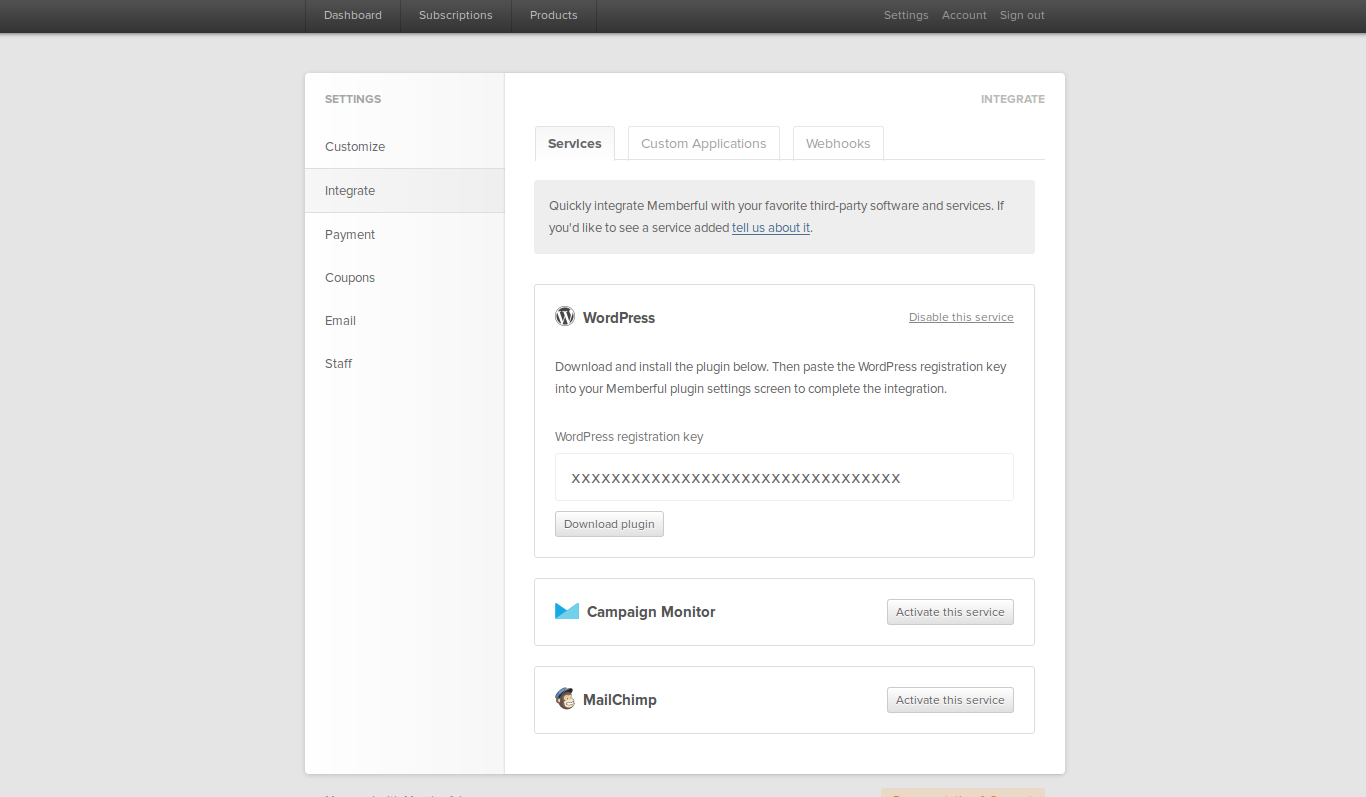
On the integration page, you will see an option that says WordPress. Simply click on “Activate this service” to get your registration key.

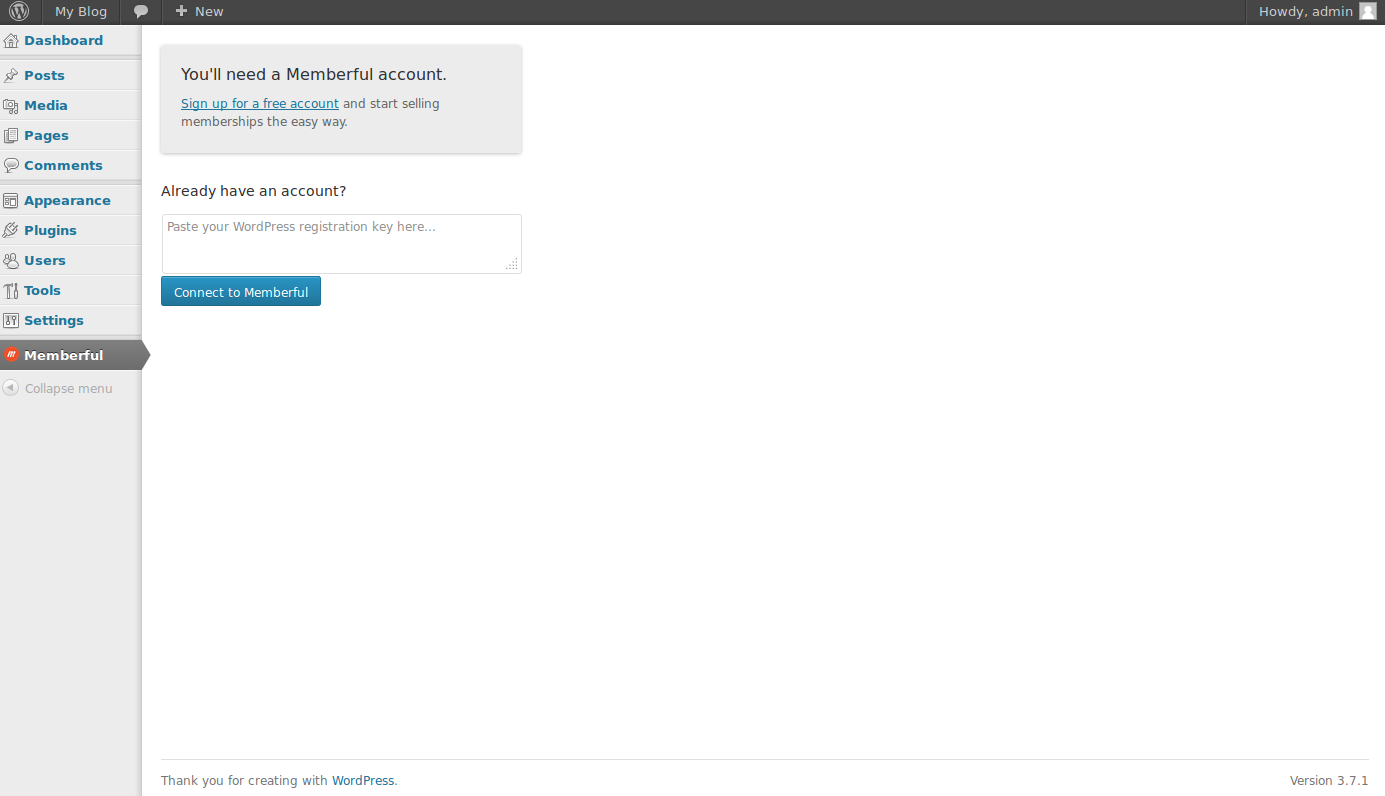
Once you have your registration key, head on back to your WordPress dashboard. To the left, you should now see a menu option that says “Memberful”. If you click on this, you will be taken to an integration screen. Simply enter your registration key and press submit. Memberful will now be integrated into your WordPress site.
Creating members-only pages and posts in WordPress
Due to integration of Memberful to your site, creating members-only pages is quite simple.
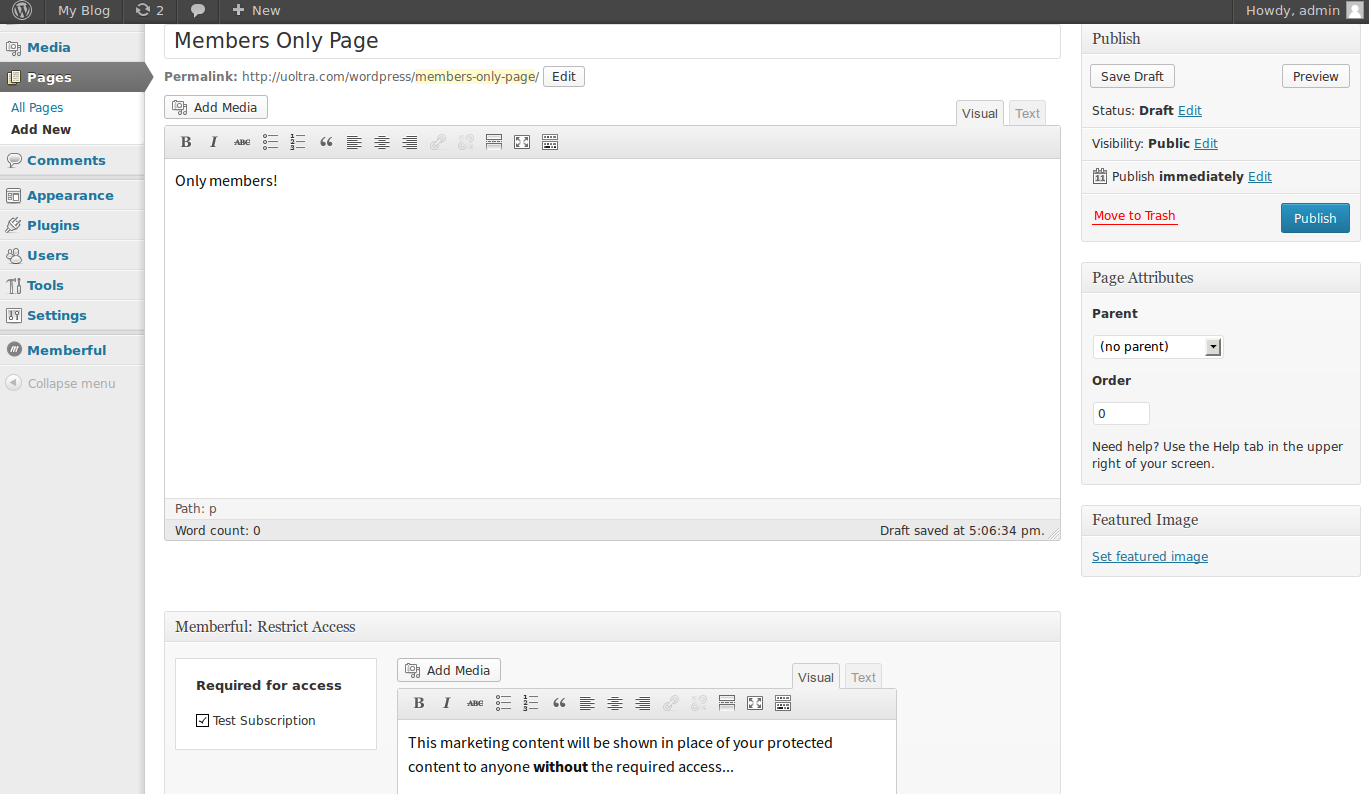
First, go to the page that you want to make protected from within your WordPress dashboard. Inside the page options, you should now see a section for Memberful. Here, you may set the subscription required to access the page, as well as the message that is displayed when a non-subscribed user visits that particular page. Once all the the changes have been made, simply save your changes.
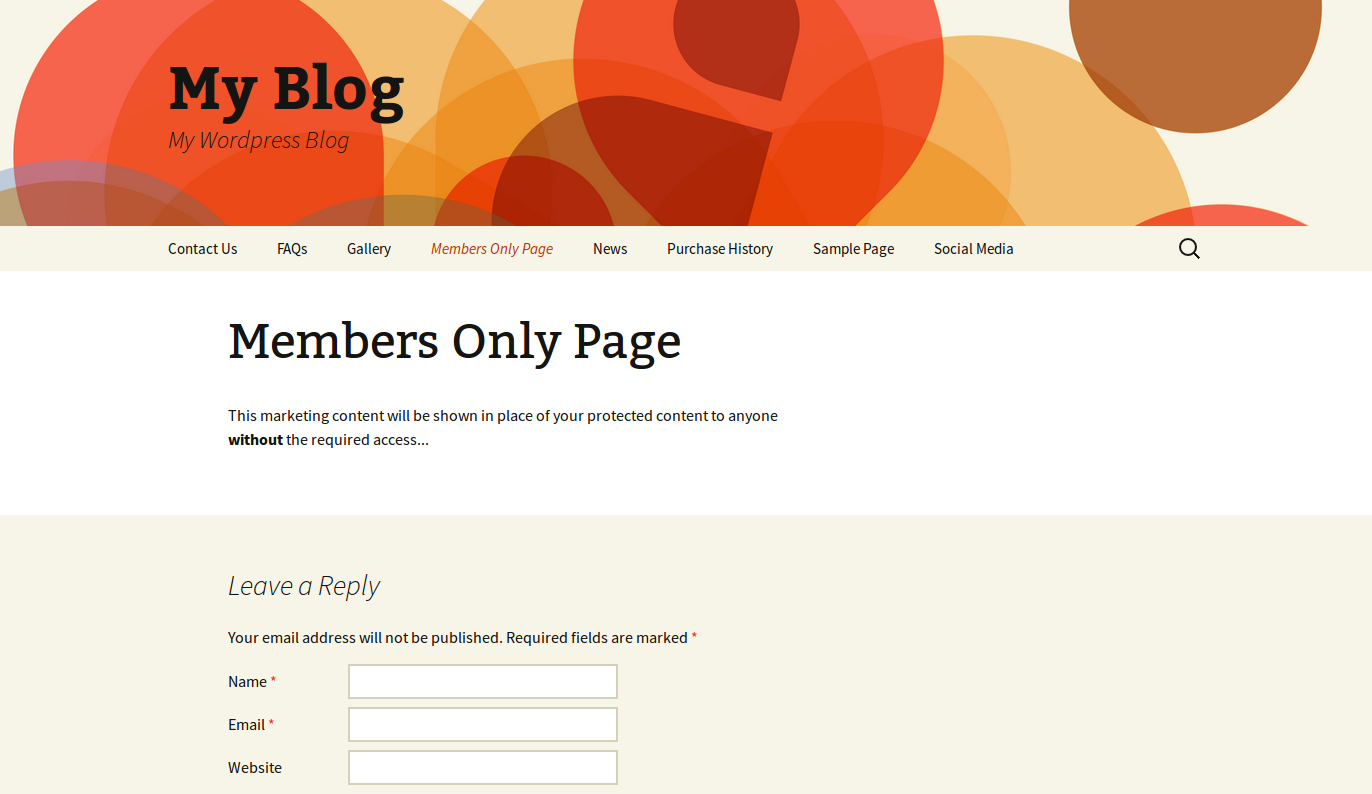
Once everything is enabled and the page is protected, you should see that page as protected inside your WordPress site.
