In This Tutorial:
If you have already created an email address for your domain, you can also configure WHM to enable email Push notifications for your iOS device(s). Push notifications are sent to the iOS device (that has a Mail account configured to send/receive emails) once the server receives an email. This eliminates the need to Fetch, or manually check, for new emails.
Apple requires that an Apple Push Notifications service (APNs) key be installed on your server (via WHM) to allow Push notifications to be configured in your iOS device’s Settings. In this guide, you will learn the instructions to create and install the APNs key for Push notifications to be sent to your iOS device(s).
Requirements
- A VPS or Dedicated Server with root access.
-
Your server’s firewall must be configured to allow TCP connections through port 2195. You may refer to the instructions in our guides for CSF or APF, depending on which firewall you are using, to open port 2195.
-
A MacOS Server, available exclusively for MacOS from Apple’s App Store, is required to create the APNs key needed for WHM. You can use these instructions to purchase, download, and install MacOS Server.
Generate APNs Certificate
-

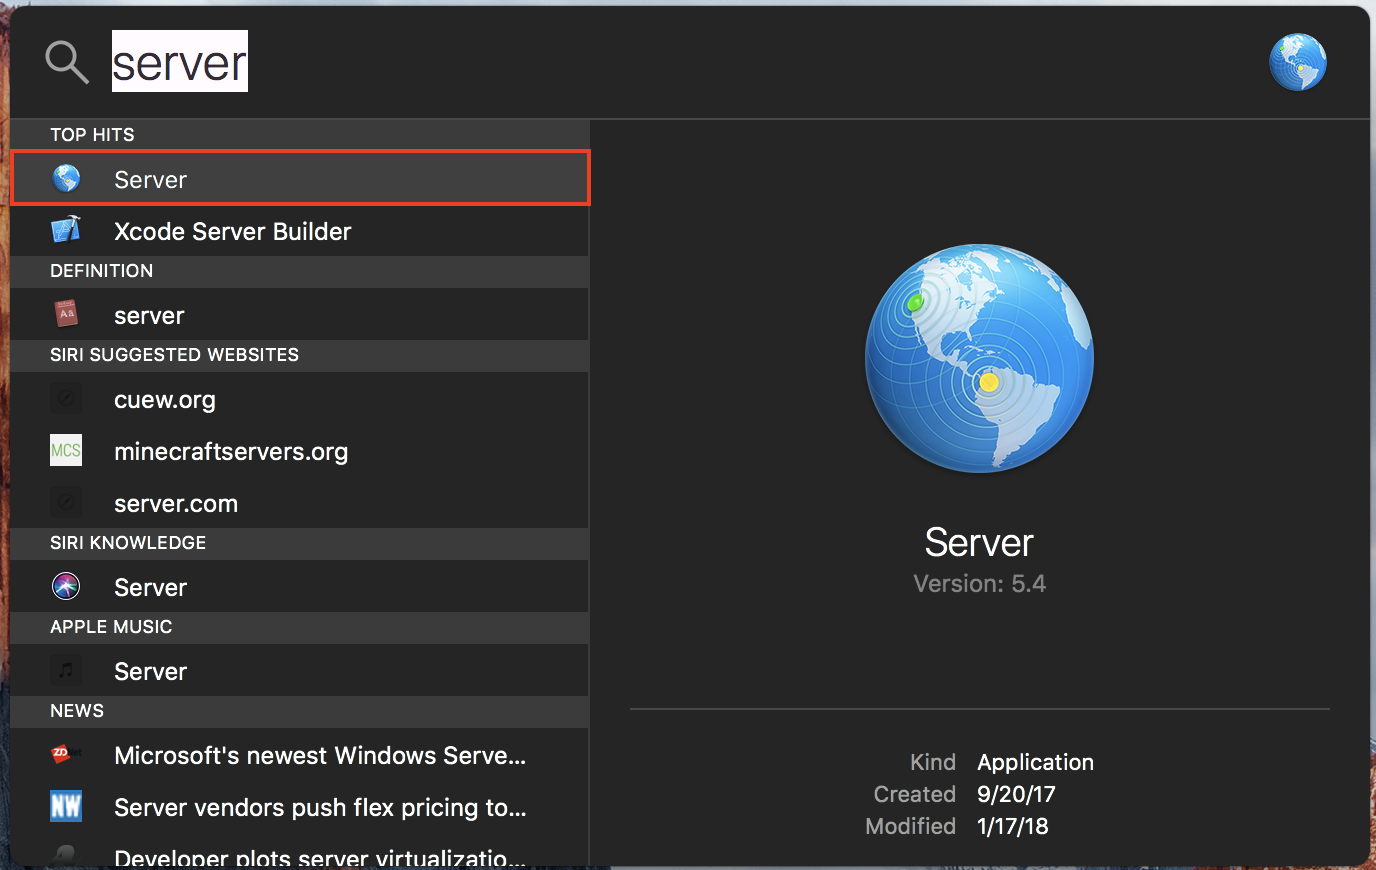
Open the MacOS Server App by pressing the Command and Space bar keys at the same time, then type server and double click on the icon.
-

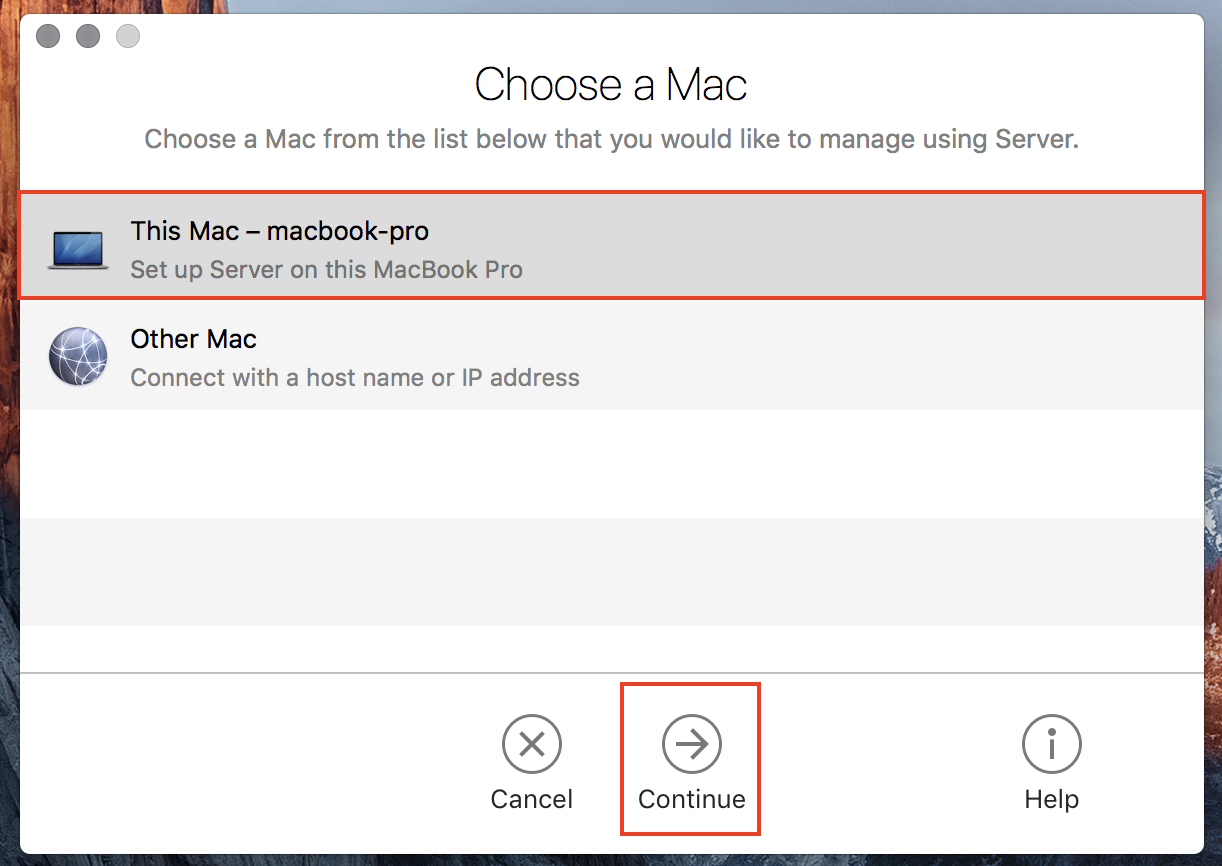
Select This Mac from the Choose A Mac menu and then click Continue.
-

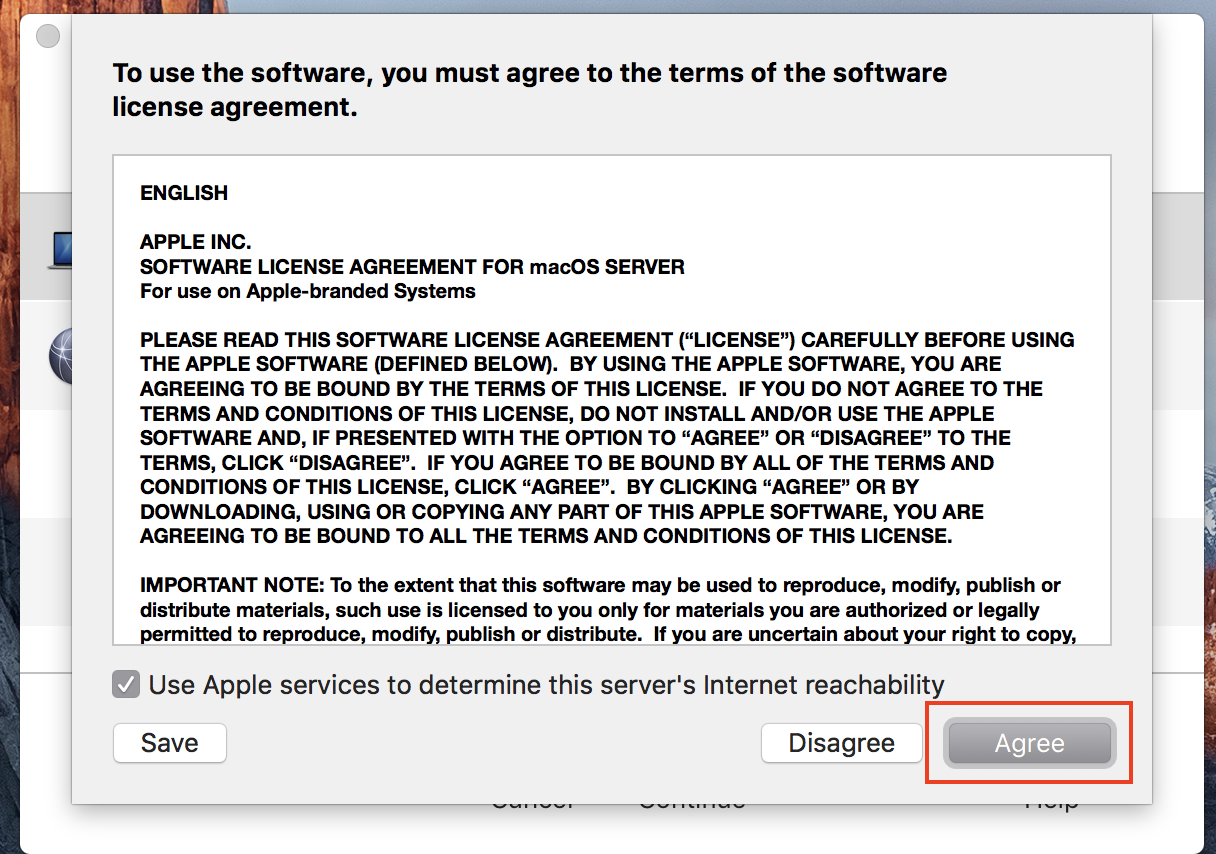
Read through the terms of service and then click the Agree button to proceed.
-

Enter your Mac’s administrator User Name and Password. Then, click Allow.
-

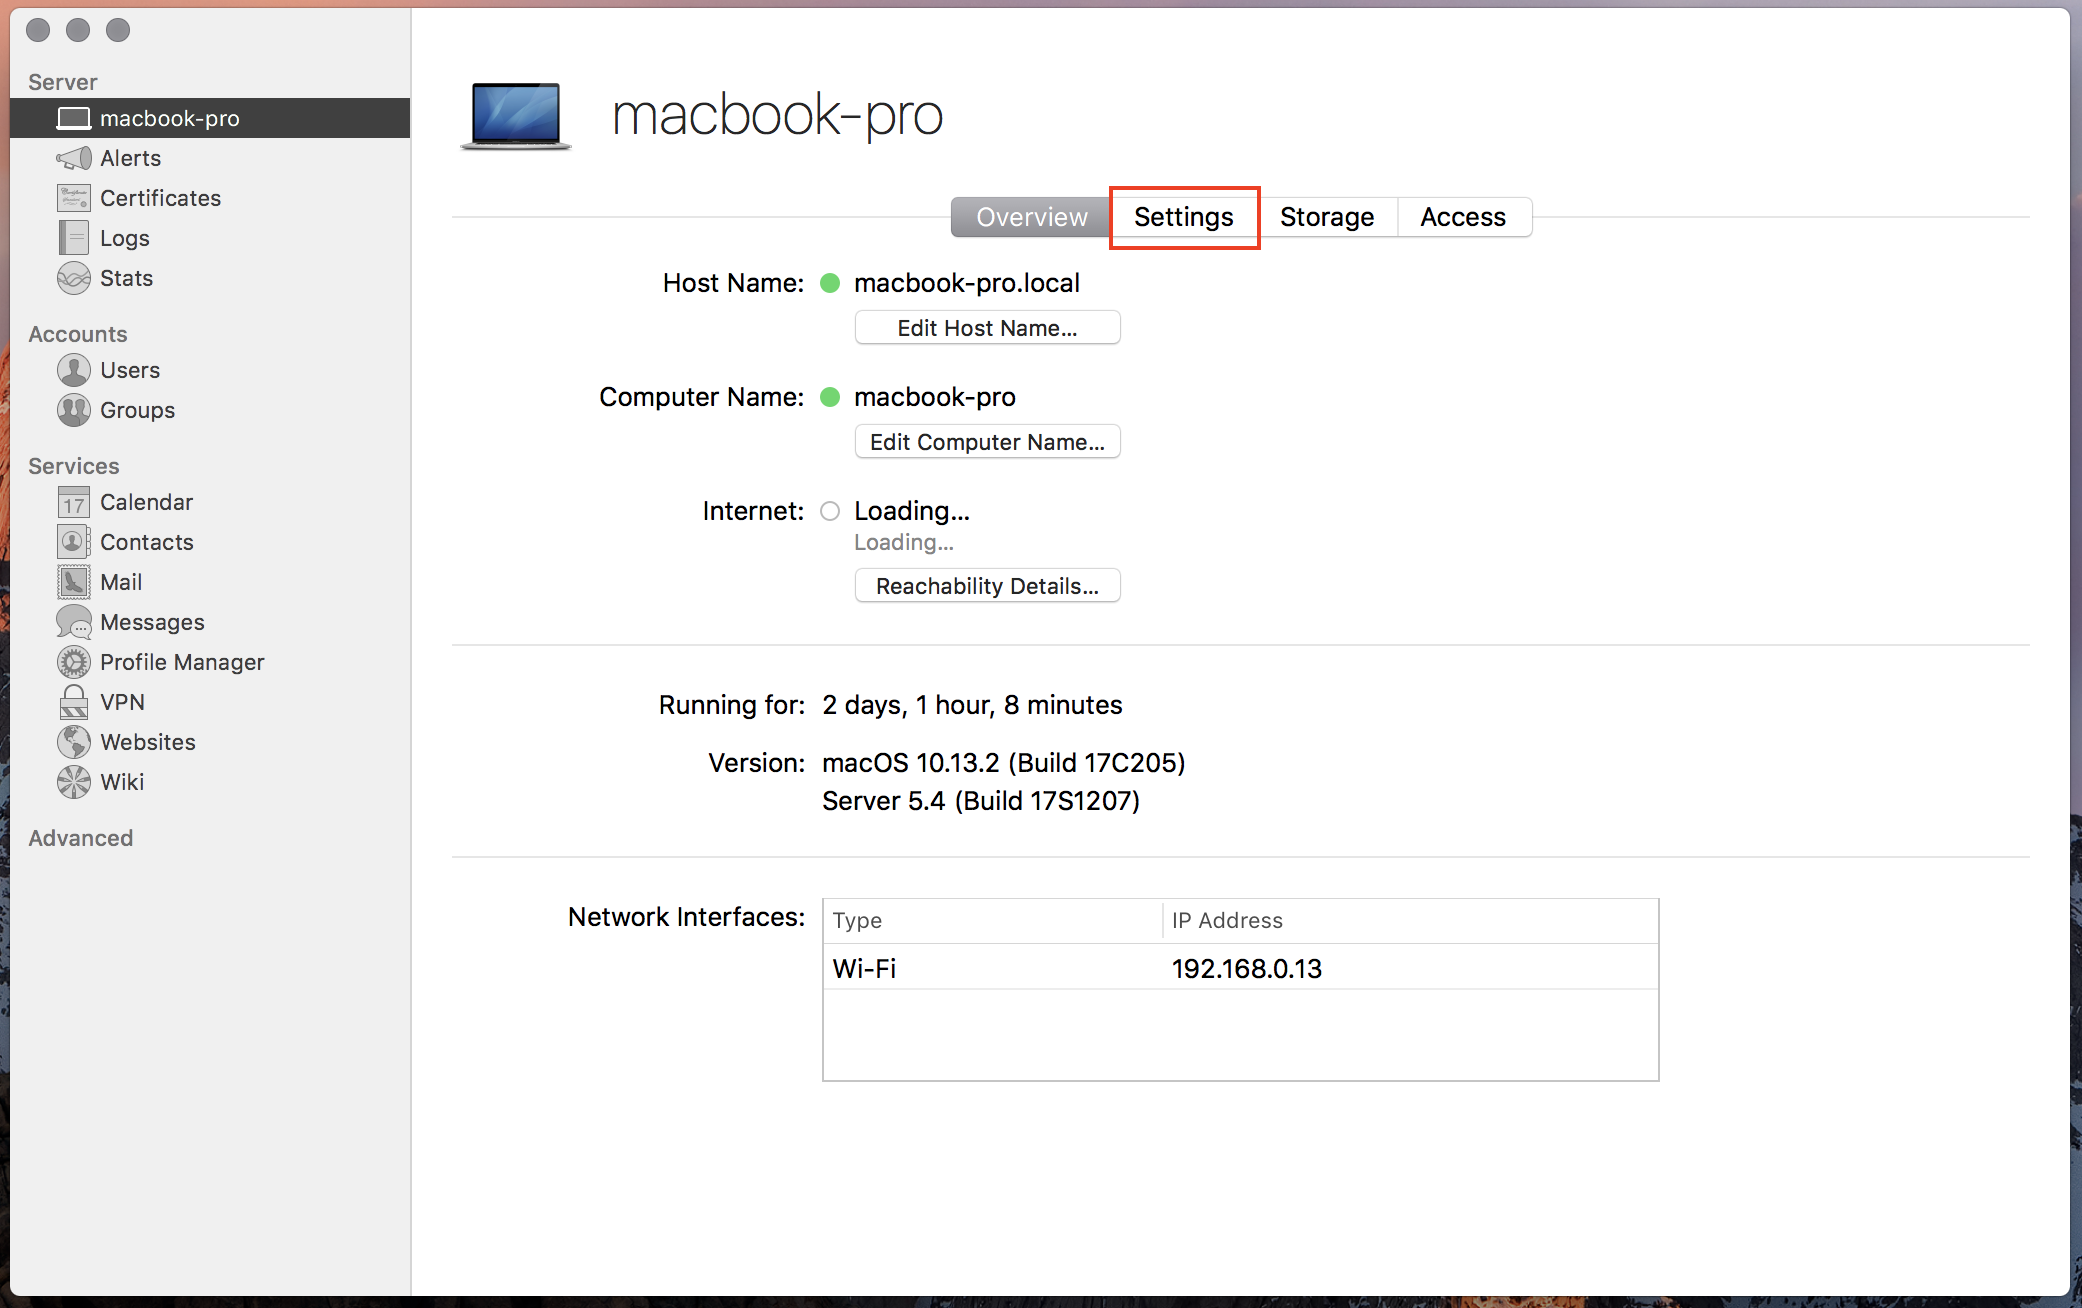
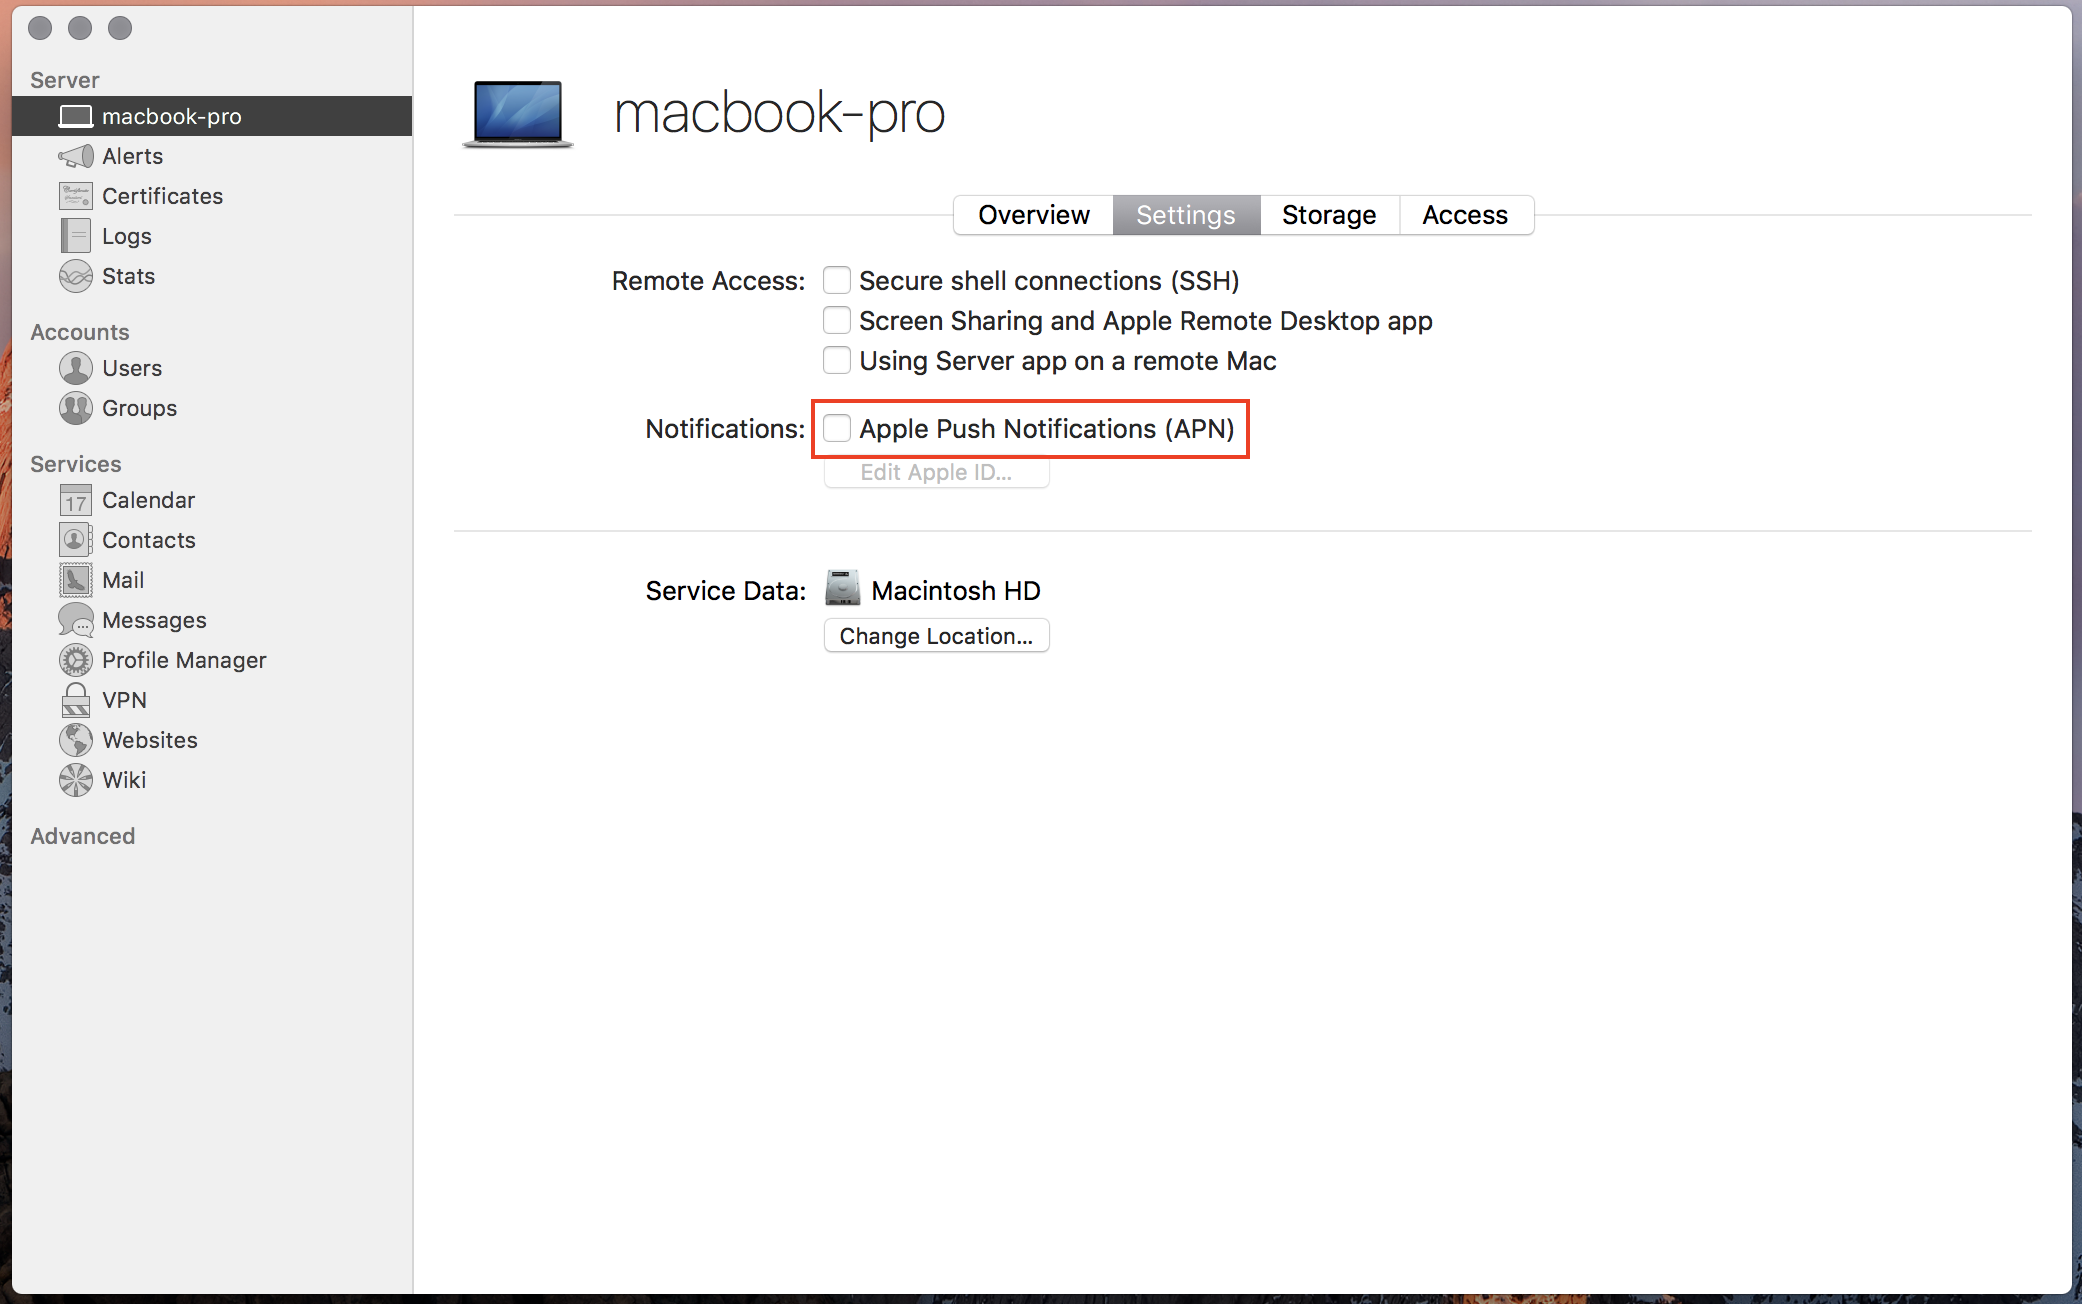
Once the Server App completes setting up the server on your Mac, click on the Settings tab.
-

Click to check the Apple Push Notifications (APN) check box, next to Notifications.
-

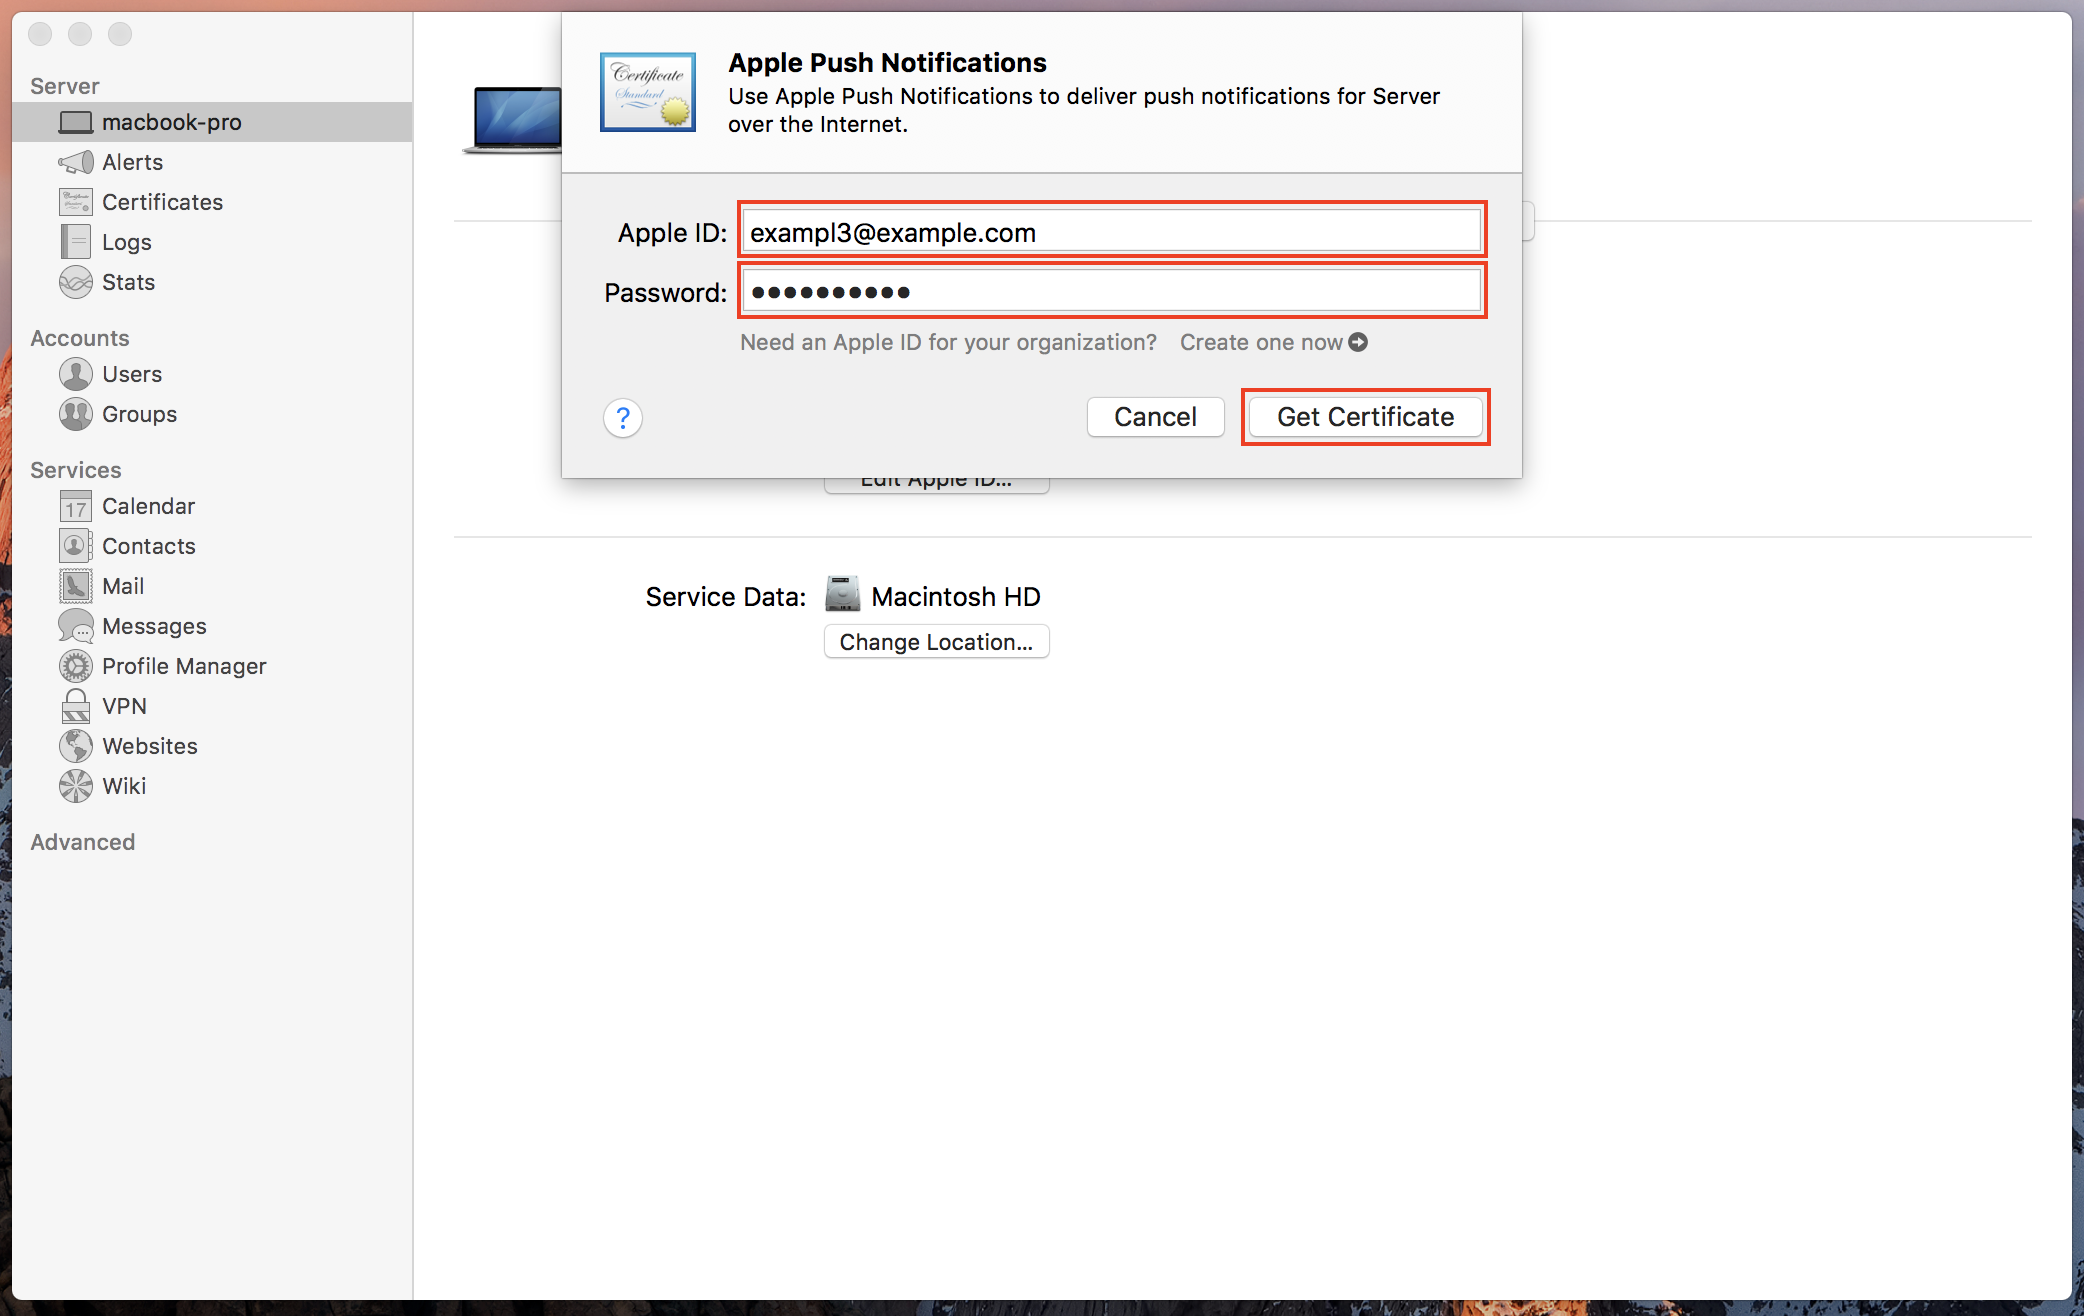
Enter your AppleID and Password then click Get Certificate.
-

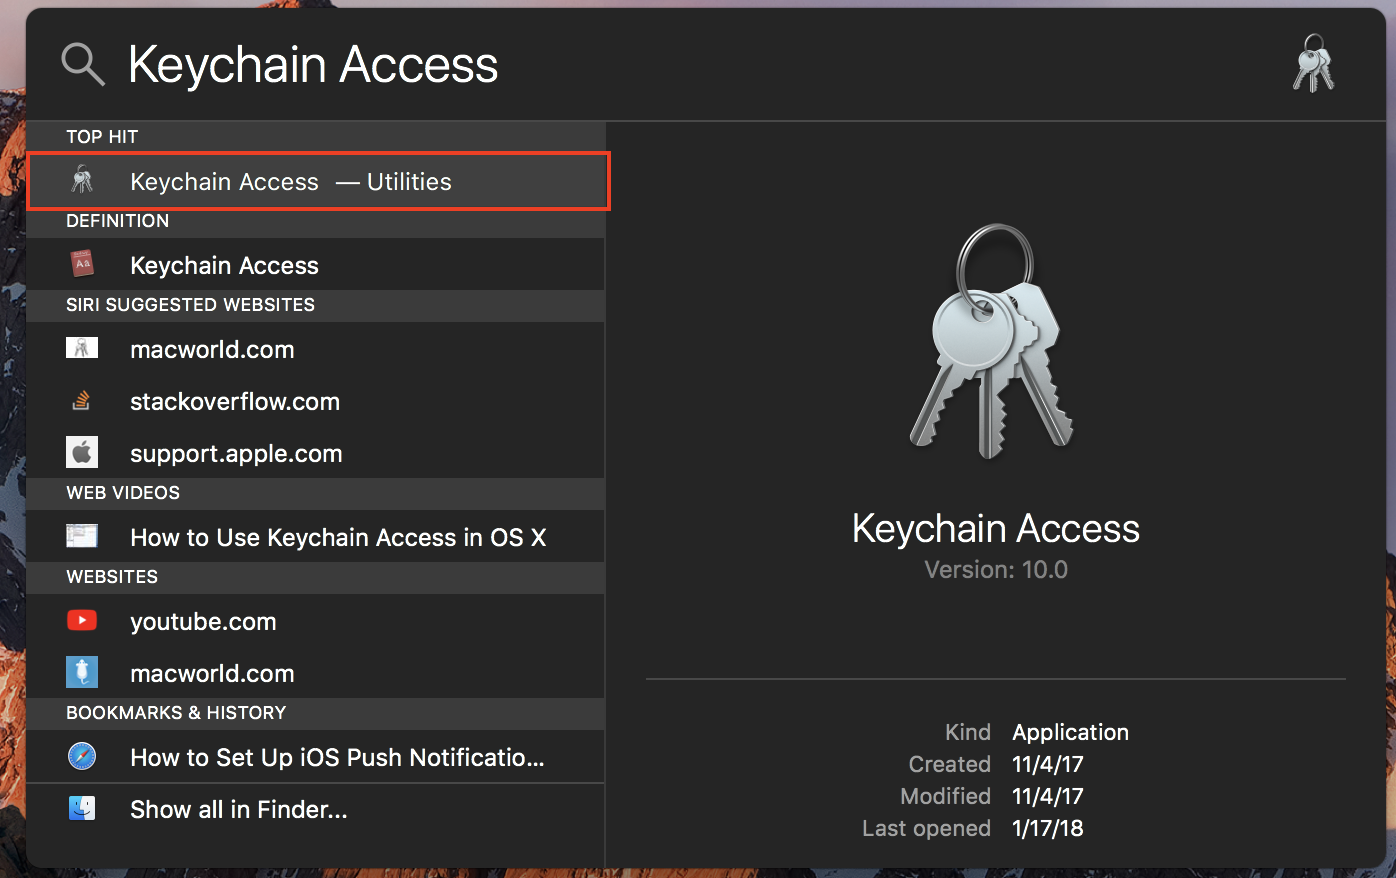
Open Keychain Access by pressing the Command and Space bar keys at the same time, then type Keychain Access and double click on the icon.
-

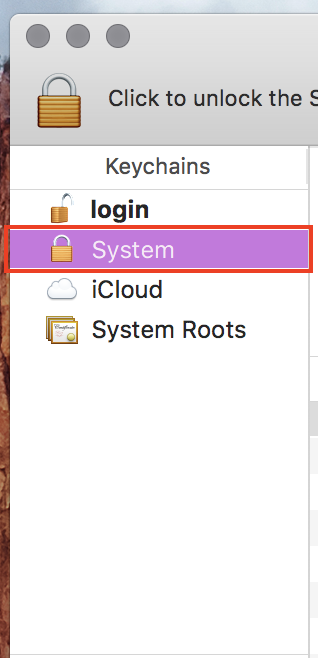
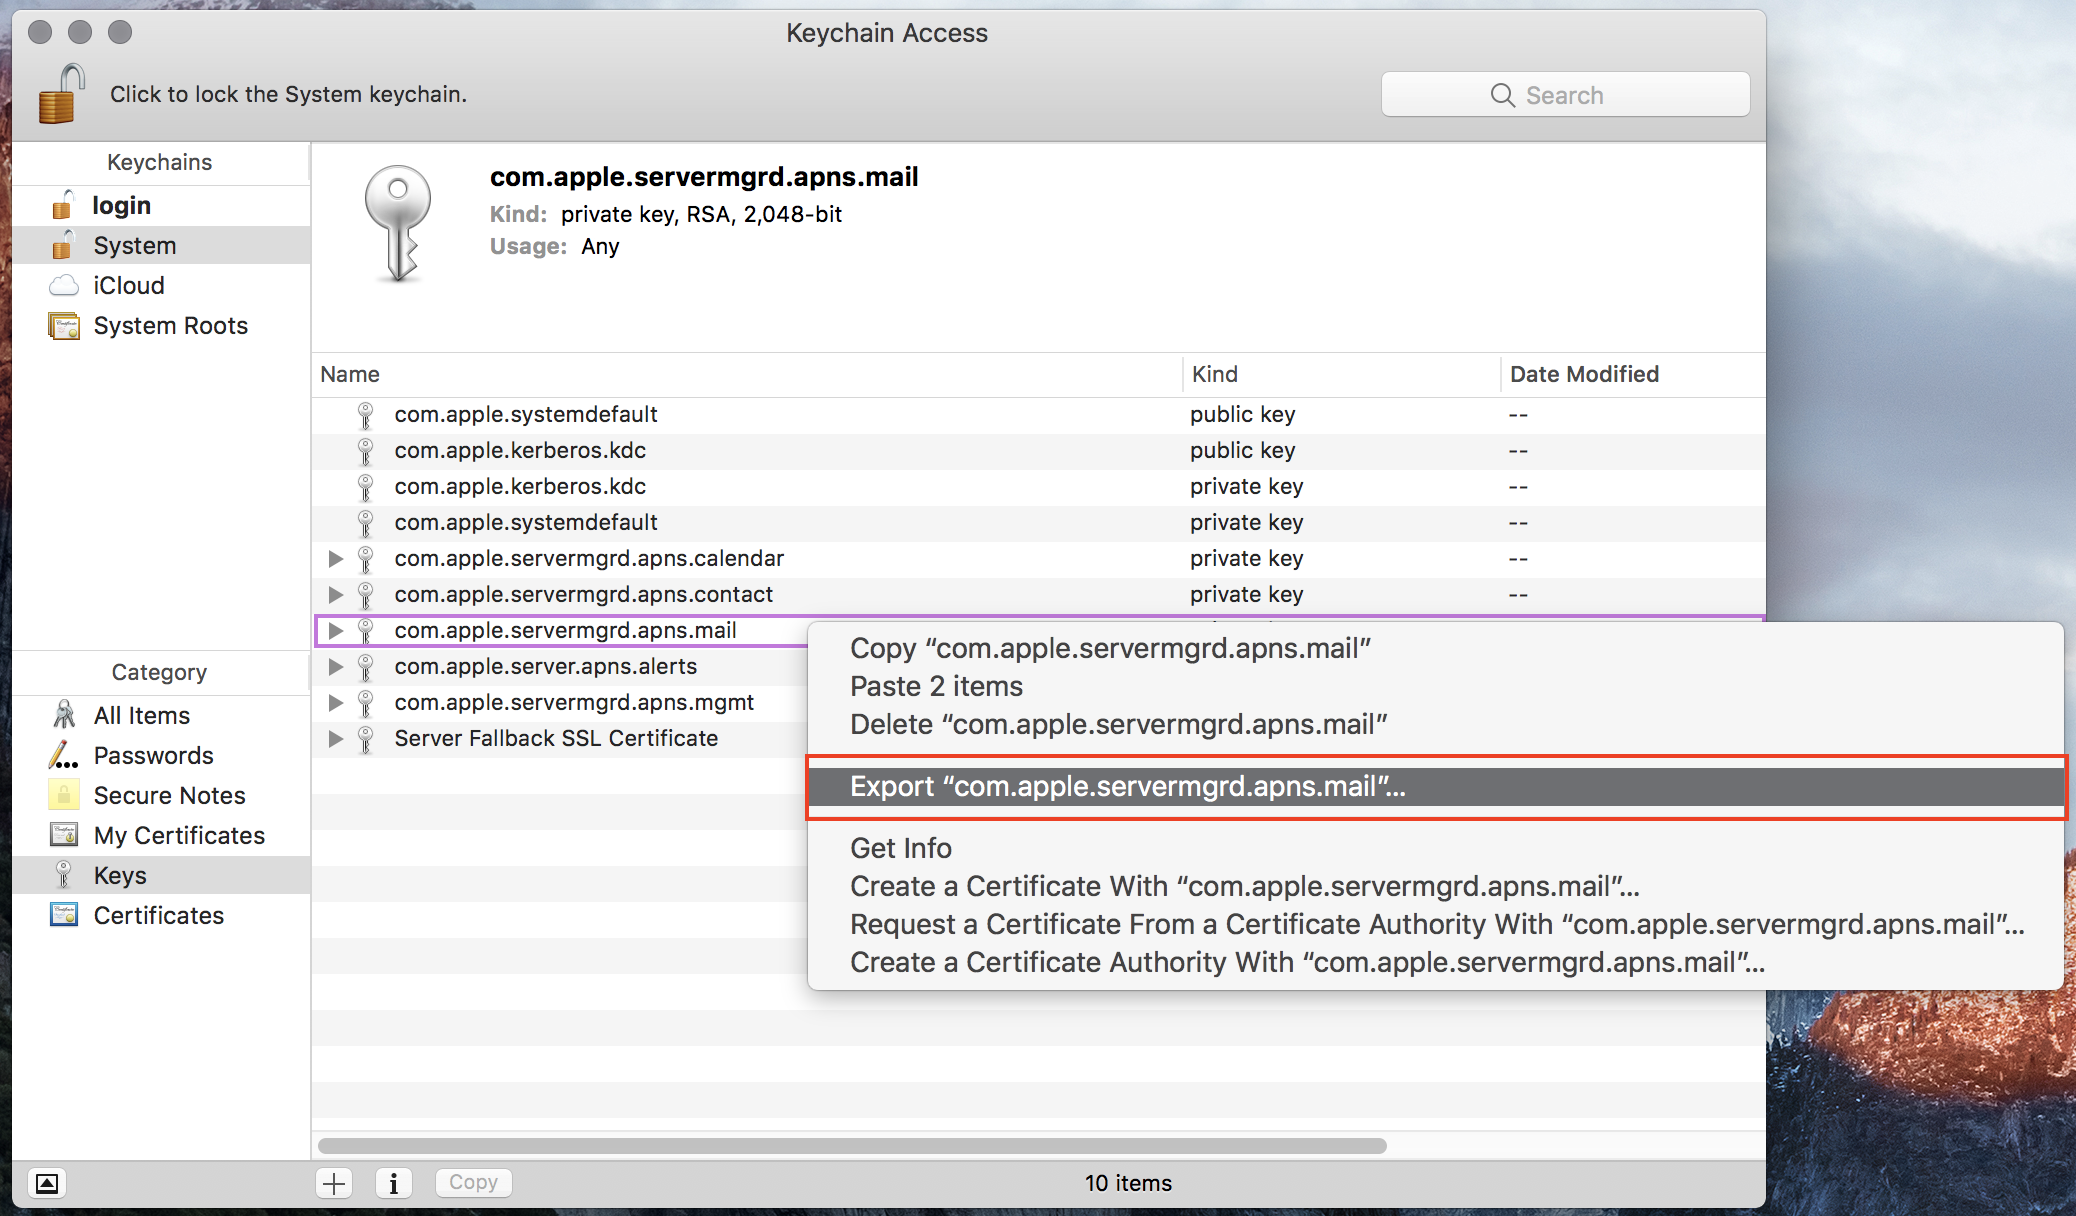
Click to select the System keychain from under the Keychains list, to the left.
-

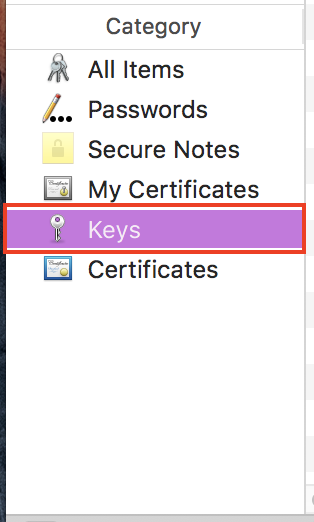
Click to select Keys from under the Category list, to the left.
-

Right-click on com.apple.servermgrd.apns.mail key and click to select Export “com.apple.servermgrd.apns.mail”…
-

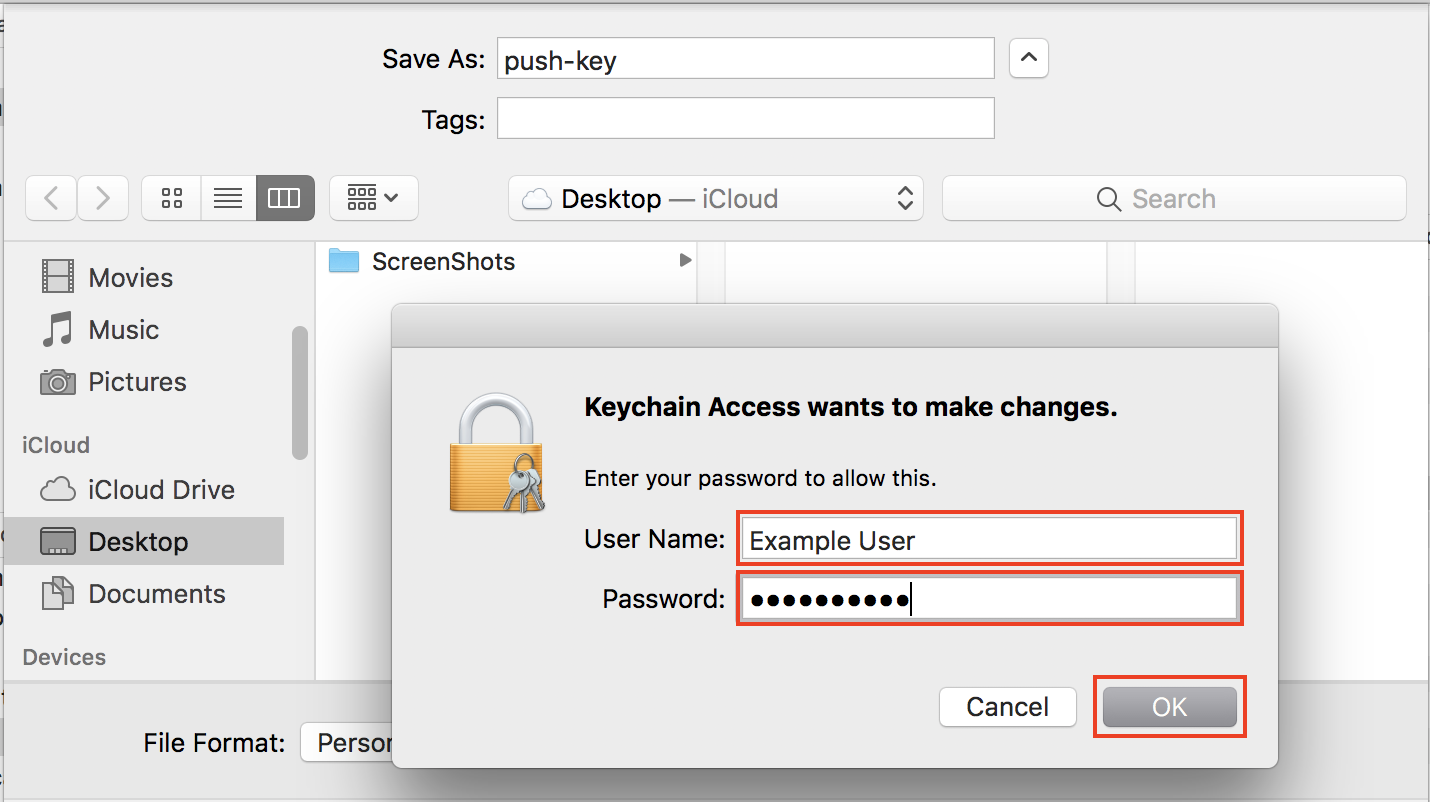
Enter a name for the file, select a destination on your computer, and click Save to export the Key to a location you can easily retrieve.
-

Enter your Mac’s Administrator password to authorize the export, then click OK.
-

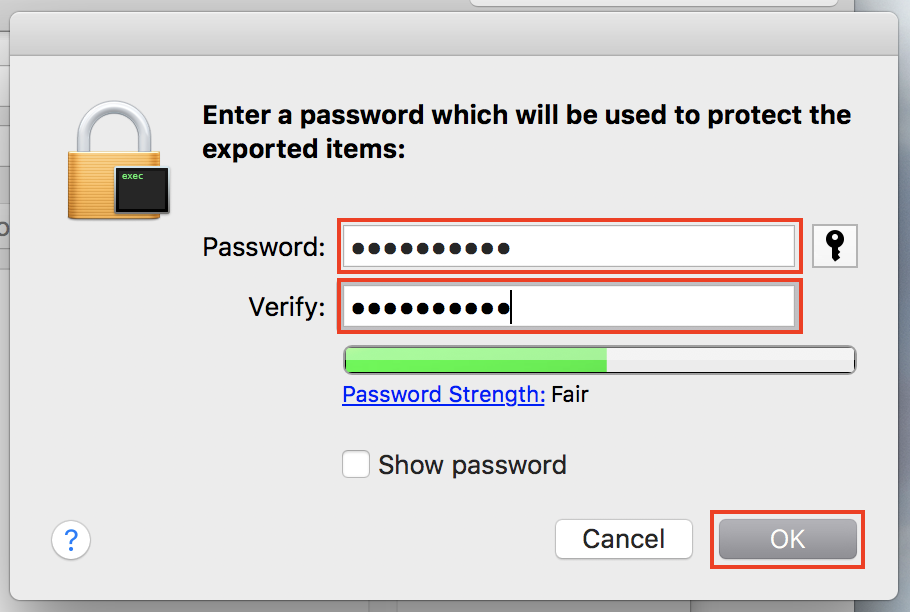
Additionally, you will be prompted to password protect the file. Simply enter the desired password and confirm it by entering it in the next field.
-

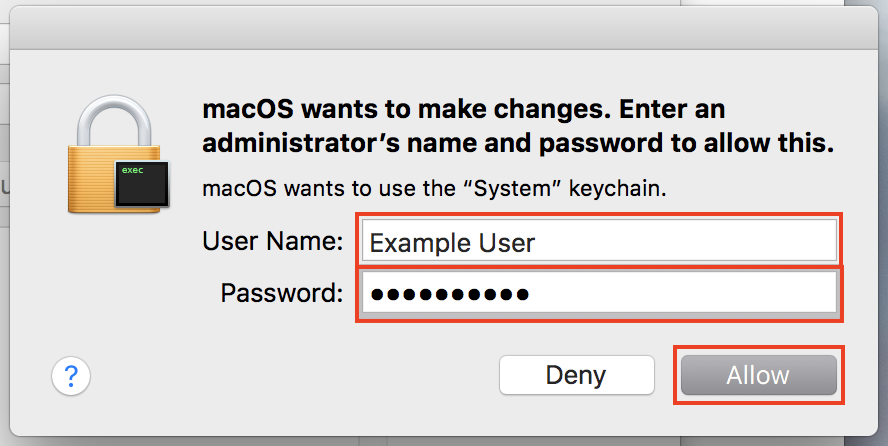
Enter your Mac’s Administrator password to authorize the export, then click Allow.
Now that you have created the necessary Key file, you can proceed to the next section to follow the instructions to install the APNs key in WHM.
Install APNs Key in WHM
- Log into WHM, as root.
-

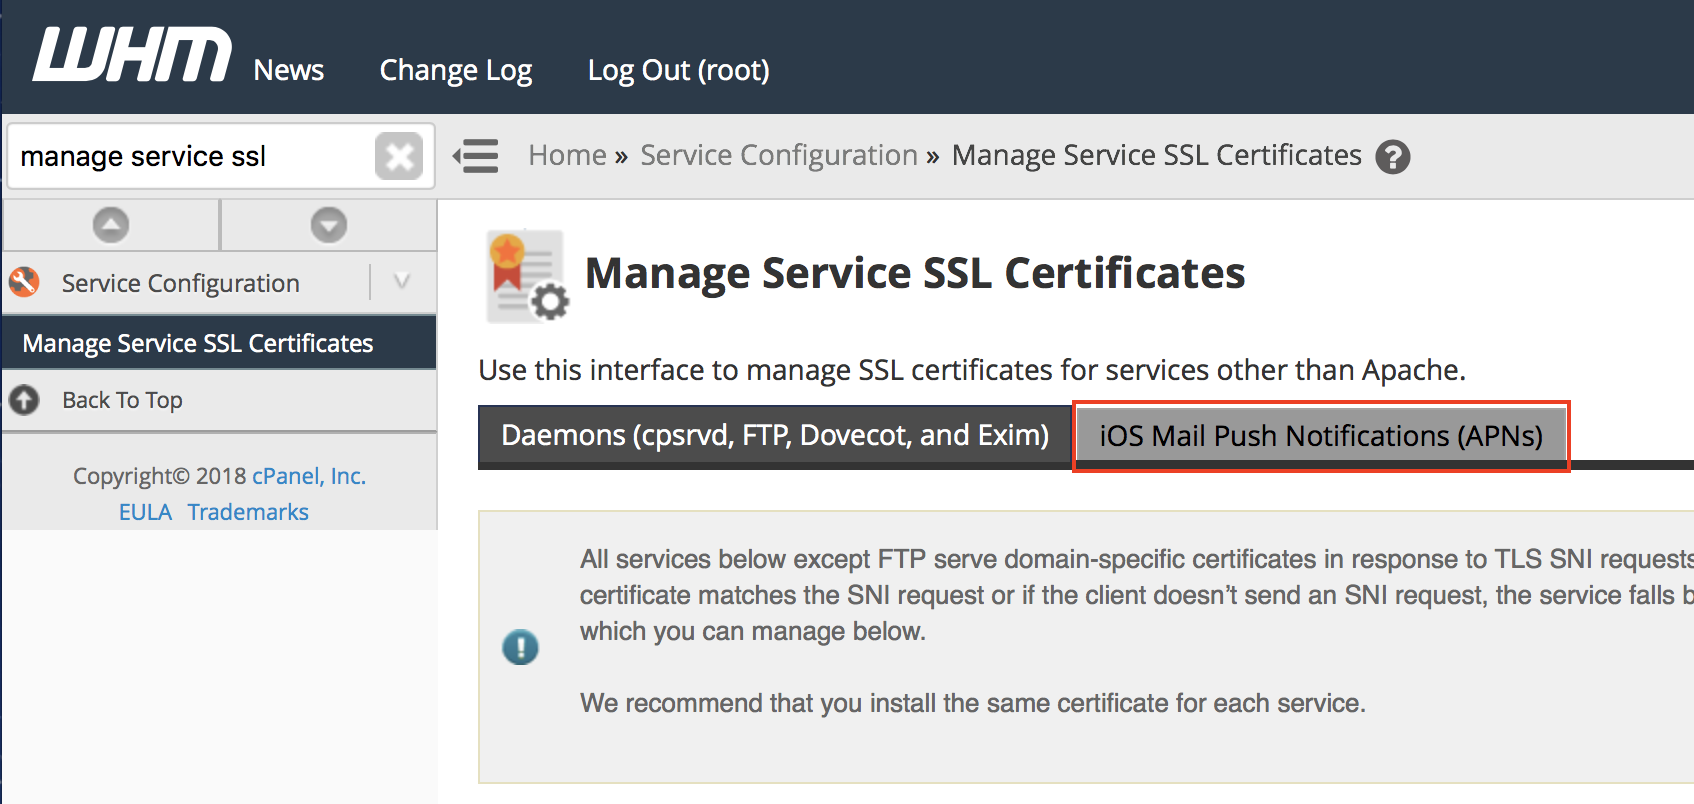
In the search field, to the left, type manage service and click on the Manage Service SSL Certificates option.
-

Click on the iOS Mail Push Notifications (APNs) tab.
-

Click on the Choose a PKCS #12 Archive button.
-

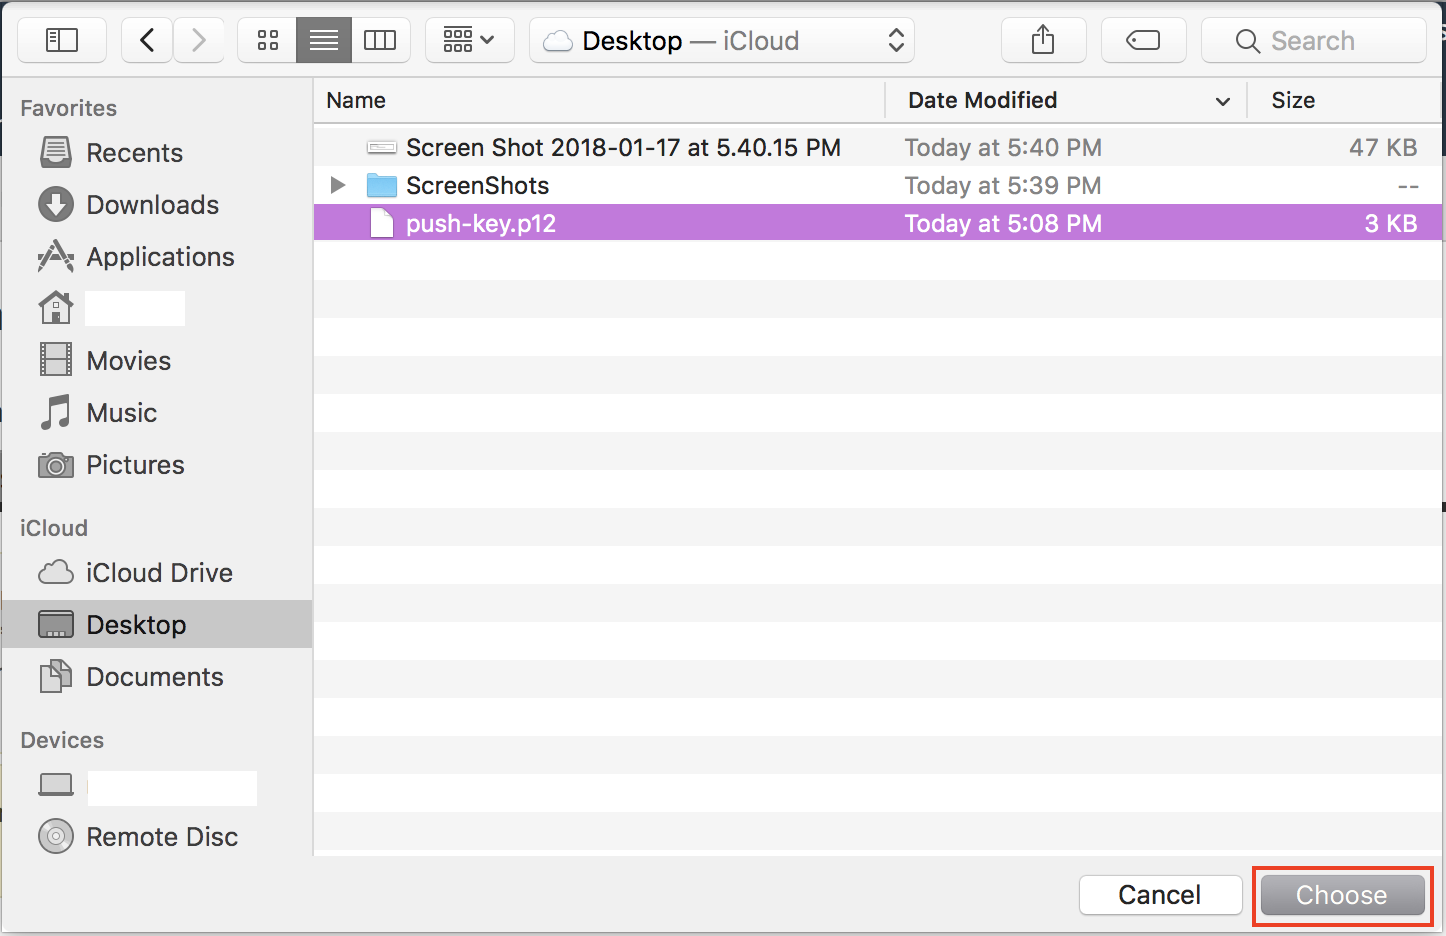
Select your Key file and then click the Choose button.
-

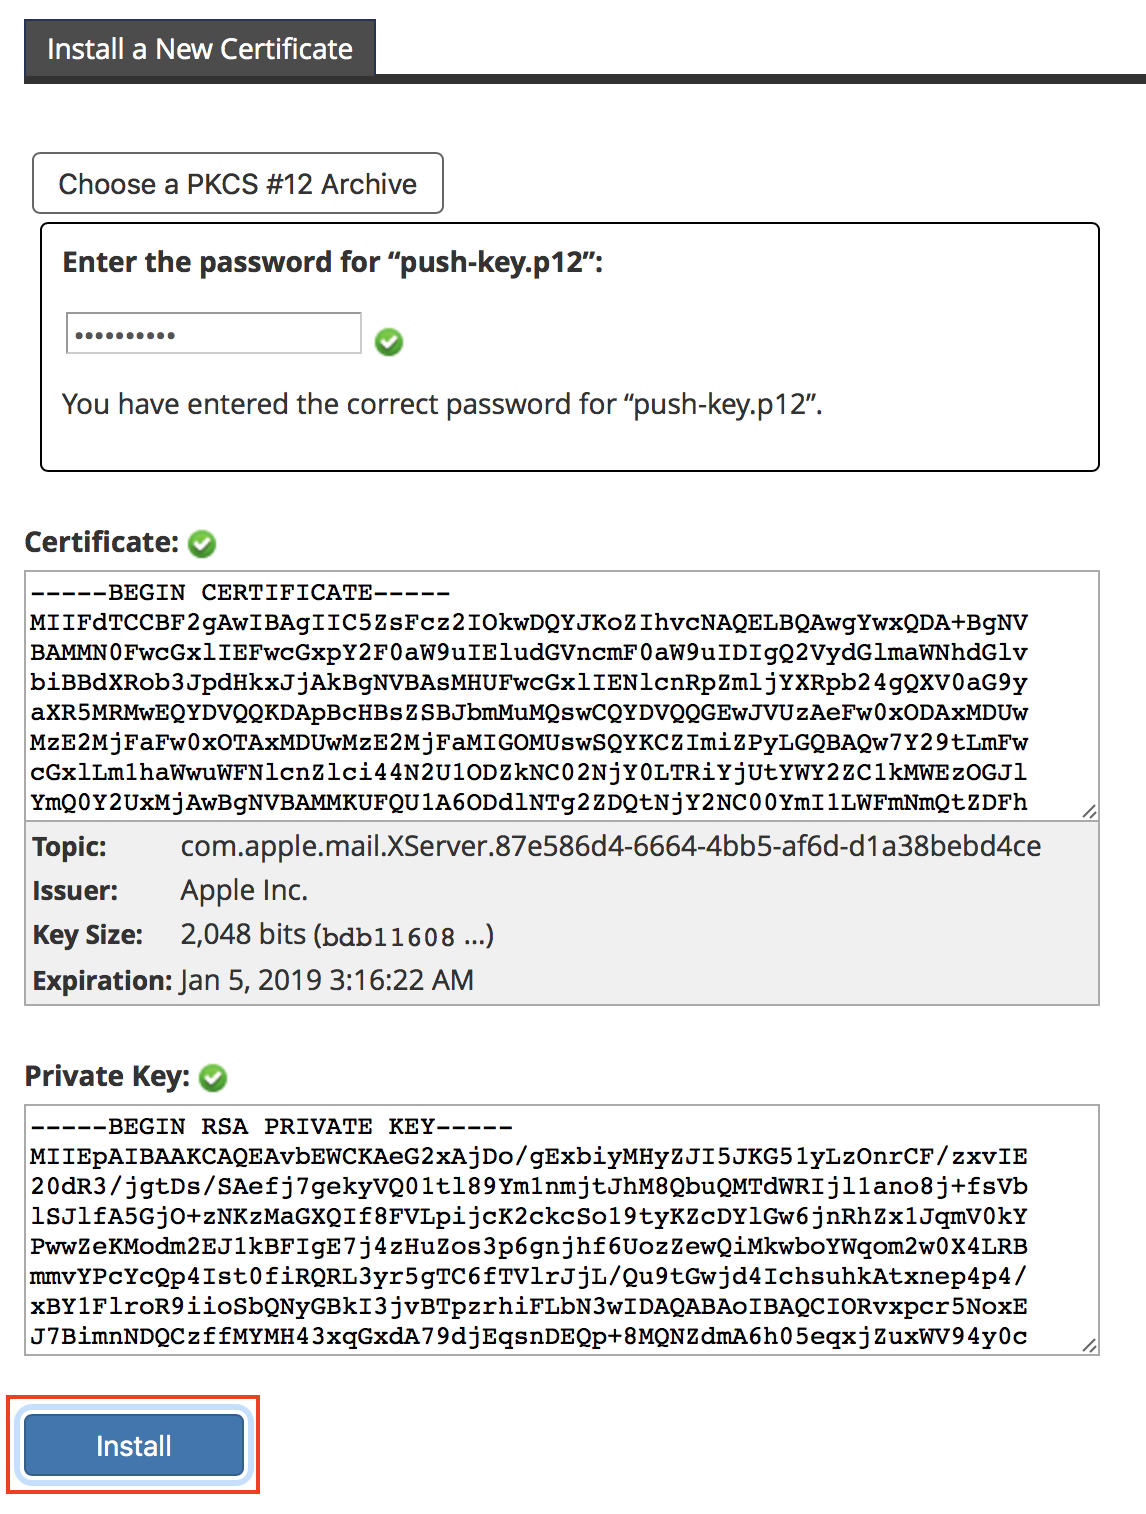
You will be prompted to enter the password (set during the export process) to unlock the Key file. Enter the password and the Key should be revealed automatically.
-

Click the Install button.
Congratulations! Now that you have generated and installed the required APNs key, you can follow along in our guide to enable Push notifications on your iOS device(s)
